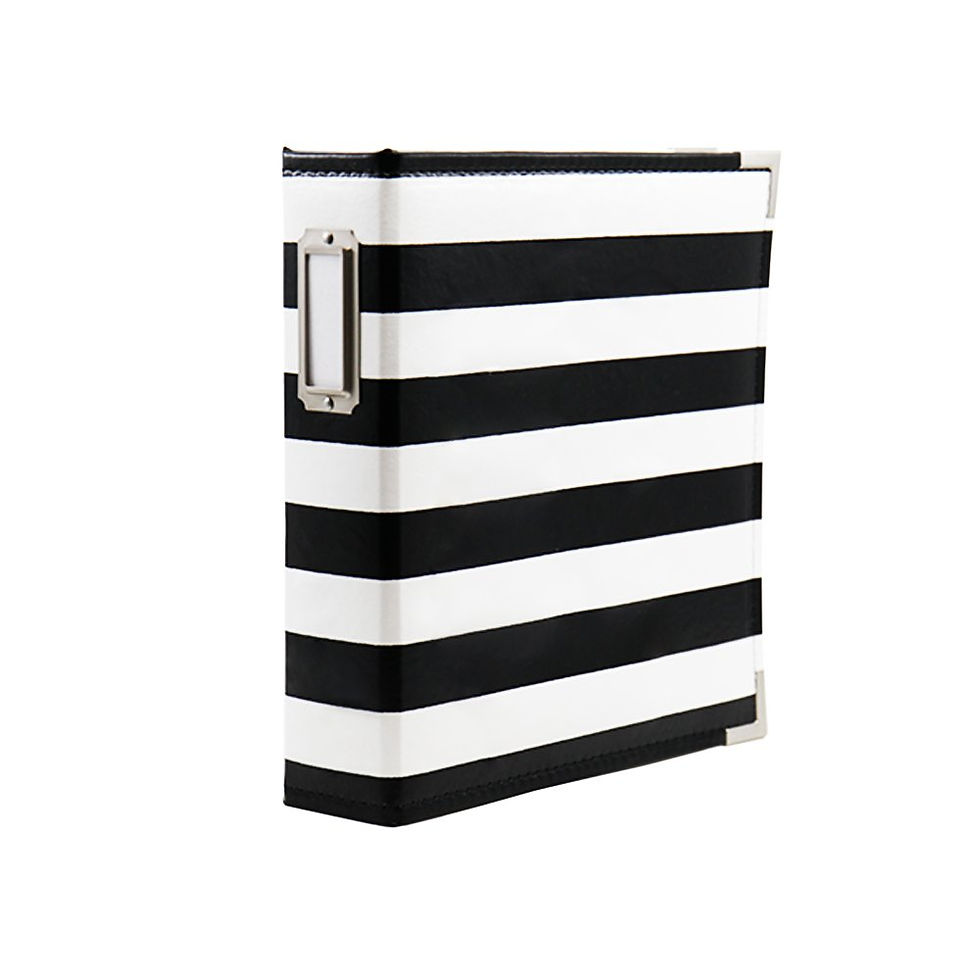
Lovelies, I'm back with another storage idea, this time for your stencils! The products you will need for this project are linked below for your convenience.
Scrapbook.com has some great Scrapbook Albums in a variety of sizes: 12 x 12, 9 x 12 and 6 x 8 inches. I made a stencil album with the 6 x 8 and will take you though the details of that in today's post.

I like this compact size as it makes it easier to tote around and is a good fit for many different stencil sizes, that are 6 x 8 and smaller.

Supply List
Scrapbook Album - I went with the 6 x 8 Two Ring Album - Black and White Stripe because its a fun neutral that I could embellish. Chose the color and size that works for you and the stencils that you want to store. I do have some 8 x 10 and 12 x 12 stencils that would work well for a 12 x 12 Scrapbook Album
Inserts - 6 x 8 Open Page Protectors (2 packs, 10 inserts per pack) and 6 x 8 Page Protectors - Two 4 x 6 (1 pack, 10 inserts per pack)
Tab Punch - We R Memory Keepers Tab Punch File to make the Divider Tabs for labeling the stencil album sections
Tab Stickers - We R Memory Keepers Tab Stickers File to attach the tab to the divider
Cardstock - another stash dive for some solid-colored cardstock to make 4 dividers! I chose 100lb Cardstock so that my Dividers would be sturdy. Lawn Fawn has some great 100lb Cardstock that I have linked below if you need some.
Corner Rounder - I have a We R Memory Keepers - Crop-A-Dile - 2 in 1 Retro Corner Punch Chomper Tool - 18 and 38 Radius. This works nicely for chomping through all kinds of things.
Hole Punch - This is a craftroom staple Lovelies. Consider trying the Dress My Craft - Hole Punch - One Quarter Inch Circle, if you do not have one.
Your Handwriting or a Labeling Machine (if you want to "do the most" like me LOL)
Stickers - Foam Thickers, I went stash-diving (kinda like dumpster diving, but occurs in your craft-room where you scour your collection of unused supplies LOL) and selected some foam-like Paige Evans Bloom Street stickers that I got a while ago and some green foam alphabet stickers to embellish the cover. I find that foam stickers due to their flexibility can be quite resilient to the type of abuse that this album will likely encounter in my craft room.
Making Your Album
The instructions below and sized for the 6 x 8 inch album and will need to be adjusted if you select another size.
1. Make Dividers
For each Divider, cut your cardstock down to 7" x 8.75".
Use the Tab Punch to create a paper tab for each Divider.
Label the Divider by hand or use a labeler. Tip: you can organize your stencils by company or theme.
Peel off the Tab Sticker from backing and line up the paper tab with Tab Sticker and adhere.
Adhere sticker to the edge of the Divider and fold Tab Sticker to secure in place. The back of the Tab Sticker package has great instructions with little pictures to walk you through this as well.
Hole punch the divider along the left side at 2.25" and 6.5".
Round the edges of the divider using the Corner Chomper.

Insert paper tab, align to divider and fold to adhere.
2. Insert Stencils
For the Open Page Inserts, I decided to put stencils with their original product backing "back to back" in each insert. In some cases you may need to cut the product backing to 6.25" x 8.5" to fit. Though I chose to place two stencils in each insert so I could clearly see what they were, you can fit more if you desire.

For the Two 4 x 6 Inserts, I cut down some cardstock to ~4.25" x 6.125" to make a backing for some smaller stencils.

3. Label and Embellish the Folder
Now for the fun! Grab your foam Thickers and label and decorate the front of your album

For the spine of the album, cut a piece of solid cardstock to ~13/16" x 1 7/8" and label it "STENCILS" or simply write on the existing piece of chipboard that comes inserted into the label holder.

Add your dividers and inserts to the album and you are all set Lovelies!


Links are below for your shopping convenience!
See you soon Lovelies!
SUPPLIES:
I listed the products that I have used below. Please note that these are compensated affiliate links used at no cost to you. I really appreciate your support. All products were personally purchased, except Album and Dividers, which were received from Scrapbook.com as part of my Designer package. I was not paid to do this post and love the products that I share. Click on the icons below each product picture to shop with Scrapbook.com.


Comentarios