

One Stamp Set, Four Cute Cards for Spring Rain or Shine, Simon Says Stamp
- Keisha Diann
- Mar 24
- 3 min read

Hello Lovelies! In my previous post, I promised we'd make 3 more cute Spring cards with the Rain or Shine set. Our beary cute friends need a couple of cards to contain all their adorableness.
In the last post we colored and cut our bears and friends, so today will be all about making sweet Spring scenes with the help of a few of the treats from the Rain or Shine release as well as some old favorites! Take a look at the trio below!


Supplies For 3 Cute Rain or Shine Bears Cards!

Get Your Supplies!
Click on the image below to SHOP THE ENTIRE release OR
SHOP the Supplies section at the bottom of this post

Today's GIF!
This bear has moves but I prefer my cuties!
Like this card and my CORNY GIFs? CLICK BUTTON BELOW
to sign up for blog updates:
Color Palette

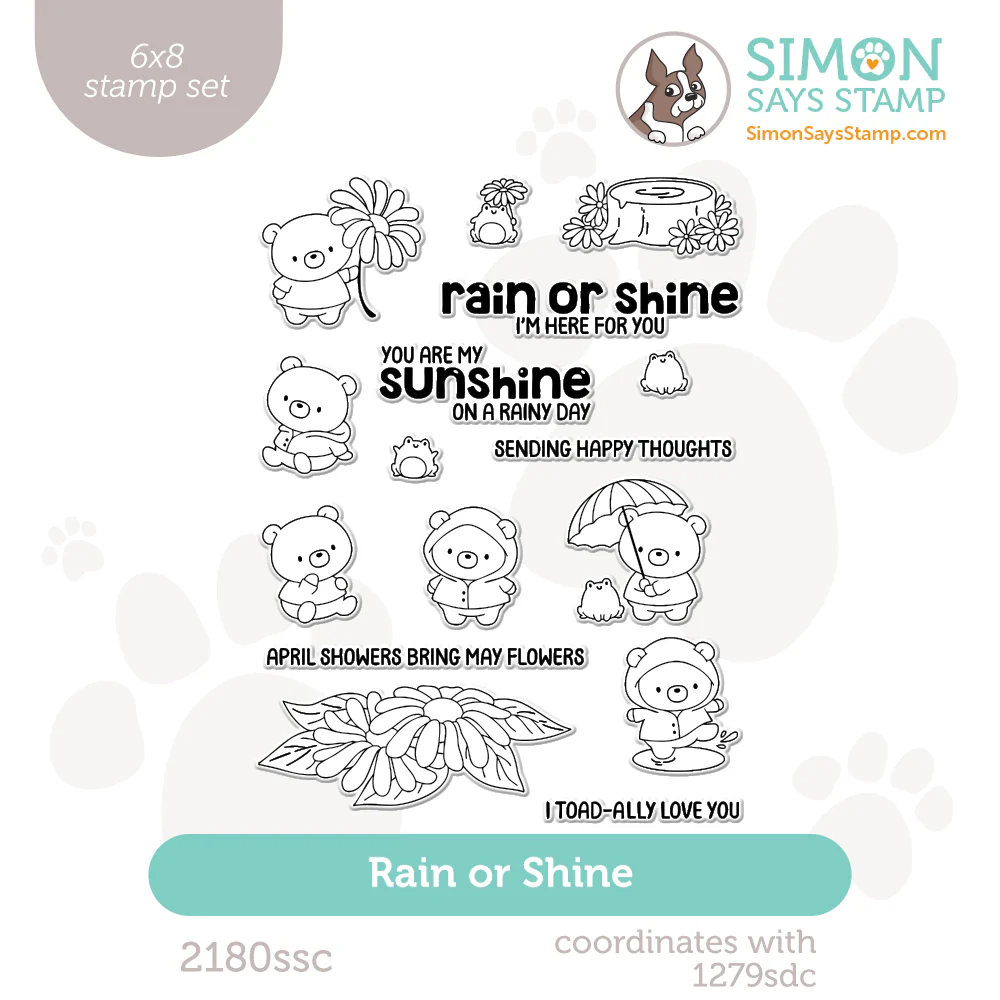
RAIN OR SHINE STAMP SET - Colored and Collaged

CARD 1: YOU ARE MY SUNSHINE CARD - Stamping, Alcohol Marker Coloring, Die-cutting, Embossing & Inking Embossing
Card Size: 4 1/4" x 5 1/2"

CARD 1 HIGHLIGHTS
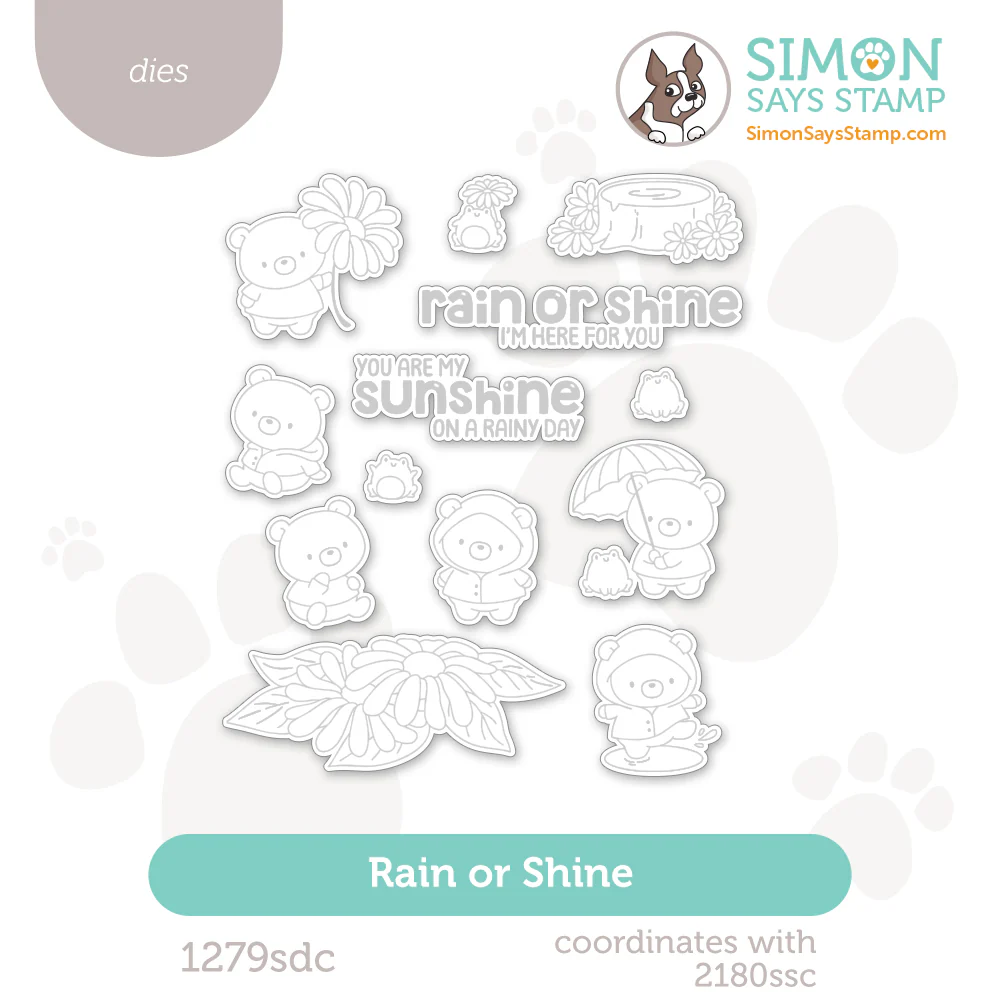
Follow the coloring and die-cutting steps from the previous post if you have not already done so.
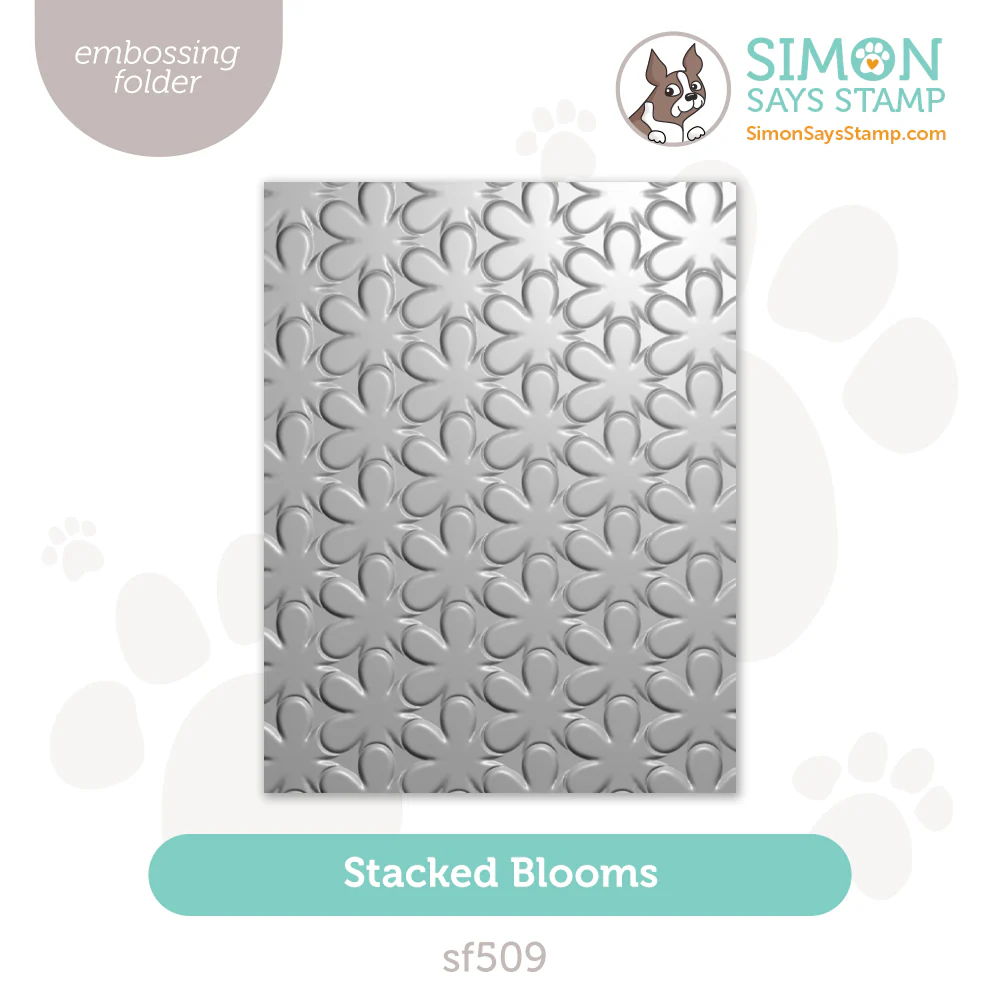
Emboss a 3 3/4" x 4 3/4" piece of white cardstock in the Stacked Blooms Embossing Folder.
Gently "wipe" the Citrine Ink Pad across the raised embossed surface to darken some of the blooms.
Tie a piece of Iridescent White Cord around this layer as shown. Use a small piece of tape to hold in place on the back of the embossed layer.
Adhere this layer to a card base made with Simon Says Stamp Sunshine Cardstock.
Adhere the selected bear etc. die-cuts and sentiment to the embossed layer with Thin Foam Dots


Color Palette


CARD 2: HAPPY THOUGHTS CARD - Stamping, Alcohol Marker Coloring, Die-cutting, Embossing
Card Size: 4 1/4" x 5 1/2"
Color Palette

CARD 2 HIGHLIGHTS
Following the coloring and die-cutting steps from the previous post if you have not already done so.
Die-cut with a 4" x 5" piece of white cardstock and a foam sheet with a scalloped rectangle die. (the one I used appears to be retired, so I have shared an alternate)
Adhere the scalloped die-cut together to creat dimension.
Emboss the rectangle die-cut in the Wiggle Flowers Embossing Folder.
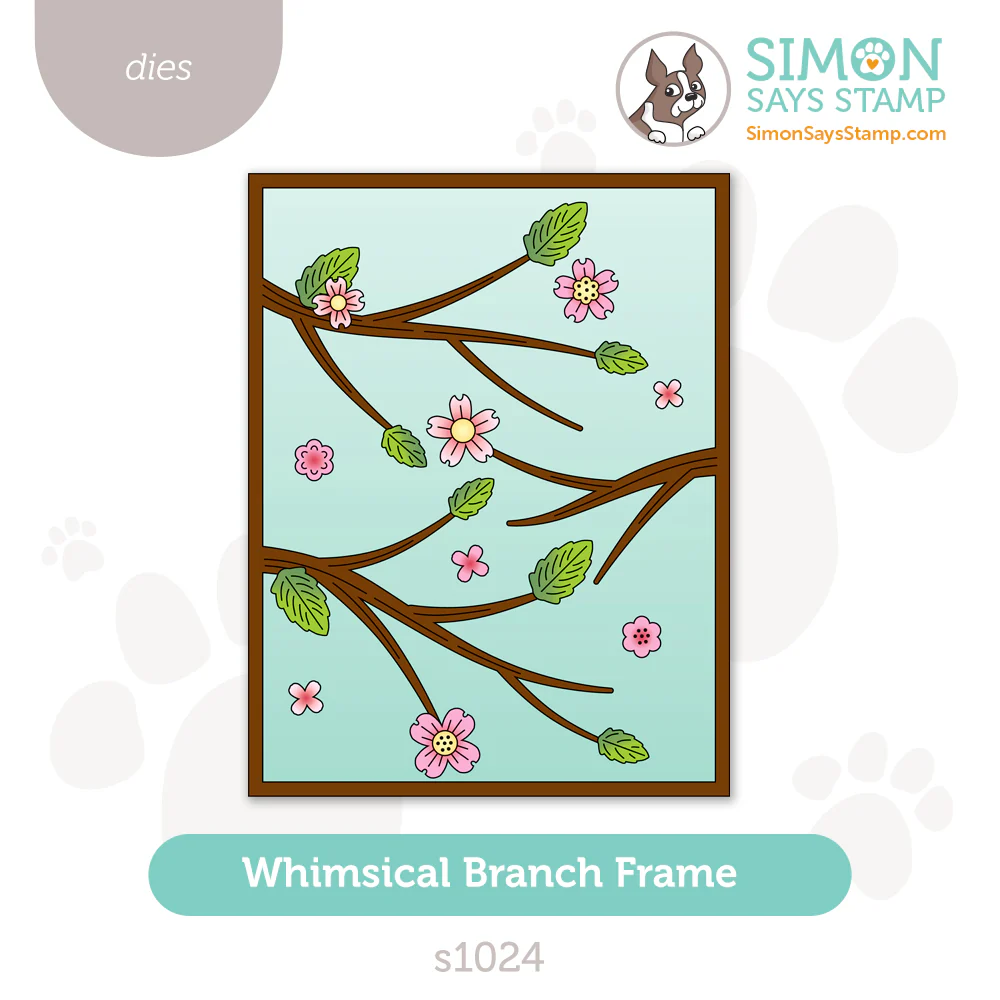
Die-cut the small flowers using the blooms from the Whimsical Branch Frame. color with Bubblegum and Sweets Inks or use similar cardstock from your scraps pile.
Ink-blend a 4 1/4" x 5 1/2" piece of white cardstock using a large blending brush and the Bubblegum, Sweets and Taffy Inks to create an ombre. Adhere to a card base.
Adhere the embossed layer to the ombre card front using Thin Foam Dots.
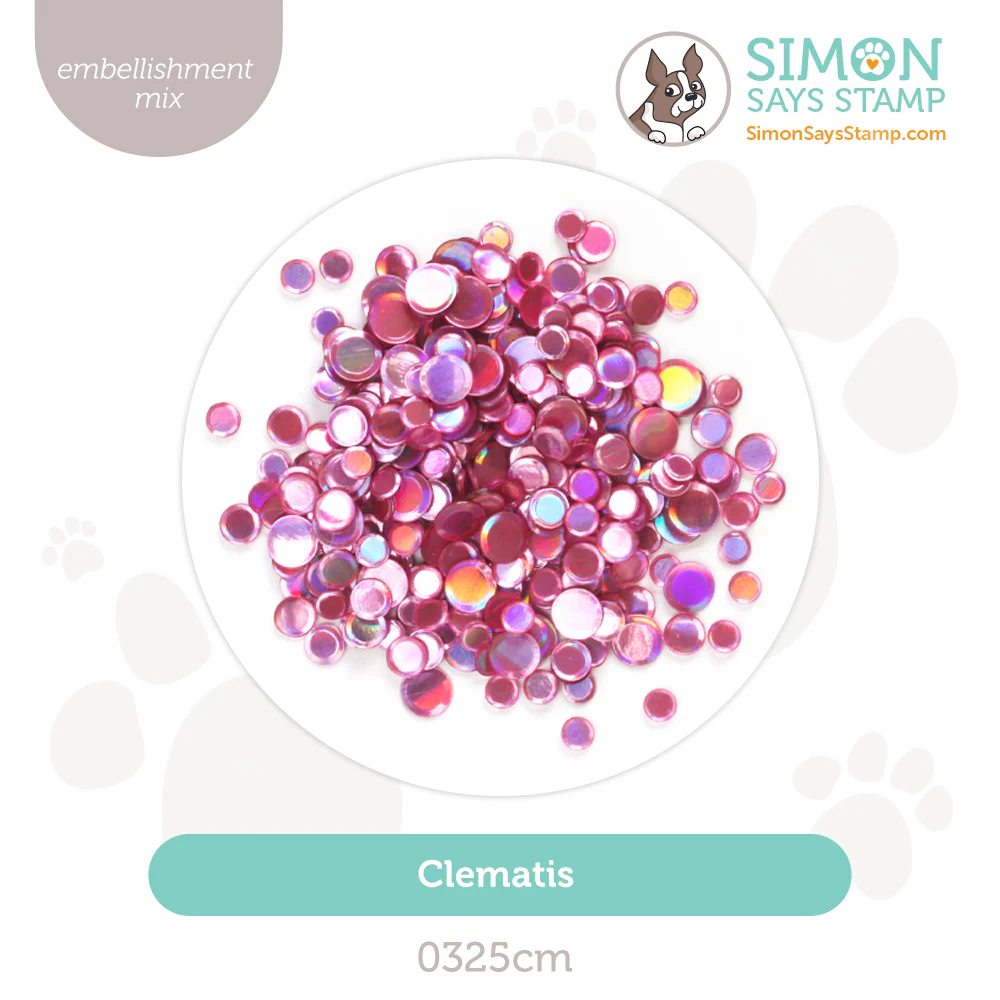
Adhere the selected bear etc. die-cuts and sentiment to the embossed layer with Thin Foam Dots and Craft Glue. Embellish the flowers by adhering Clematis sequins.


CARD 3: APRIL SHOWERS CARD - Stamping, Alcohol Marker Coloring, Die-cutting, Ink Blending
Card Size: 4 1/4" x 5 1/2"
Color Palette

CARD 3 HIGHLIGHTS
Follow the coloring and die-cutting steps from the previous post if you have not already done so.
Die-cut with a 4 1/4" x 5 1/2" piece of white cardstock with a rectangle frame die.
Adhere the scalloped die-cut together to create dimension.
Ink-blend a 4 1/4" x 5 1/2" piece of white cardstock using a large blending brush and the Marine, Cadette, Fairway and Citrine Inks as shown below. Cover the "sun" using the Iridescent Cord spool and spritz with water using a Distress Sprayer or similar.
When dry, apply foam tape and adhere to a card base. Adhere the white frame to the ink-blended card front.
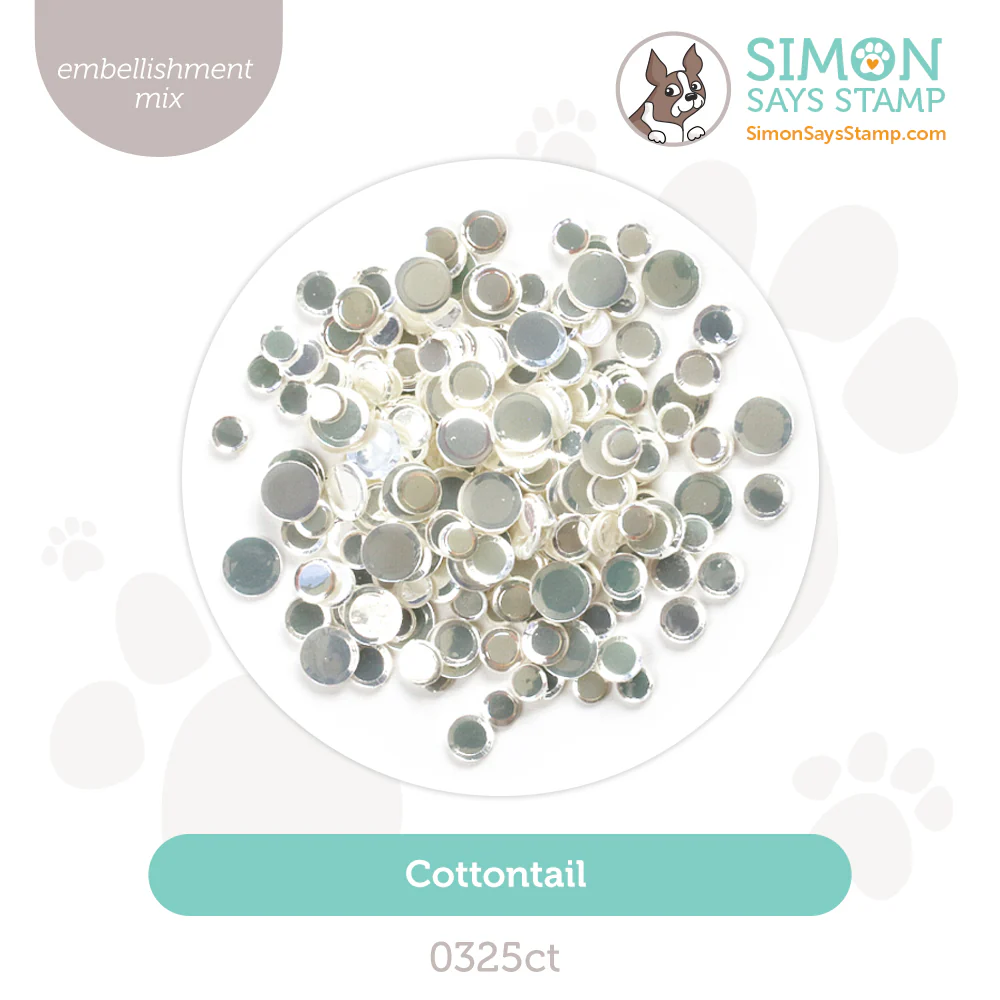
Adhere the selected bear etc. die-cuts and sentiment to the embossed layer with Thin Foam Dots and Craft Glue. Embellish the with blue gems.


I hope you'll enjoy making these as much as I did! Drop me a comment and say hi!
SUPPLIES:
I listed the products that I have used below. Please note that these are compensated affiliate links, used at no cost to you. I really appreciate your support. All stamps used today were part of my Rain or Shine maker package from Simon Says Stamp. Click on the icons below each product picture to shop with SimonSaysStamp.com.
Comments