


Hello Lovelies! Birthdays have me thinking of cake, confetti and...glitter??? Why not, especially when you can make your own custom colored glitter cardstock.
You can buy an array of ready-made colored glitter cardstock but if I can save time, paper and money coloring my own for small die-cuts, then it's a no-brainer for me!

Time for Key Supplies!


Though a craft hoarder like me has a variety of Simon Says Stamp Glitter Cardstock, I like to stock up on the white for projects like this where I want to make my own colors!

Get Your Supplies!
Click on the image below to SHOP THE ENTIRE release OR
SHOP THIS CARD using the links throughout the post OR
SHOP the Supplies section at the bottom of this post

Today's GIF!
Glitter should NEVER be optional! LOL
Like this card and my corny GIFs? CLICK BUTTON BELOW
to sign up for blog updates:
HAPPY BIRTHDAY CARD - Alcohol Ink Coloring, Die-cutting
Card Base: 4 1/4" x 5 1/2"

COLOR PALETTE
Coloring Glitter Cardstock - Copic Markers 110, YR15, Y15, RV17, R43

CARD WALKTHROUGH
DIE-CUTTING
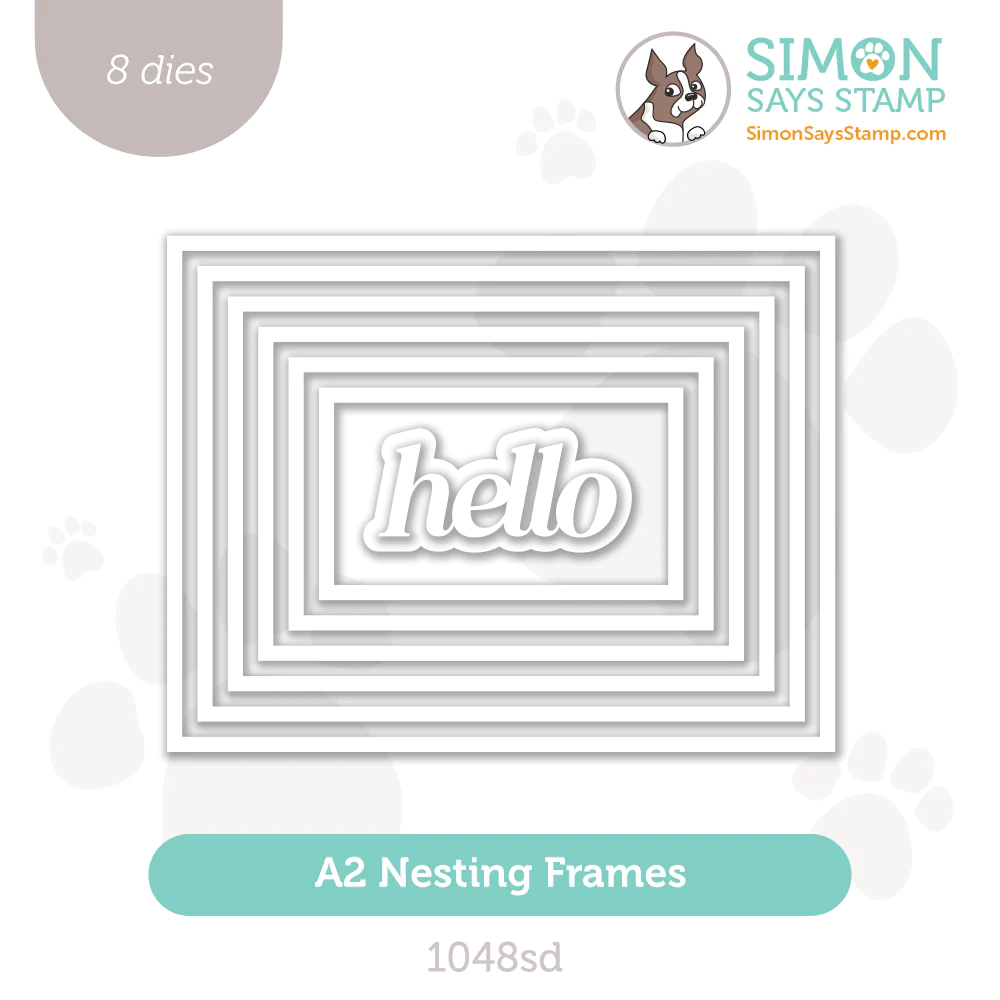
Use painters' tape to secure all 5 of the Nesting Frames dies to a piece of white glitter cardstock.
Run the dies and paper through your die-cutting machine.
Remove the each die-cut frame.
Die-cut "Happy Birthday" outline using vellum.
Die-cut "Happy Birthday" word twice using black cardstock
Die-cut a 4 1/4" x 5 1/2" piece of white cardstock using the Pincushion Plate.

COLORING THE GLITTER CARDSTOCK
Using the alcohol ink markers, color each frame for largest to smallest using the following colors in order: 110, YR15, Y15, RV17, R43
ASSEMBLY
Use craft glue to adhere the Pincushion die-cut to the front of a card base.
Adhere the colored frames onto the Pincushion die-cut
Adhere the Happy Birthday layers together
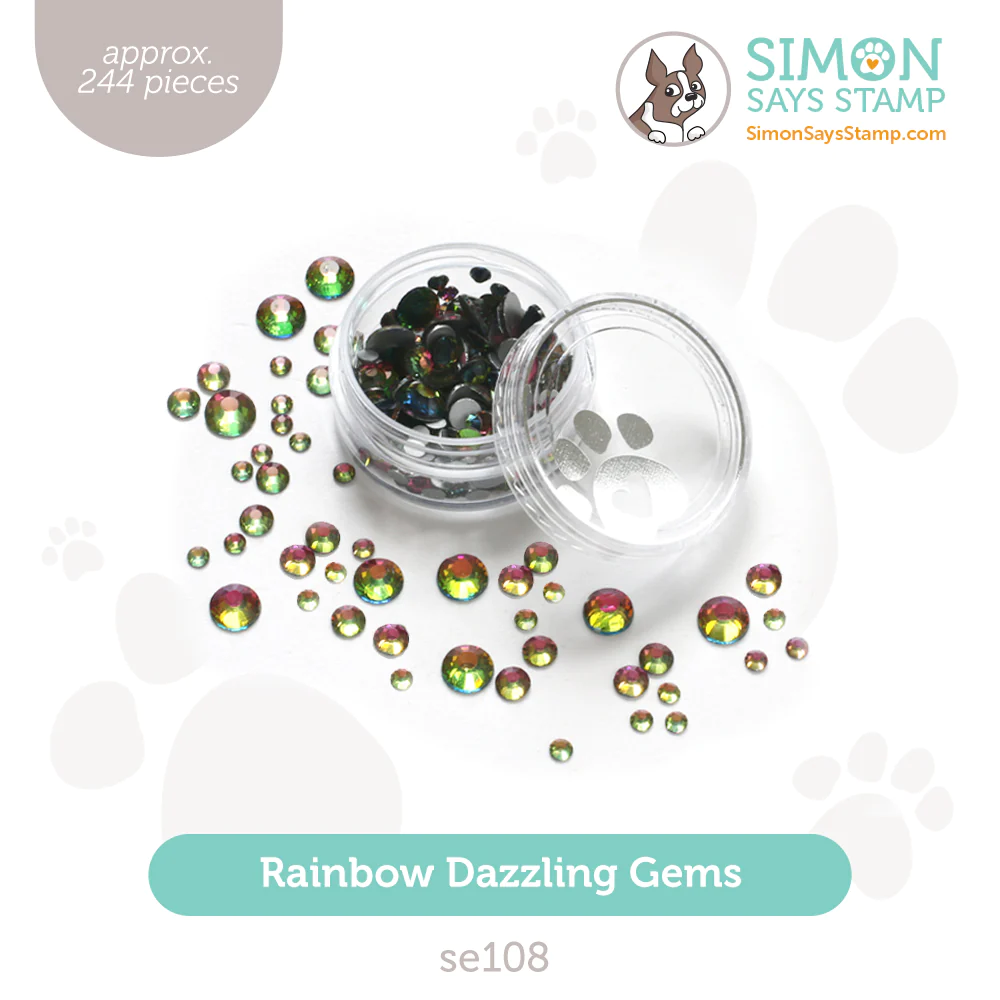
Replace the "dot" on the "i" with a large Rainbow Dazzling gem
Adhere the layered meeting to the card front to finish
Basic, easy techniques for a pretty result!
Thank you SO much for stopping by!
SUPPLIES:
I listed the products that I have used below. Please note that these are compensated affiliate links, used at no cost to you. I really appreciate your support. All stamps used today were part of my Be Bold maker package from Simon Says Stamp. Click on the icons below each product picture to shop with SimonSaysStamp.com.
I love how you colored the cardstock! Love this card.
This is pretty and a great idea to use the dies we have in hand already ♥