Simon Says Stamp - Abundant Leaf Christmas Card
- Keisha Diann
- Nov 8, 2024
- 3 min read

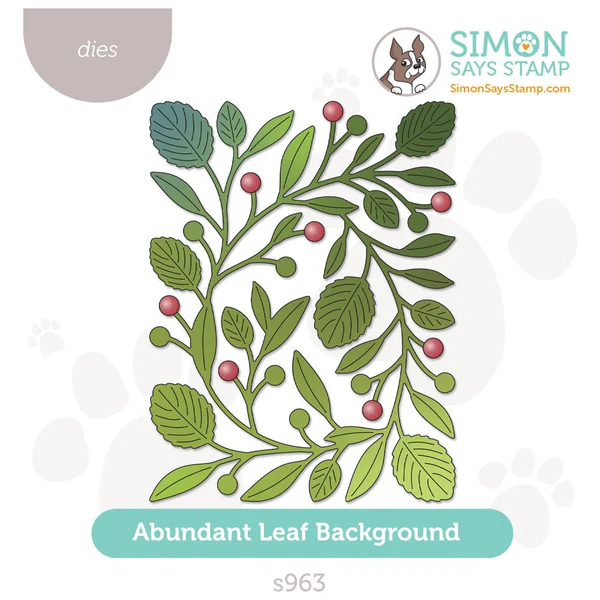
Hello Lovelies! This simple card is all about the Abundant Leaf Background from Simon Says Stamp's Festive Fun release. It's so striking especially when inked with that vibrant Royal Blue!
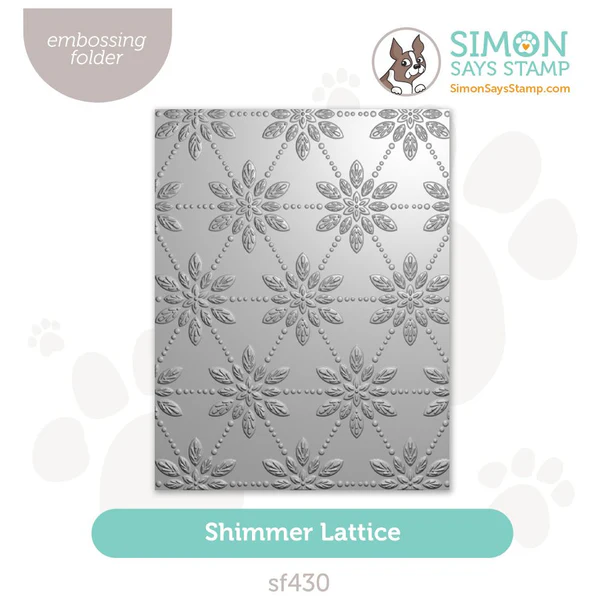
This watercolor effect is an old favorite technique that I normally use with Distress Ink and decided to try here with a Pawsitively Saturated Ink. I went back to the Shimmer Lattice embossed background that I just used in the Ginger Couple Card, but it shifts from homey and cute to elegant here. As bold as this card is, somehow it gives me a sense of calm and serenity, so I am hopeful it has the same effect on you.

Time for Key Supplies!
Get Your Supplies!
Click on the image below to SHOP THE ENTIRE release OR
SHOP the Supplies section at the bottom of this post
Today's GIF!
I have SO many questions about this. I also think I prefer my craftroom leaf activities!
Like this card and my CORNY GIFs? CLICK BUTTON BELOW
to sign up for blog updates:
ABUNDANT LEAF CHRISTMAS CARD - Embossing, Die-Cutting and Watercolor Inking
Card Size: 4 1/4" x 5 1/2"

COLOR PALETTE
Pawsitively Saturated Ink Pad - Royal

PROJECT WALKTHROUGH
EMBOSSING
Trim White Cardstock to 4" x 5 1/4".
Emboss the cardstock using the Shimmer Lattice Embossing Folder.
Adhere foam tape to the back of the embossed panel.
Adhere the embossed panel to a white card base.

INKING & DIE-CUTTING
Use the Royal Ink Pad to apply ink directly to the craft mat. I used too much ink in the photo below, applying the pad twice is enough.
Spray the ink with water using a Distress Sprayer to create little inky puddles.
Dab sections of a piece of 4 1/4" x 5 1/2" Distress Watercolor Cardstock nto the ink, leaving some cards white.
Dry with a heat tool on a low setting.
Repeat steps 3 and 4 until you have deeply blue somewhat even coverage, with a few white patches.
Spritz the cardstock with the Distress Sprayer to create water droplets scattered across the cardstock.
Let the droplets sit for 15 - 20 seconds and then cover/dab with papertowel to soak up the excess water and ink.
Dry with a heat tool on a low setting.
Repeat steps 7 and 8 untl you have a mottled watercolor background as shown below.
Die-cut the background using the Abundant Leaf Background Die.
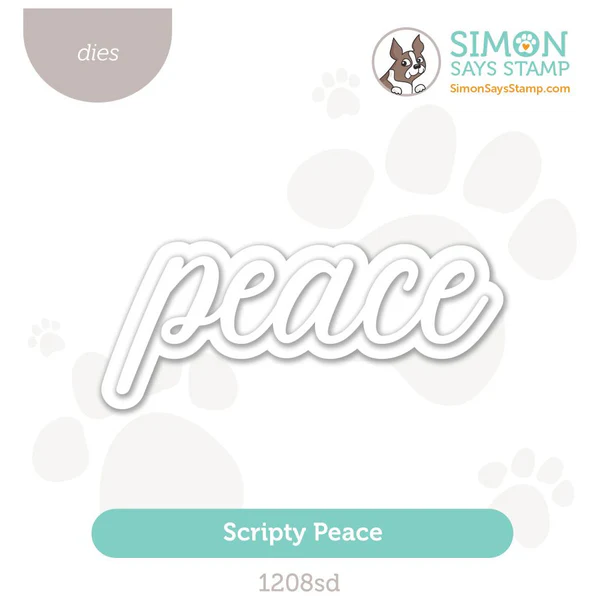
Die-cut a piece of Vellum using the outline layer of the Scripty Peace Die set.
Die-cut a piece of Silver Glitter Cardstock using the sentiment layer of the Scripty Peace Die set.
Apply Craft Glue to the Peace sentiment and adhere to the Vellum layer.

FINISHING
Apply Craft Glue to the back of the die-cut.
Adhere to the embossed background.
Apply Craft Glue to the back of the layered sentiment die-cuts.
Adhere towards the top of the Abundant Leaf watercolor background layer.
Trim and use a foam tape strip to adhere the Reverse Gratitude Sentiment Strip to the card front.
Use Craft Glue to adhere the Clear Gems to some of the Abundant Leaf berries to finish.


Placing an embossed layer beneath the Abundant Leaf die-cut adds more texture and interest to the card front.

The Clear Gems play off of the silver glitter sentiment and help the card sparkle.

I never get tired of the magic that ink and water can create!

I choose blue, but if that's not your jam, it would be great if you can try this in your favorite color(s)!

Drop me a comment and say hi!
SUPPLIES:
I listed the products that I have used below. Please note that these are compensated affiliate links, used at no cost to you. I really appreciate your support. All stamps used today were part of my Festive Fun maker package from Simon Says Stamp. Click on the icons below each product picture to shop with SimonSaysStamp.com.


Finding the right help for assignments can be tough, but a term papers writing service truly stands out. They offer affordable rates, timely delivery, and high-quality work. I’ve been impressed with their professionalism and attention to detail. A must-try for students aiming for academic success!
What a beautiful card and the deep blue is peaceful! One of my favorite looks and you've given me an idea of how to make a similar card.
The blue really sells it and I would never have thought to make greenery blue
That blue leaf card is beautiful.