Simon Says Stamp - All The Joy Release Blog Hop, Day 1
- Keisha Diann

- Nov 2, 2023
- 3 min read

Hi Lovelies!
Welcome to Day 1 of Simon Says Stamp's All The Joy Release Blog Hop! I've got a festive card that shimmers and sparkles for you today.
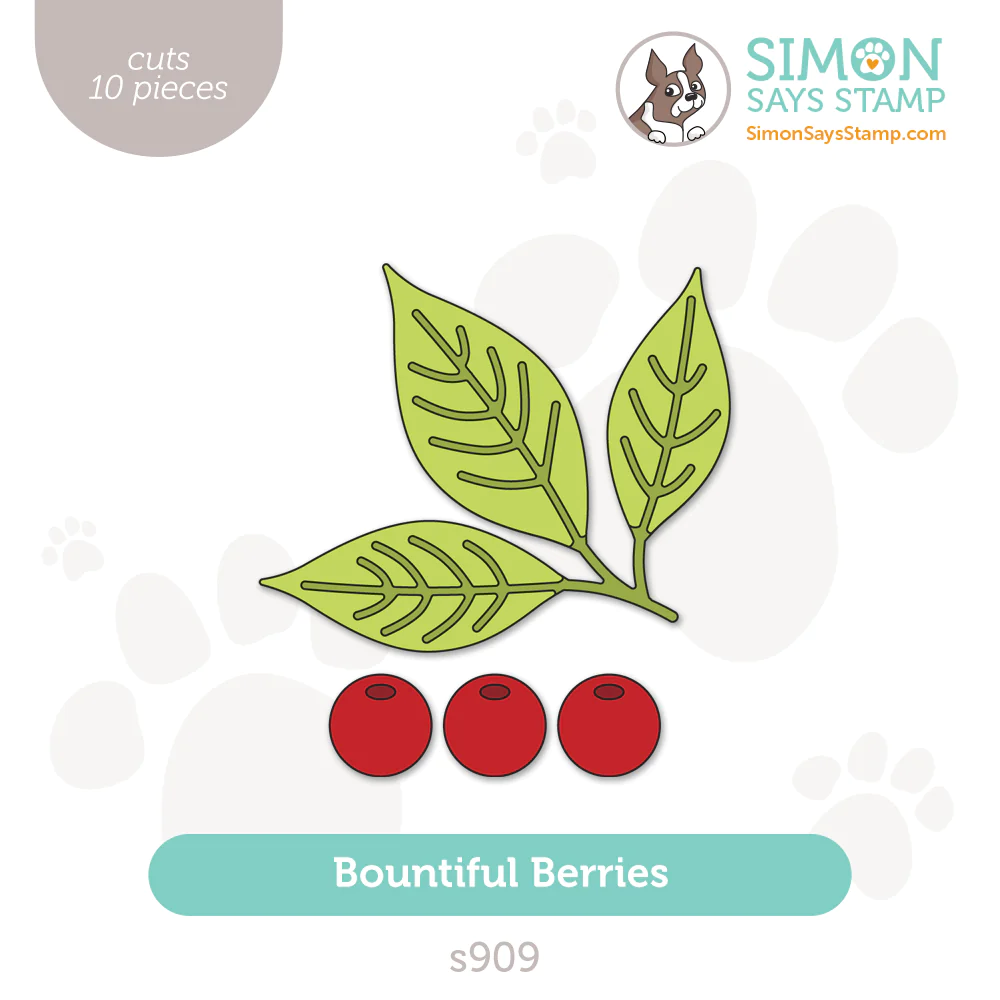
We going to use a stash of Distress Ink water-colored backgrounds on our gorgeous Bountiful Berries die-cut for a painterly effect amid all that bling!

Simon Says Stamp has a rainbow of Glitter Cardstock that I will be using all month in my project for some "in-your-face" sparkles, but we will also add a more subtle shimmer with one of my favorite sprays.
Now let's review the key supplies for today's project:
Supplies are linked throughout the post and then again in the Supplies Section at the end of this post. Check out the entire All The Joy release by clicking the image below:
Today's GIF!
Doing my happy dance because my favorite season is almost here!
Like this card and my corny GIFs? CLICK BUTTON BELOW
to sign up for blog updates:
JOYFUL CARD
Card Base: 4 1/4" x 5 1/2"
Embossed Layer: 4 " x 5 1/4"
Featuring:
Distress Ink Pad/ReInker - Festive Berries, Aged Mahogany, Crushed Olive, Peeled Paint

COLOR PALETTE
Distress Ink (ReInkers or Pads): Festive Berries, Aged Mahogany, Peeled Paint and Crushed Olive
CARD WALKTHROUGH
EMBOSSED CARD FRONT
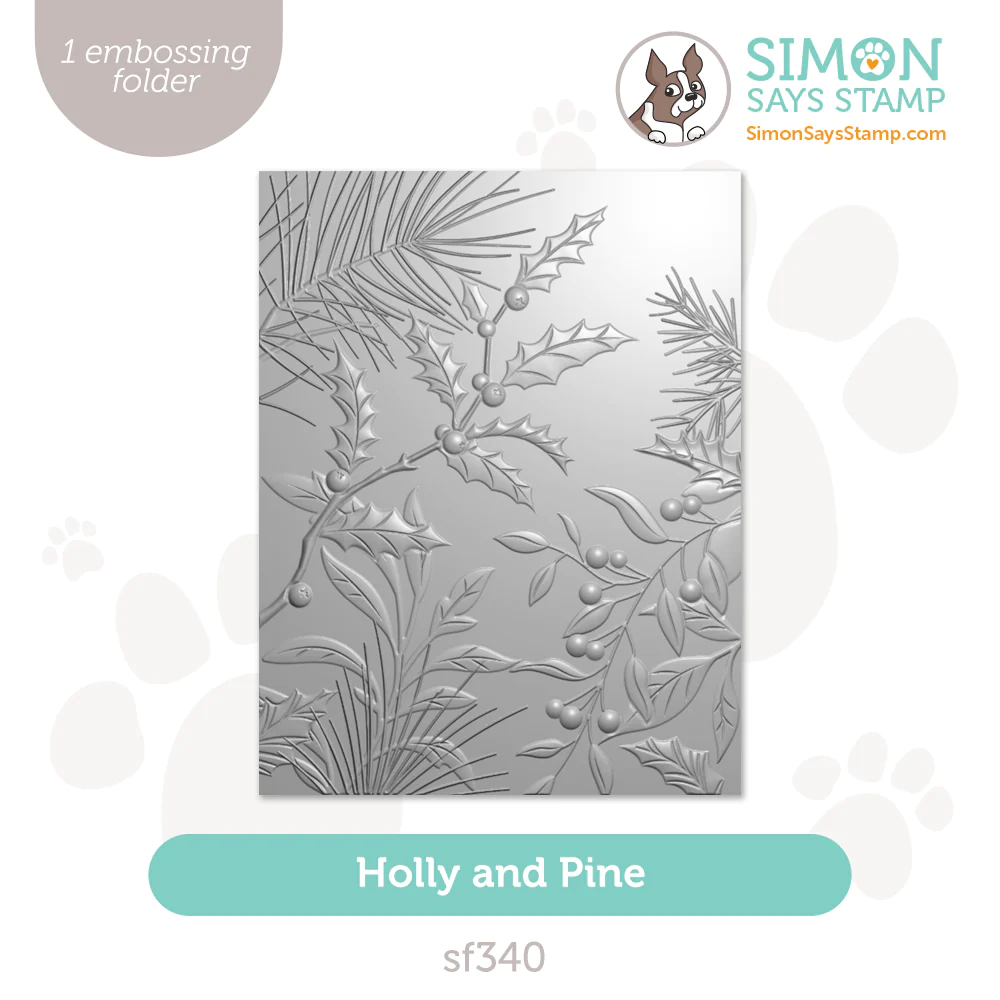
Emboss a piece of Distress Watercolor Cardstock using the Holly and Pine 3D Embossing folder
Mist the embossed panel with Tsukineko Sheer Shimmer Spray and set aside to dry
WATERCOLOR BACKGROUNDS
I keep a stash of backgrounds to die-cut for projects as needed. Here's a little rainbow of a few of them for some eye-candy!

The best way to explain how to make the backgrounds is to show you. Take a peek at the video below for a full walkthrough and then make 4 distress Watercolored Backgrounds using the following colors: Festive Berries, Aged Mahogany, Crushed Olive, Peeled Paint
TIP: You can speed up the process a lot and shorten the drying time by dabbing up some of the water on the inked paper with a paper towel (after letting it sit for about 10 seconds) and then completing the drying process with a heat tool. Repeat the inking, dabbing and drying process to create more splotches/variations in the background.
DIE-CUTTING
Using the backgrounds, die-cut the Bountiful Berries Layers as follows:
Berries Top Layer - Festive Berries
Berries Bottom Layer - Aged Mahogany
Leaves Top Layer - Crushed Olive
Leaves Bottom Layer - Peeled Paint
Layer the Berries and leaves and adhere with Craft Glue
Die-cut the Joyful sentiment (word) out of Crimson Glitter Cardstock
Die-cut the Joyful sentiment (outline) out of Vellum
Layer the sentiment and adhere with Craft Glue
Die-cut the Rustic Sprig out of Gold Glitter Cardstock
ASSEMBLY
Arrange and adhere the Rustic Sprig and Bountiful Berries die-cuts on top of the embossed panel
Pop-up the sentiment with Foam Squares and adhere to the embossed panel
Adhere the embossed panel with Craft Glue to an A2 card base
The shimmery mist makes the embossing even more special

Why stop with ONE type of shimmer when you can have glitter too??? :-)

I think that the watercolor backgrounds give the die-cuts a pretty painterly effect.

A very festive addition to your Holiday Card options!

Last look!

I want to make sure that you get the most of today's blog hop, so please take note Lovelies:
Be sure to explore the All The Joy Gallery that is packed with inspiration from this release!!!
Don't forget to snag your Holy Stars Stencil by following the steps below:

Comment to on this post to be eligible to win a $25 coupon from Simon Says Stamp. Winners will be chosen and posted on the Simon Says Stamp blog on Wednesday, the 8th of November. Winner should email Simon Says Stamp to claim their prize
Check out the full supply list below for your shopping convenience
Thanks again for stopping by and I hope to see you again soon Lovelies! Now, do go and check out what the oh-so-so-creative Bibi Cameron has in store for you!
HOP ORDER:
SUPPLIES:
I listed the products that I have used below. Please note that these are compensated affiliate links used at no cost to you. I really appreciate your support. Simon Says Stamp's All The Joy Release products were provided as part of my Design Team package. Click on the icons below each product picture to shop with SimonSaysStamp.com.


Kaiser OTC benefits provide members with discounts on over-the-counter medications, vitamins, and health essentials, promoting better health management and cost-effective wellness solutions.
Obituaries near me help you find recent death notices, providing information about funeral services, memorials, and tributes for loved ones in your area.
is traveluro legit? Many users have had mixed experiences with the platform, so it's important to read reviews and verify deals before booking.
I love how you combined the products. So pretty!
So pretty. Love the glitter
So pretty and sparkly and I like the embossed background.
Oh so elegant.