
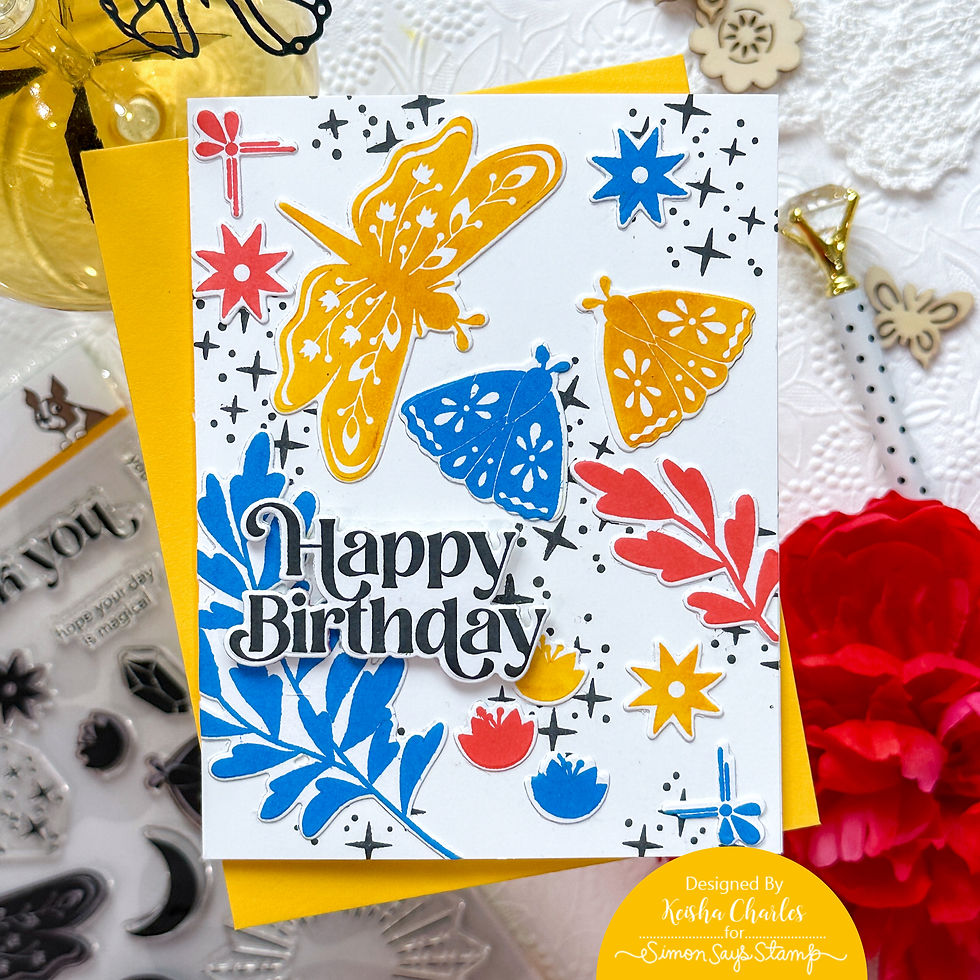
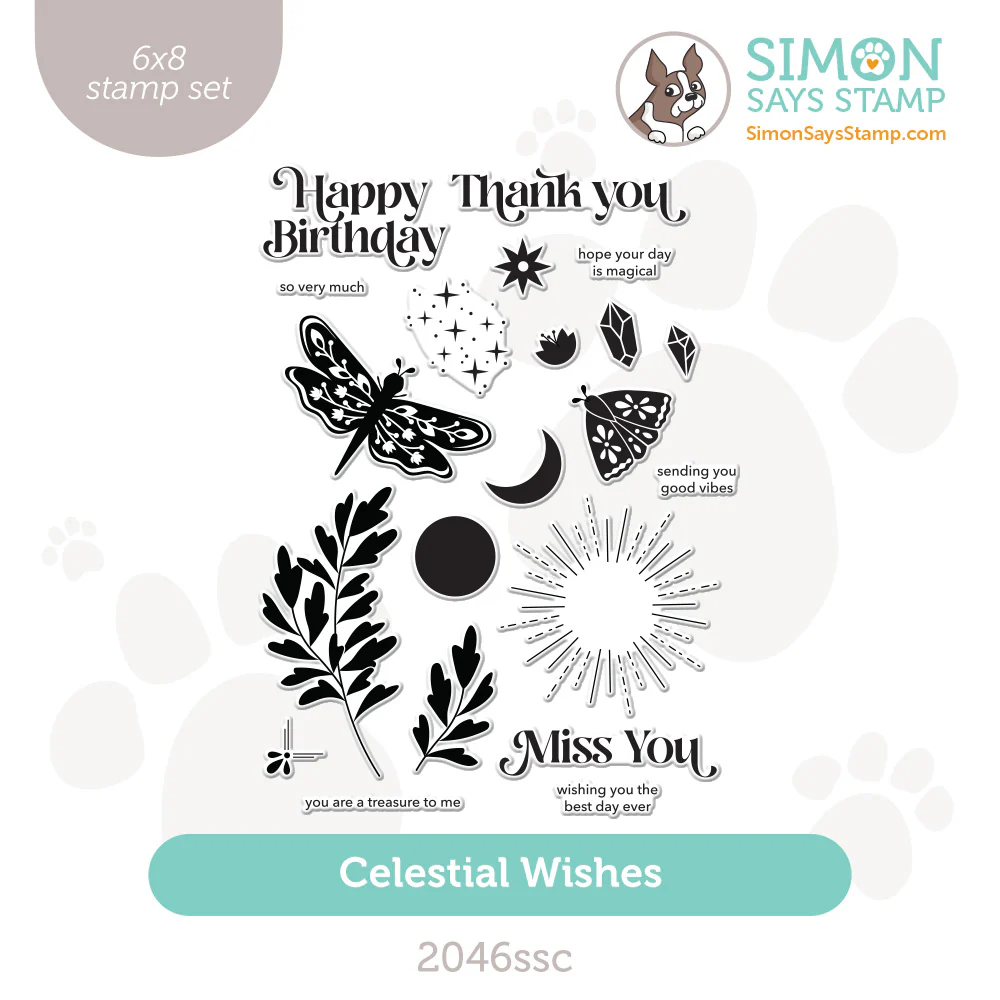
Hello Lovelies! It took we a while to get to the whimsical Celestial Wishes Stamp Set which features in the May 2024 Card it as well as in the Celebrate Release. When I look at it, I was thinking of folk art which for some reason took me in a primary color palette direction.
It's such a pretty set that I may give another chance with a bit more of a galaxy night sky look, but I'm pretty happy with these oddball, bright colors as well.
Time for Key Supplies!
Get Your Supplies!
Click on the image below to SHOP THE ENTIRE release OR
SHOP THIS CARD using the links throughout the post OR
SHOP the Supplies section at the bottom of this post
Today's GIF!
Happy Birthday!!!
Like this card and my corny GIFs? CLICK BUTTON BELOW
to sign up for blog updates:
CELESTIAL HAPPY BIRTHDAY CARD - Stamping, Die-cutting and Collage
Card Base: 4 1/4" x 5 1/2"

COLOR PALETTE
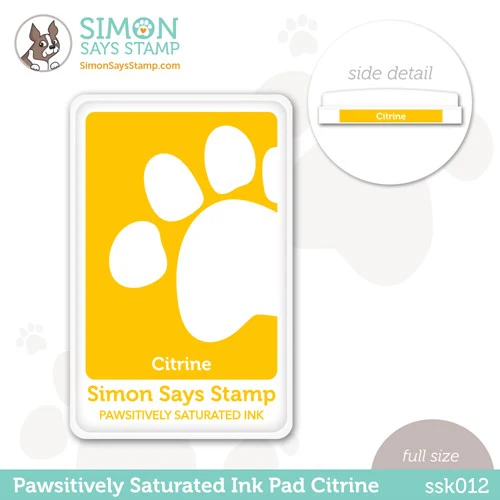
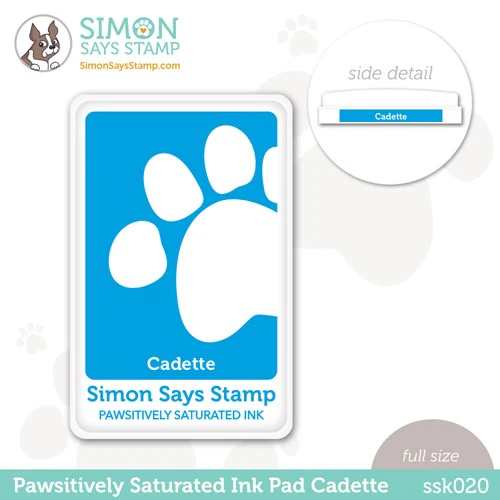
Simon Says Stamp Pawsitively Saturated Ink Pads - Crimson, Citrine and Cadette
I bought the Versafine Clair Ink Pads a long time ago but have not used them much in stamping and they are also delightful, giving clean vibrant images using pigment inks. Colors below:
Versafine Clair Ink Pads - Tulip Red, Cheerful, Blue Belle and Nocturne.

CARD WALKTHROUGH
STAMPING
Adhere a 4 1/4" x 5 1/2" piece of white cardstock to a Stamp and Stencil Mat.
Stamp randomly in Intense Black/Nocturne Ink
Stamp the selected flora, fauna, sentiment and decorative images from the Celestial wishes set in the primary colors shown. I was not sure which I was going to use so I made several sets in each color.
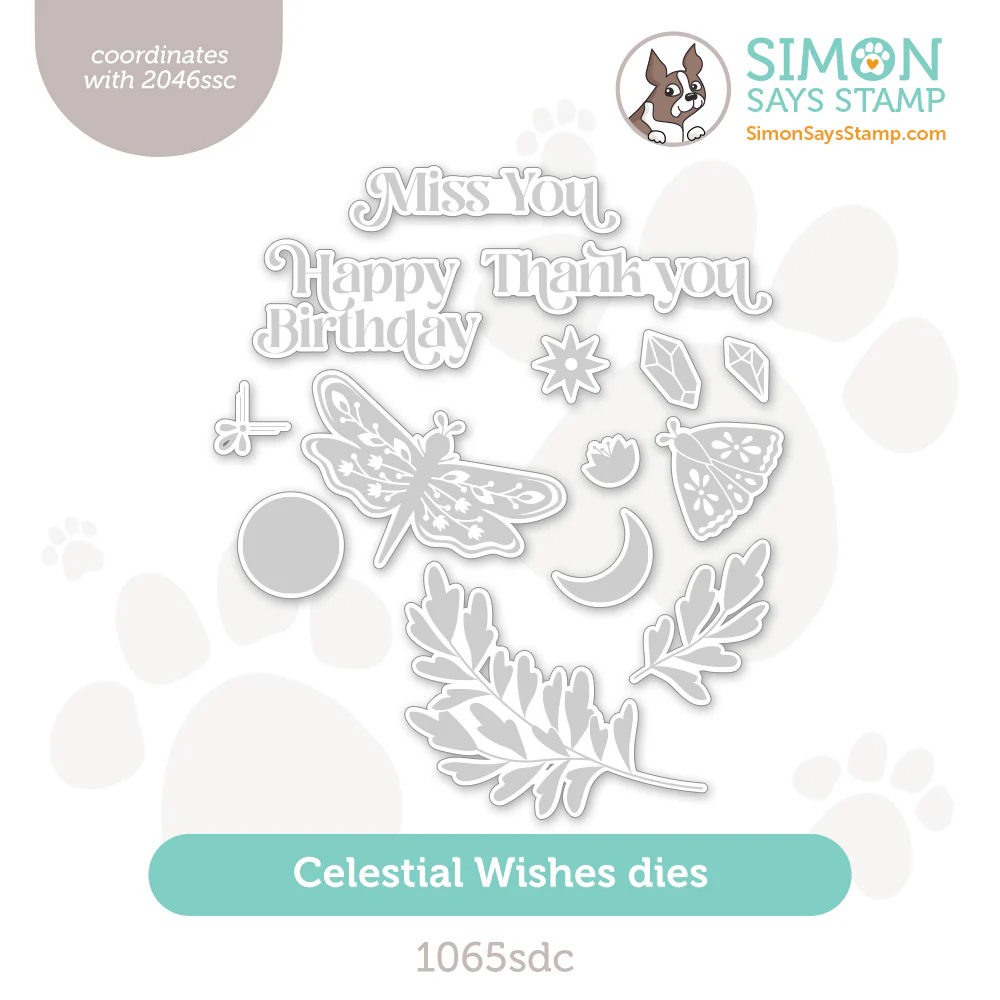
Die-cut the stamped images.
Arrange the die-cut images on the background and cover with Glad Press & Seal Wrap.
Press to adhere the die-cuts to the wrap in your preferred arrangement and lift them away from the background.
Flip the wrap over to reveal the plain side of the die-cut and apply craft glue.
Position the wrap over the background and press the die-cuts on the background through the wrap to adhere. Gently pull away the wrap to reveal the adhered collage.
Pop-up the sentiment with foam dots and adhere to the collage card front.
Adhere the card front to a card base to finish.

Collaging is fun, you can create patterns and scenes with your die-cut elements.

The black sentiment ties the background to the rest of the collage.

Someone said that this is a happy card... I think so too!

Thank you SO much for stopping by! Drop me a comment and say hi!
SUPPLIES:
I listed the products that I have used below. Please note that these are compensated affiliate links, used at no cost to you. I really appreciate your support. All stamps used today were part of my Celebrate maker package from Simon Says Stamp. Click on the icons below each product picture to shop with SimonSaysStamp.com.






I just LOVE these colors!!