

Simon Says Stamp - Cheering For You Release Blog Hop, Day 1
- Keisha Diann
- Jul 26, 2024
- 4 min read
Updated: Jul 27, 2024

Hi Lovelies!
Welcome to Day 1 of Simon Says Stamp's Cheering For You Release Blog Hop! For a long time I used to avoid Shaker Card, but today's Infinity Shaker is the easiest one you can make.
We're going to ink and Spritz our die-cuts and distress our stamped background. It could get slightly messy, but that entirely part of the fun!

I don't know how I ended up with a Fall color scheme, but I didn't want a rainbow here, so we have major Autumn vibes instead. :-)
Why don't we get started then by reviewing the key supplies for today's cards:


Supplies are linked in the Supplies Section at the end of this post. Check out the entire Cheering For You release by clicking the image below:

Today's GIF!
Everybody LOVES a Shaker!
Like this card and my corny GIFs? CLICK BUTTON BELOW
to sign up for blog updates:
SENDING LOVE SHAKER CARD
Card Base: 4 1/4" x 5 1/2"

COLOR PALETTE
Pawsitively Saturated Ink Pads - Wild Honey, Peacock Feathers, Picked Raspberry

Distress Spritz - Peeled Paint, Fossilized Amber, Spiced Marmalade, Picked Raspberry, Wilted Violet

CARD WALKTHROUGH
EXQUISITE HUMMINGBIRD
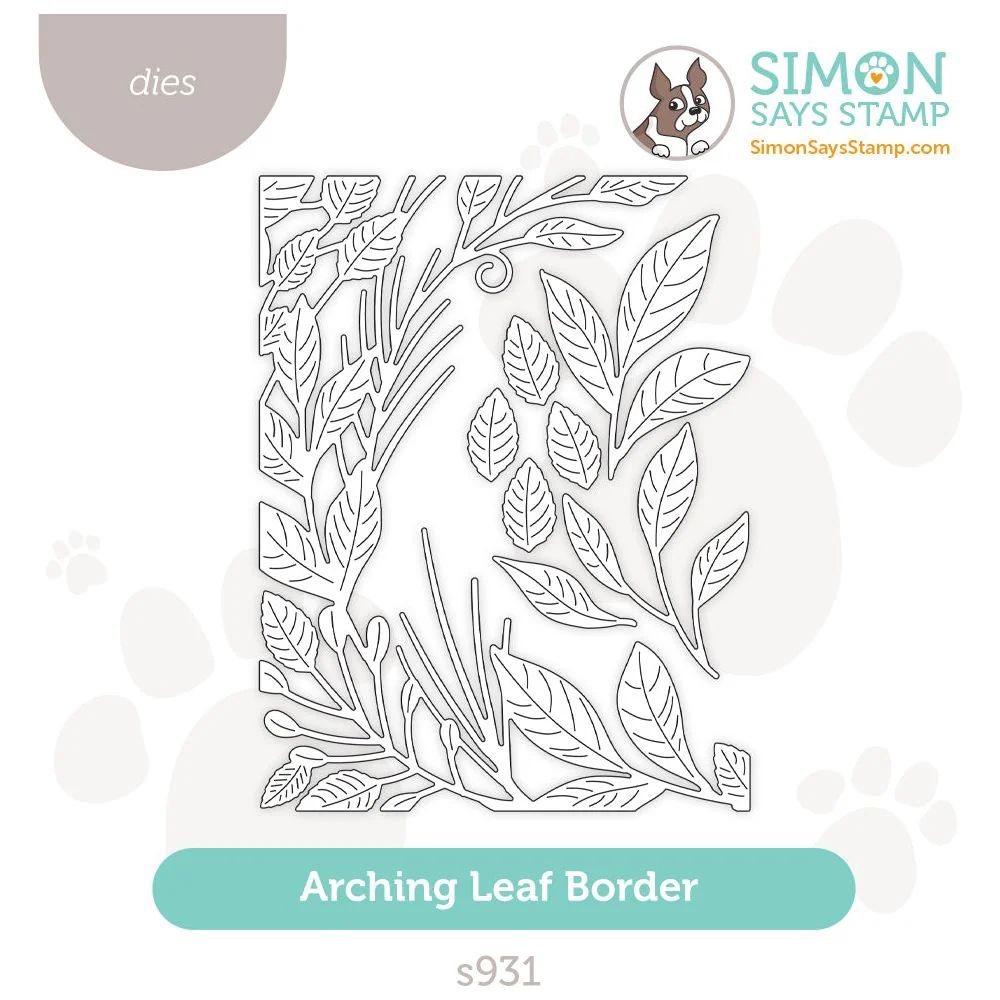
Die-cut Distress Watercolor Cardstock using the Arching Leaf Border die, leaving the die-cut in place within the cardstock
Use the 3 selected colors to mix and using a Small Blending Brush blend the colors shown on the inked die-cut below


SPRITZING
Place the inked die-cut into a Splat Box or any similarly sized cardboard box.
Lightly spritz each section with the corresponding Spritz.


DISTRESSING BACKGROUND
Stamp the Old Letter background stamp using Distress Spiced Marmalade onto Lemon Chiffon Cardstock measuring 4" x 5 1/4"
Use a Large Blending Brush to blend Mustard Seed Distress Ink onto the background panel
Spray the background panel generously with water using a Distress Sprayer until the ink begins to run. Let sit for about 10 seconds and then use a Pawsitively Perfect Microfiber Cleaning Cloth to absorb the excess moisture. Dry with a heat tool.
Repeat the spray and drying process
Use Craft Glue to adhere the background panel to a 4 1/4" x 5 1/2" piece of 110lb white cardstock. OPTIONAL: Place a clear acrylic block over the panel to help stick the panels together.
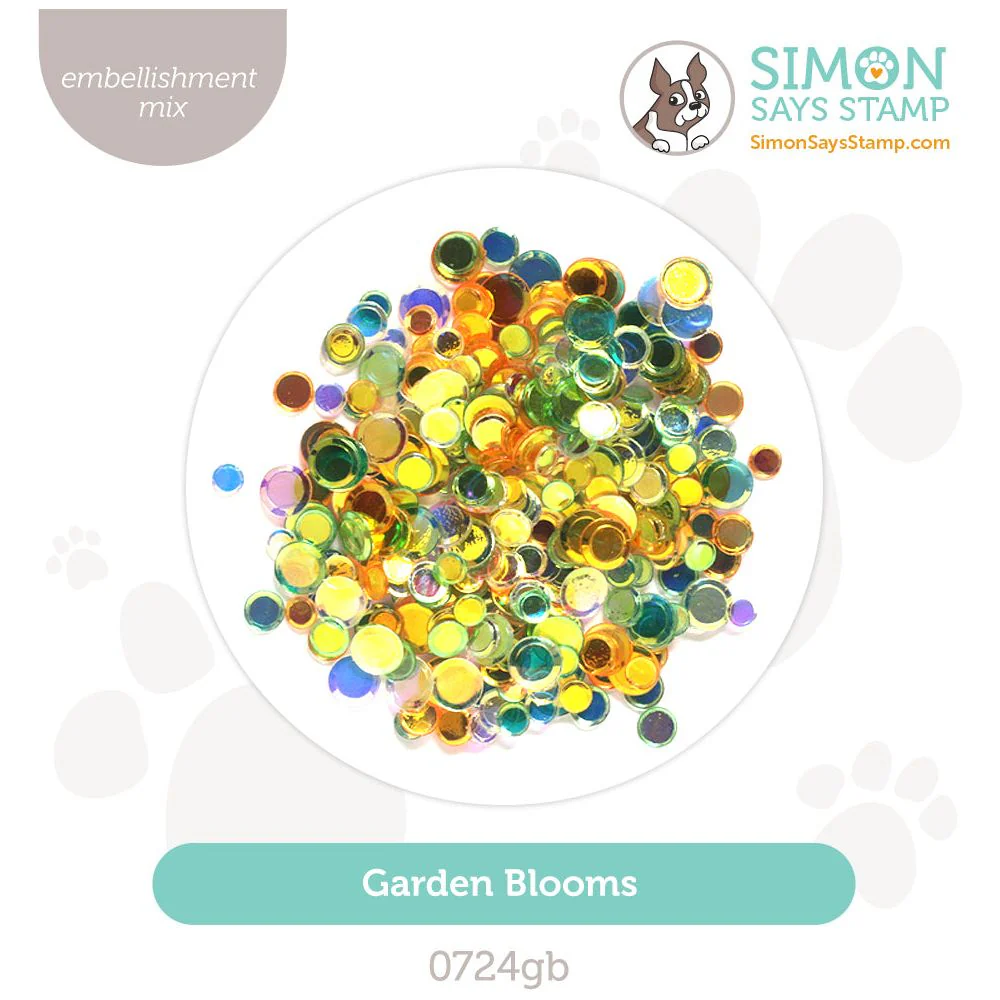
Place a mix of Garden Blooms and Summer Sunset sequins onto the center of the layered panel


CREATING THE SHAKER PANEL
Remove the dried Arching Leaf Border die-cut from it's cardstock "background"
Apply Craft Glue to the reverse side and let sit for about 20 seconds
Apply the die-cut to the front of a Waffle Flower SHAKER COVER A2 Infinity as shown (notice the center sticker)
Once the die-cut is adhered, remove the clear protective film from the side with with the sticker
Fold over the side flaps on each of the four sides of the Cover and then remove the protective 3M backing from the adhesive
Adhere the Cover to the distressed background with the sequins in the center


CREATING THE SENTIMENT
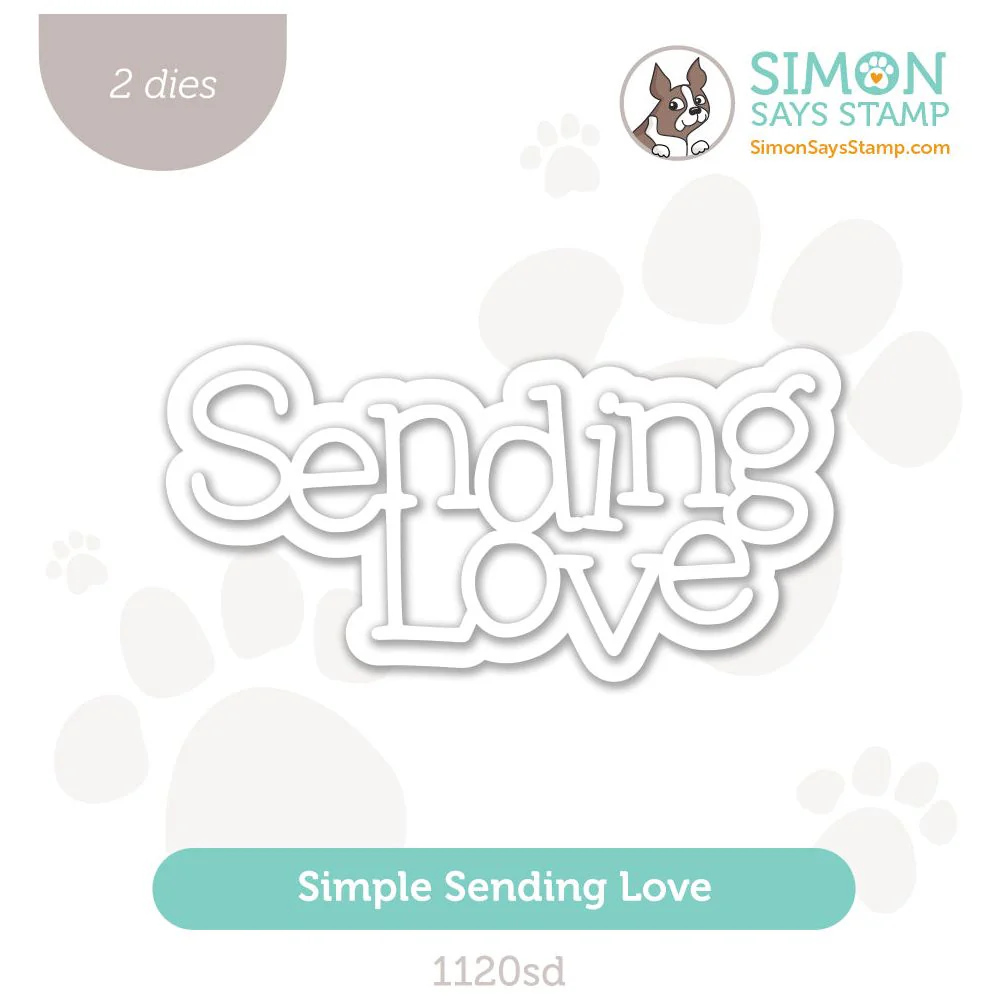
Die-cut the Simple Sending Love sentiment out using Matte Gold Cardstock for the word and Vellum for the outline
Use Craft Glue to adhere the word to the outline and then apply more craft glue to the back side of the vellum, tracing the word (to keep the glue out of sight) and let sit for 20 seconds
Apply the sentiment to the front-center of the Shaker Panel


FINISHING
Adhere the Shaker Panel to a Card Base using Craft Glue
Adhere about 5 more sequins to the front of the Shaker Panel using Craft Glue and a Place and Score Embellishment Wand to position the sequins

I may have used "Fall" colors, but those sequins are pure Summer!

The sentiment is somewhat translucent, but still manages to standout amongst all those textures.

I love how Distress Spritz added a color-coordinated shimmer across the changing hues of the leafy die-cut!

Just one quick note before I go, I kept the flowers white because there is so much color everywhere else. If you prefer to color the flowers, I would suggest keeping the vellum un-colored.

I want to make sure that you get the most of today's blog hop, so please take note Lovelies:
Be sure to explore the Cheering For You release gallery that is packed with inspiration from this release!!!
Comment to on this post to be eligible to win a $25 coupon from Simon Says Stamp. Winners will be chosen and posted on the Simon Says Stamp blog on Wednesday, the 31st of July. Winner should email Simon Says Stamp to claim their prize
Check out the full supply list below for your shopping convenience
Thanks again for stopping by and I hope to see you again soon Lovelies! Now, do go and check out what the amazing Emily Midgett has in store for you!
HOP ORDER:
SUPPLIES:
I listed the products that I have used below. Please note that these are compensated affiliate links used at no cost to you. I really appreciate your support. Simon Says Stamp's Cheering For You Release products were provided as part of my Design Team package. Click on the icons below each product picture to shop with SimonSaysStamp.com.
Love the colors and composition of the fall card
Wow you really captured the colours of the season in this gorgeous card.
This is gorgeous!
An absolute stunning shaker! So vibrant and unique, with much-appreciated detailed instructions for us to recreate. Oh, and I love your gifs too!
Beautiful shaker share. I like the details shown for easy follow along.