

Simon Says Stamp - CHRISTMAS BLOCK PRINT Gift-card Holders
- Keisha Diann
- Sep 30, 2024
- 2 min read

Hello Lovelies! Giftcard Holders are always needed in my house for those times when it's best to let the recipient "choose their own adventure" when it comes to a gift. I may have run out of time, ideas or I just know that my loved one will appreciate selecting something from their own wish list.
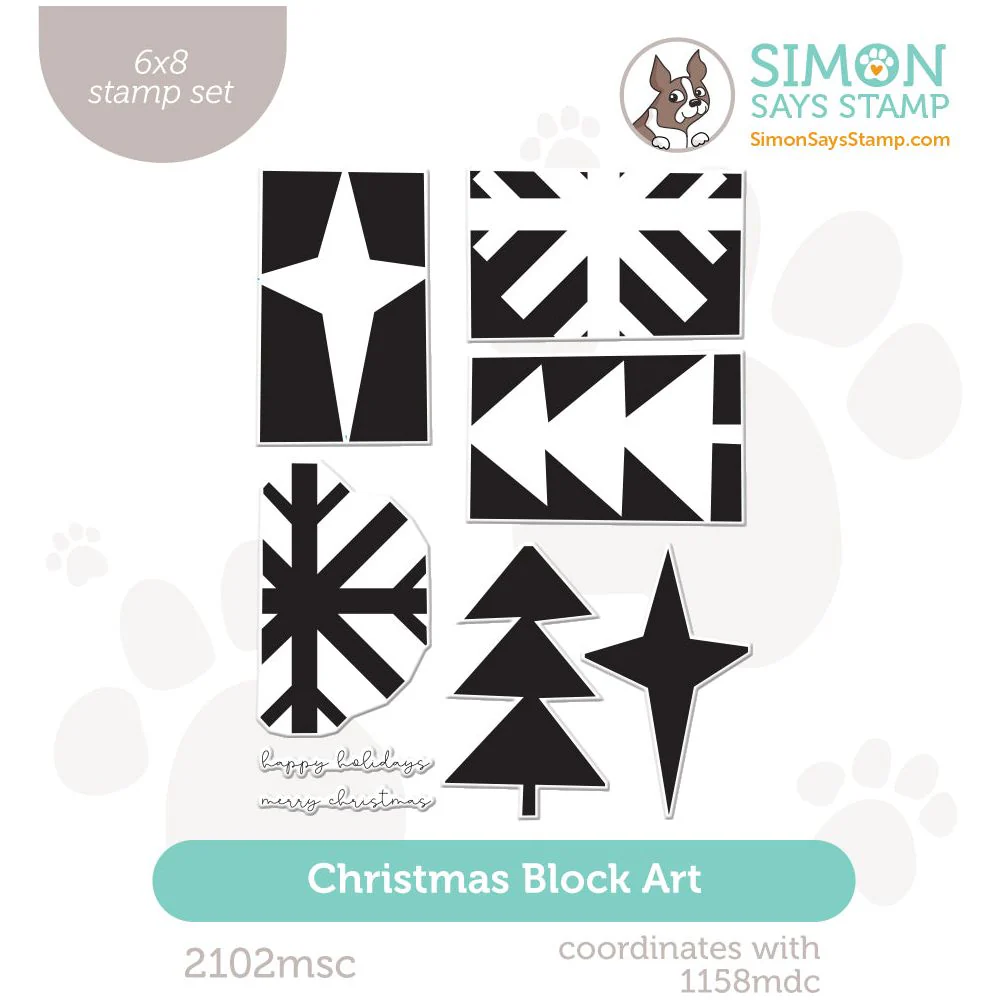
For today's project we will use the Block Print stamp set from the STAMPtember® release to create the "front" of the holder, paired with some old faves to bring the whole project together!

Time for Key Supplies!
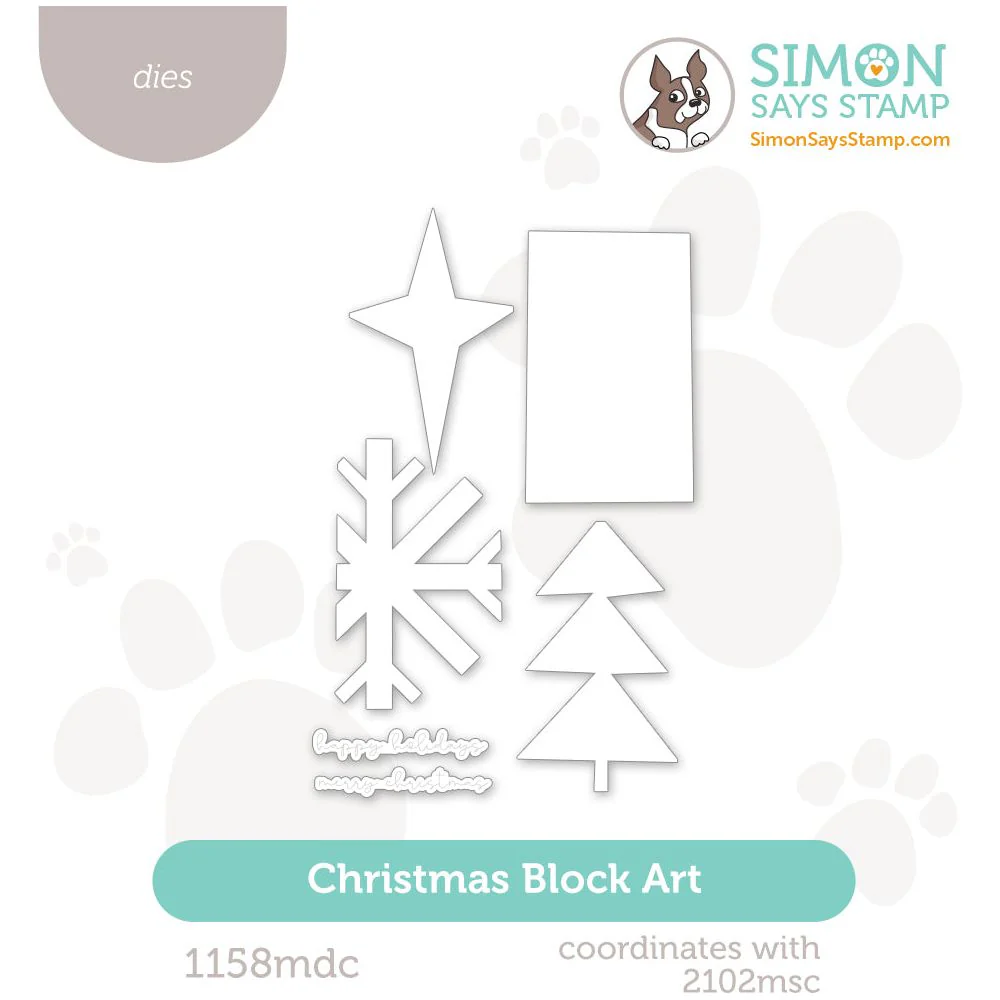
The Modern Postage Rectangles could be skipped if you elect to get the Christmas Block Art Dies, both are not need for this project.


Get Your Supplies!
Click on the image below to SHOP THE ENTIRE release OR
SHOP the Supplies section at the bottom of this post

Today's GIF!
Giftcards for EVERYONE!!!
Like this card and my CORNy GIFs? CLICK BUTTON BELOW
to sign up for blog updates:
CHRISTMAS BLOCK ART GIFT CARD HOLDER - Stamping, Die-cutting
Card Size: 4 1/4" x 5 1/2"

COLOR PALETTE
GIFTCARD FRONT
Pawsitively Saturated Inks - Cabernet, Peony, Guava, Latte
Altenew Fresh Dye Ink - Amy Tangerine Tickled Pink

PROJECT HIGHLIGHTS
DIE-CUTTING AND COPIC "BLENDED" BACKGROUND
Stamp the images onto Neenah Solar White 110lb Cardstock, layering the block print sections as shown.
Die-cut each of the four "prints" using the coordinating die from the Block Print set or the similarly sized Modern Postage die.
Die-cut Kraft Cardstock 4 times using the Pocket Envelope die.
Die-cut the sentiments out of scraps of Neenah Solar White 110lb/80lb Cardstock and Kraft Cardstock using the CZ Designs Holiday Typewriter dies.
Die-cut Luxe Cardstock with the stars and Flamingo Glitter Cardstock with the hearts from the Hearts and Stars Shapes die set.
Adhere the sentiments and stars to the Block Print die-cuts as shown.
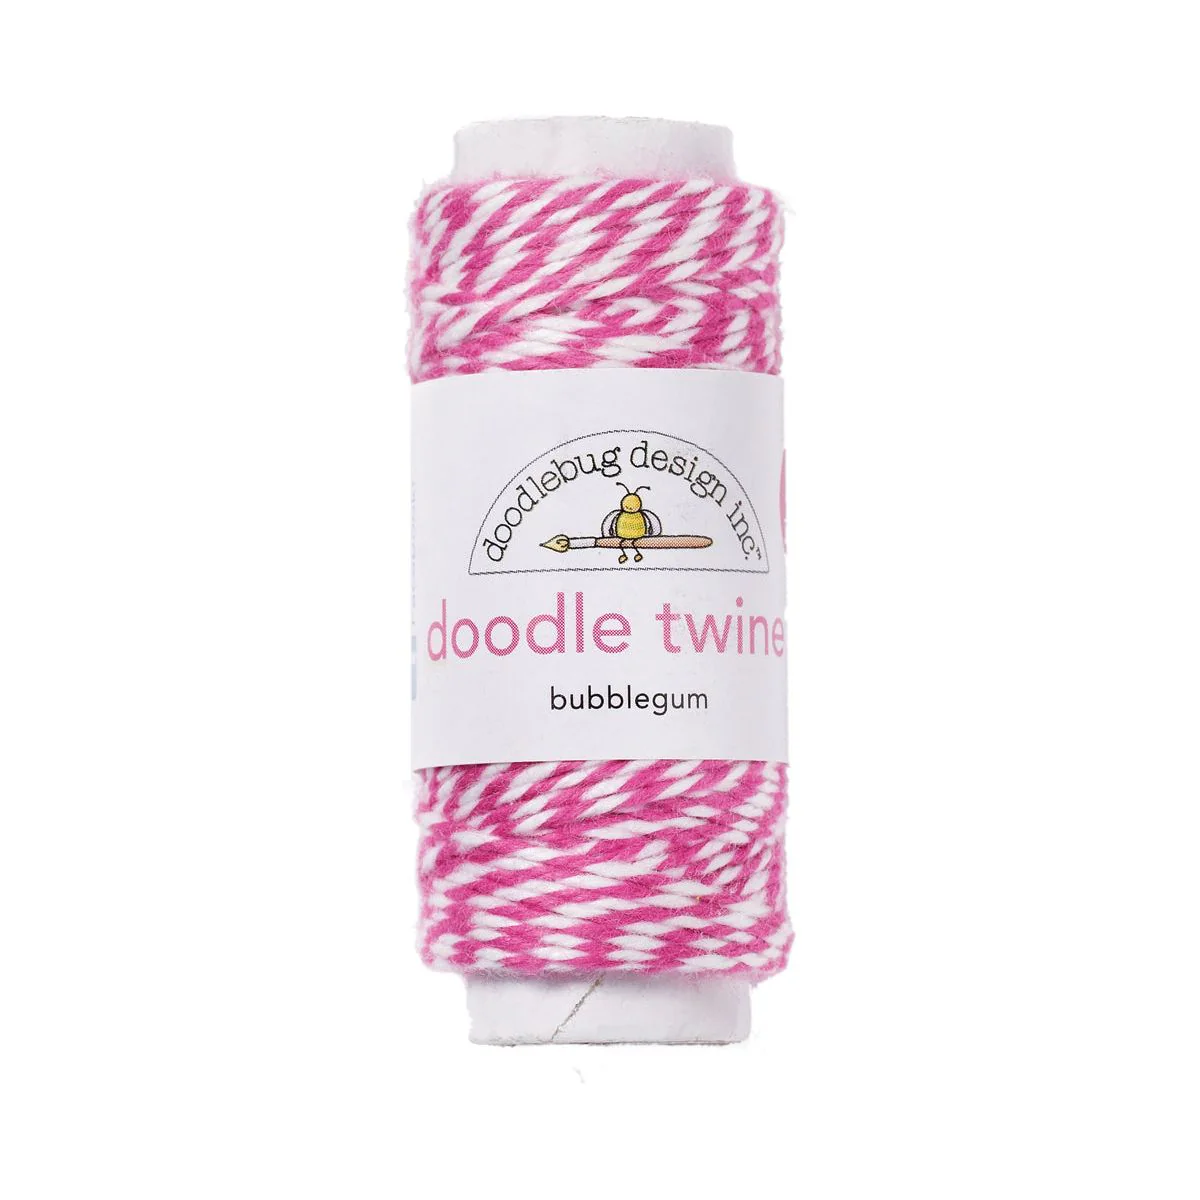
Tie Bakers twine around the Block Print die-cuts and attach Thin Foam pieces to the back and adhere to the middle section of the Pocket Envelopes.
Attach a gift card to the inside middle section using a removable glue dot.
Fold the flaps to cover the gift card, burnish the crease with a bone folder and attach the hearts over the notch where the top flap is inserted into the bottom flap of the Pocket Envelope.


These are as fun to make as they wil be to give!


Last look loves!
Drop me a comment and say hi!
SUPPLIES:
I listed the products that I have used below. Please note that these are compensated affiliate links, used at no cost to you. I really appreciate your support. All stamps used today were part of my STAMPtember® maker package from Simon Says Stamp. Click on the icons below each product picture to shop with SimonSaysStamp.com.
Comments