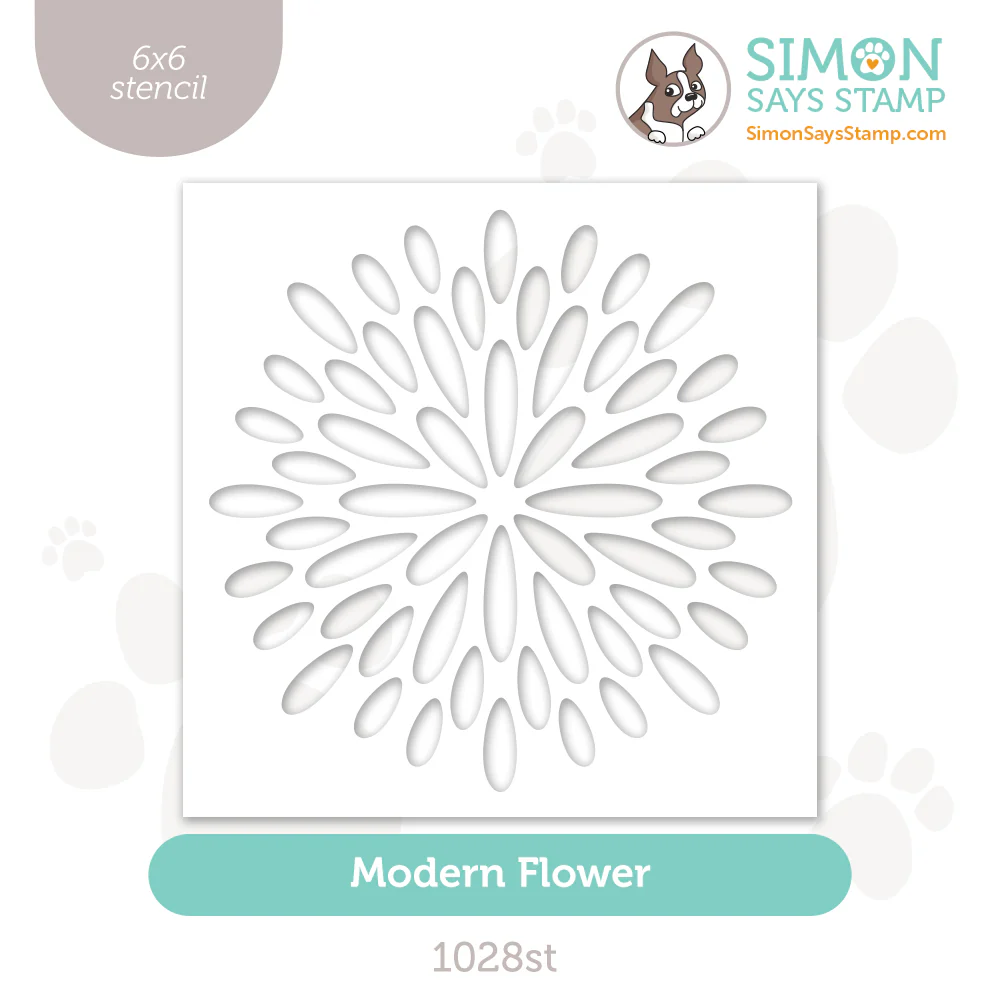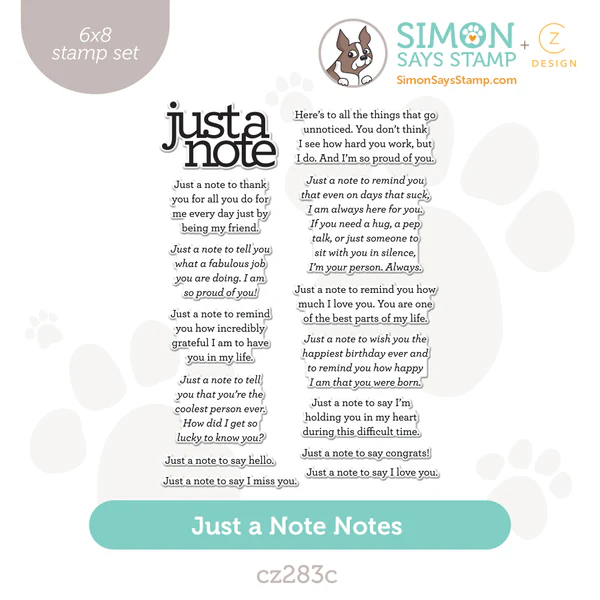
Hello Lovelies! This card makes a statement twice...with a bold image AND a striking sentiment. It is part of a trio of cards where I used the Modern Flower Stencil from Simon Says Stamp's Celebrate Release, however the focus here was on the heartfelt sentiment from the Just a Note Notes Stamp Set from CZ Design.
In today's card we will do two simple techniques, Ombre Stenciling using the new Simon Says Stamp Trio 25 and heat embossing a black image WITHOUT black embossing powder!

Time for Key Supplies!
Get Your Supplies!
Click on the image below to SHOP THE ENTIRE release OR
SHOP THIS CARD using the links throughout the post OR
SHOP the Supplies section at the bottom of this post
Today's GIF!
There's always time to send someone a quick note...perhaps not as angrily as this pup!
Like this card and my corny GIFs? CLICK BUTTON BELOW
to sign up for blog updates:
JUST A NOTE... CARD - Ombre Stenciling, Heat Embossing
Card Base: 4 1/4" x 5 1/2"

COLOR PALETTE
Simon Says Stamp Pawsitively Saturated Ink Pads - Sky, Dusk and Night

CARD WALKTHROUGH
OMBRE STENCILING
Adhere a 6" x 6" piece of white cardstock to a Stamp and Stencil Mat.
Secure the Modern Flower Stencil over the cardstock.
Use Large Blending Brushes and each of the Pawsitively Saturated Inks to apply color through the openings in the stencil as shown. Start with the lightest Sky and then graduating to Dusk and finishing with Night
Remove the stencil and cardstock from the Mat.
Trim to 4" x 5 1/4" as shown.
HEAT EMBOSSING
Adhere the trimmed panel back onto a Stamp and Stencil Mat.
Align the selected Just A Note Notes Stamp Set sentiment to the bottom right of the panel as pictured on the finished card.
Stamp the sentiment in Intense Black ink.
Gently remove from the Mat.
Dust with Clear Embossing Powder.
Heat set using a heat tool to melt the powder and reveal the raised text on the sentiment.
FINISHING
Adhere Rainbow Splash Drops medium and large stickers to the tips and center of the "petals"
Adhere foam tape to the back of the panel.
Adhere the panel to a white card base.

These colors are so dreamy and soft and this gray-blue trio is a welcome addtion to Simon Says Stamp's Pawsitively Saturated Inks.

It was hard to choose which of the Just a Note Notes Stamp Set sentiments to use, but I ended up going with this one becuase it made me think of a specific someone who could use a little encouragement.

Simple and special! Stop overthinking your cards and just go make something!

Thank you SO much for stopping by! Drop me a comment and say hi!
SUPPLIES:
I listed the products that I have used below. Please note that these are compensated affiliate links, used at no cost to you. I really appreciate your support. All stamps used today were part of my Celebrate maker package from Simon Says Stamp. Click on the icons below each product picture to shop with SimonSaysStamp.com.


Comments