

Simon Says Stamp - Darling Duckling Easter Shaker Card
- Keisha Diann
- Mar 31
- 2 min read

Hello Lovelies! Today's Easter Shaker card is an even easier iteration on the previous post, but I've got a brand new adorable friend in a Darling Duckling!
We'll use the same technique to create the embossed ink-blended gradient but the focal point is the shaker window for a Happy Easter wish!

Key Supplies For Easter Shaker Card!

Get Your Supplies!
Click on the image below to SHOP THE ENTIRE release OR
SHOP the Supplies section at the bottom of this post

Today's GIF!
My duckling is both darling and sleepy!
Like this card and my CORNY GIFs? CLICK BUTTON BELOW
to sign up for blog updates:
HAPPY EASTER SHAKER CARD - Ink-blending, Embossing, Die-cutting and Creating a Shaker Window
Card Size: 4 1/4" x 5 1/2"

CARD HIGHLIGHTS
CREATING THE TEXTURED RAINBOW BACKGROUND
Ink 4" x 5 1/4" white cardstock using Large Blending Brushes with Carnation and Sunbeam ink and blend overlapping colors to create the pink-orange-yellow gradient on the left.
Emboss the gradient with the Dotty Diamonds Embossing Folder.
Heat-set to ensure the ink is fully dried.
Lightly drag a Simon Says Stamp White Pigment Ink Pad across the raised surface of the embossed cardstock to highlight the raised dots.


CREATING THE SHAKER WINDOW
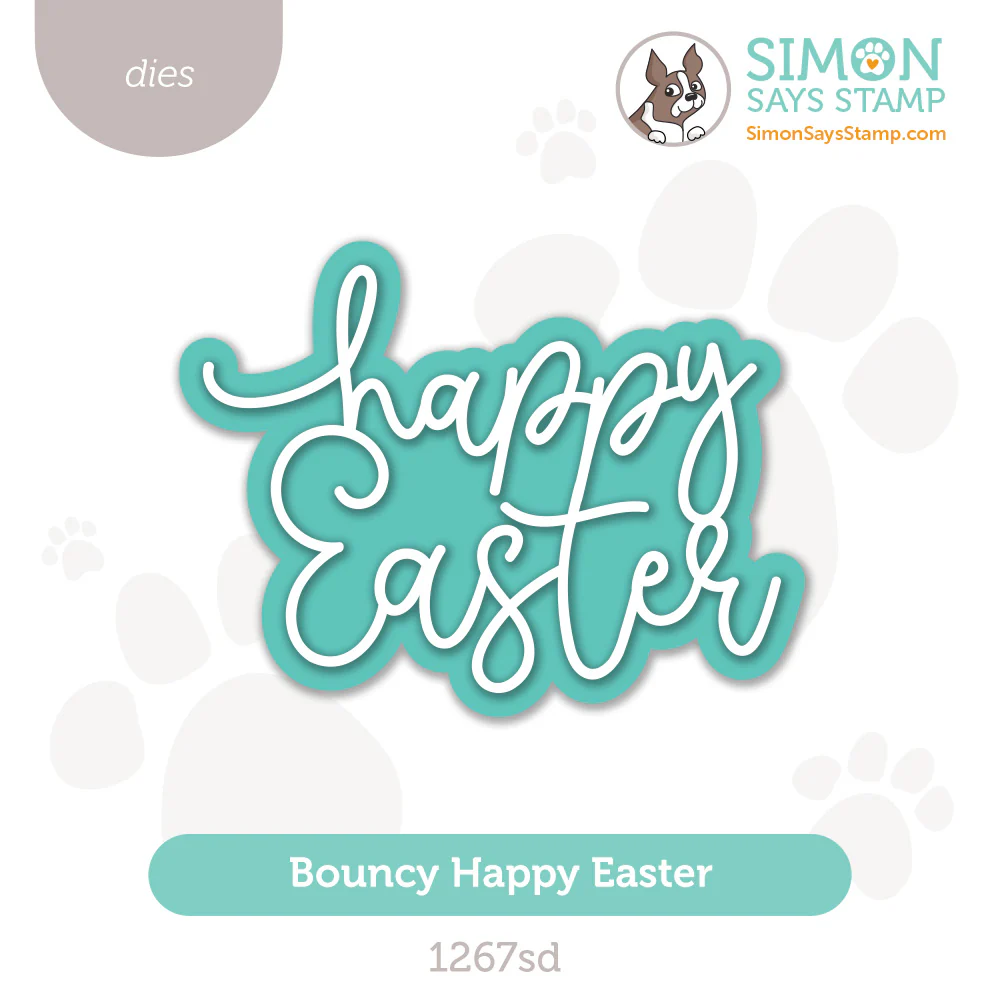
Ink-blend Carnation onto white cardstock and die-cut with the Happy Easter sentiment.
Die-cut a shaker window into the embossed gradient layer using the "Happy Easter" sentiment outline die.
Use double-sided tape to secure a piece of acetate to the back of the embossed layer to create the "window". Using Craft Glue, adhere the die-cut sentiment to the acetate window. Apply foam tape around the perimeter of the opening and the embossed layer.
Secure a folded card-base to your craft surface with painter's tape or similar.
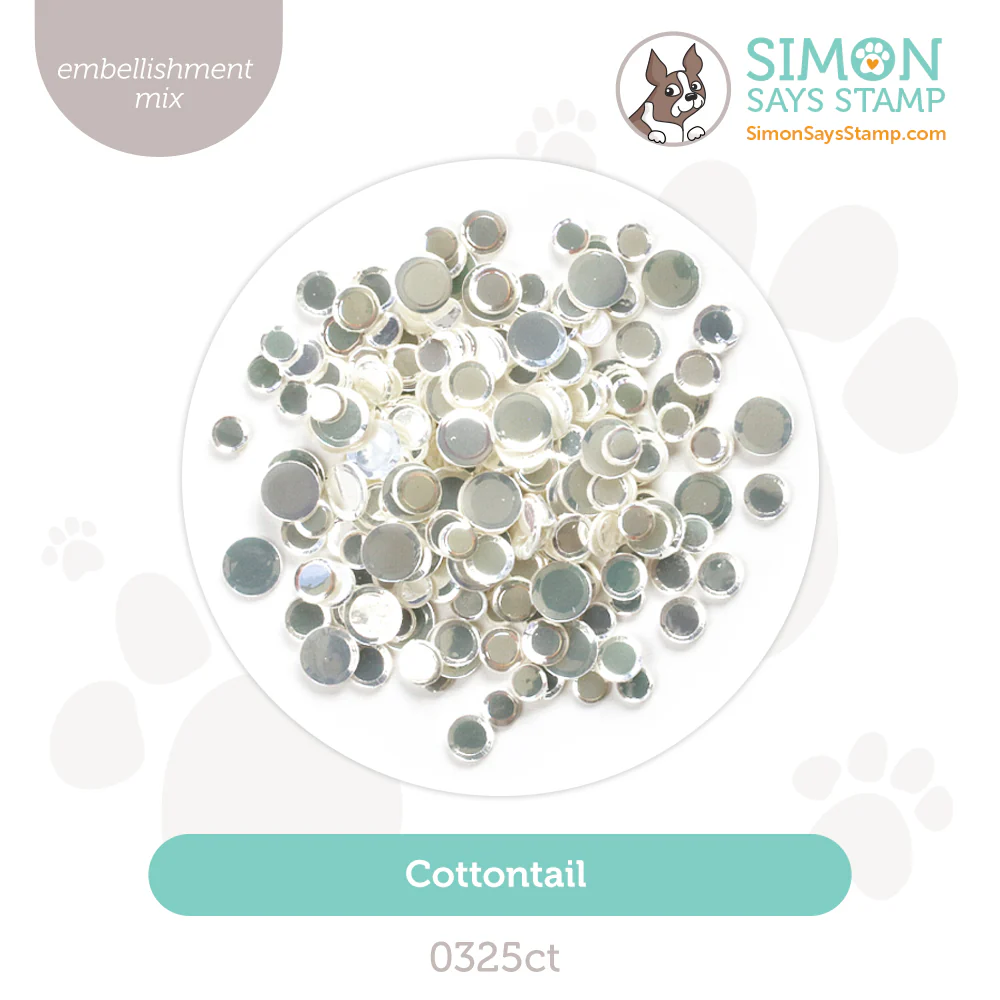
Place a pile of Cottontail sequins in the center of the card base.
Adhere the embossed layer over the sequins.


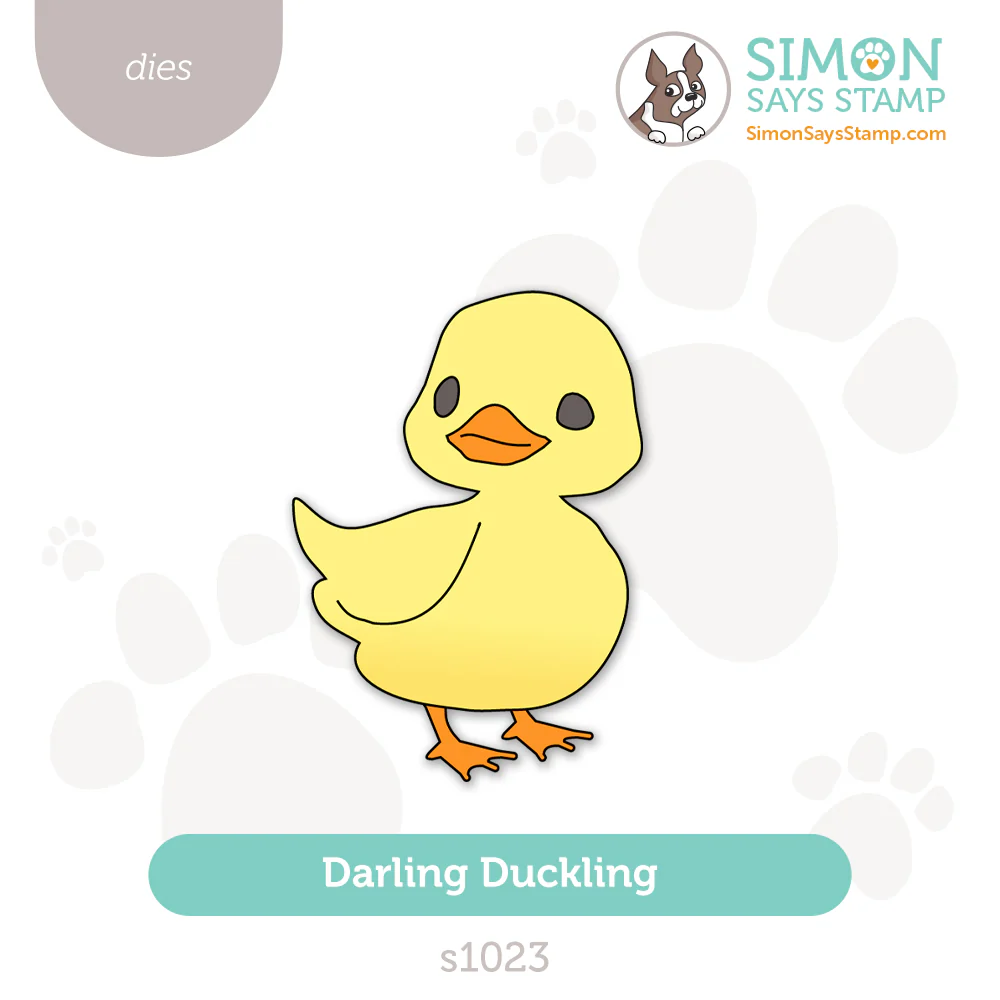
CREATING THE DARLING DUCKLING
Die-cut the Duckling out of white cardstock.
Ink-blend the Duckling body first with Lemonade and then darken areas around the perimeter with Sunbeam. Ink-blend the beak and feet with Grapefruit and finally the base layer of the head with Flannel.
Adhere the layers with Craft Glue to assemble.


FINISHING
Adhere the Duckling to the card front and glue a few more Cottontail sequins to embellish
Trim and adhere the "wishing you a" Sentiment Strip.


Last Look!

Happy Easter Lovelies! Drop me a comment and say hi!
SUPPLIES:
I listed the products that I have used below. Please note that these are compensated affiliate links, used at no cost to you. I really appreciate your support. All stamps used today were part of my Rain or Shine maker package from Simon Says Stamp. Click on the icons below each product picture to shop with SimonSaysStamp.com.
留言