


Hello Lovelies! I'm posting this on a bright and sunny Sunday morning, and I can literally hear the birds in the garden. I don't believe I've heard Hummingbirds before, but you won't hear them either in this sweet Photo Frame project. :-)
This project is all about detailed ink-blending of the Delicate Hummingbird and Swing Blossoms dies, which are part of the Cheering For You release. I thought they would look great hovering above an embossed background, and I added some ink-blending to that too!

Time for Key Supplies!

Get Your Supplies!
Click on the image below to SHOP THE ENTIRE release OR
SHOP the Supplies section at the bottom of this post

Today's GIF!
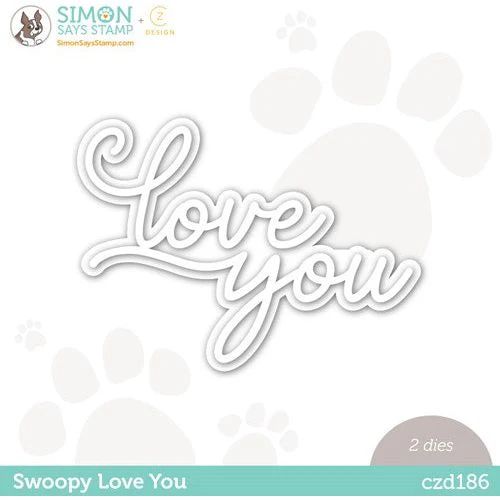
This is also an option to say "I Love You"...
Like this card and my corny GIFs? CLICK BUTTON BELOW
to sign up for blog updates:
DELICATE HUMMINGBIRD LOVE YOU PHOTO FRAME - Die-cutting, Embossing, and Detailed Ink-blending
Card Base: 5" x 5 1/2"

COLOR PALETTE
Pawsitively Saturated Ink Pads - Citrine, Peachy, Carnation, Lilac, Marine, Charcoal, Tropic, Fairway, Limelicious
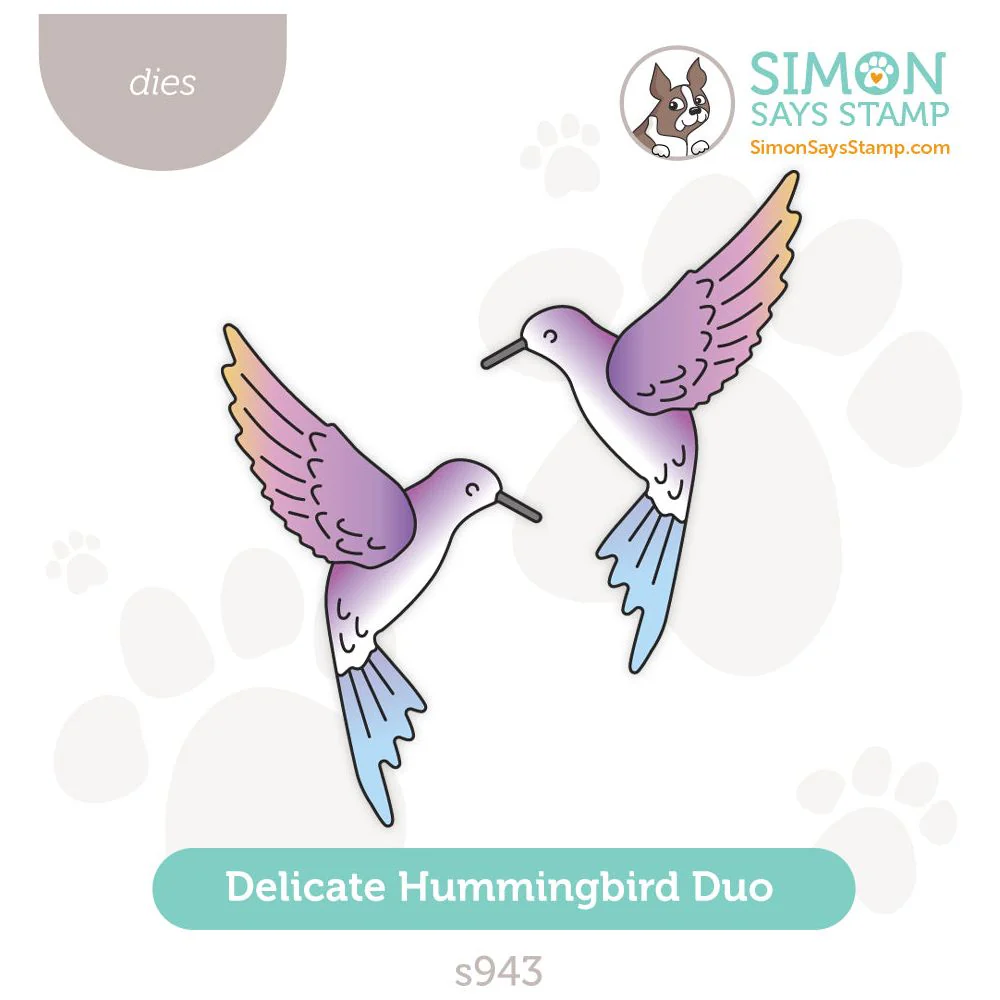
HUMMINGBIRD

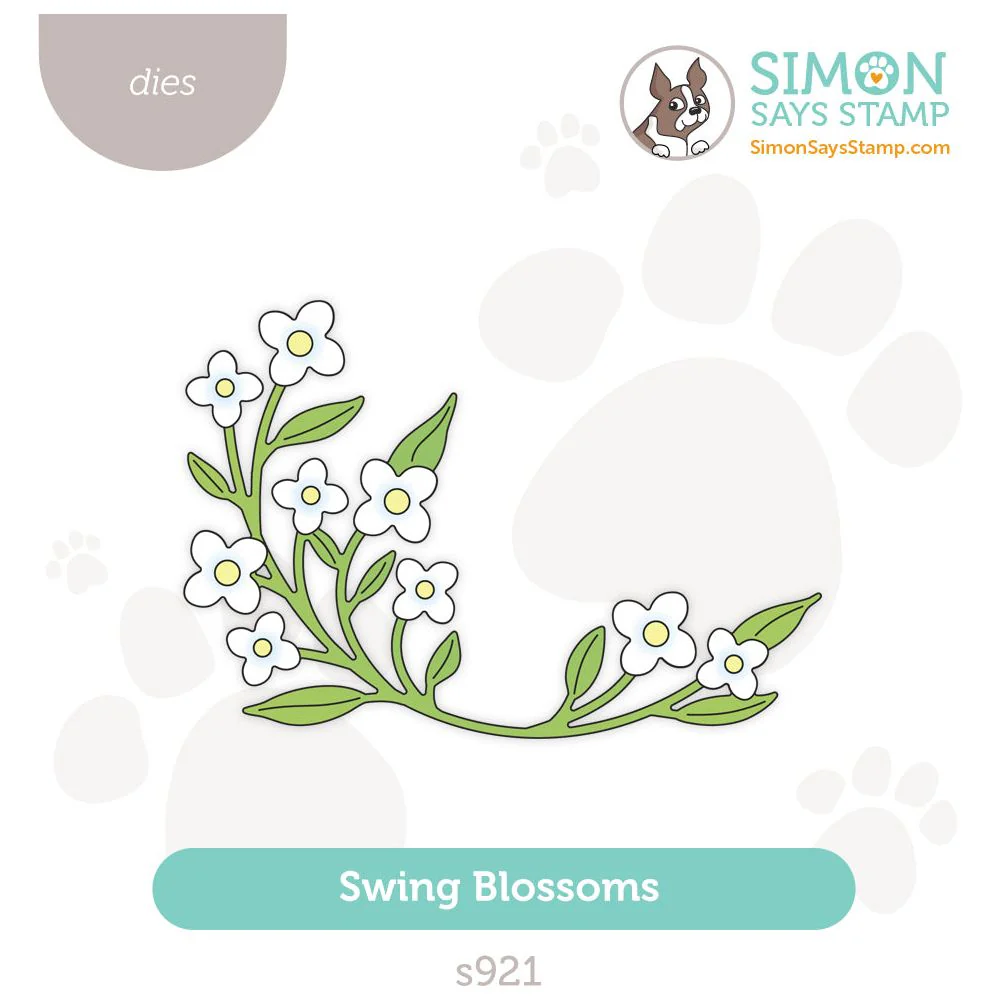
SWING BLOSSOMS

KEY TOOL
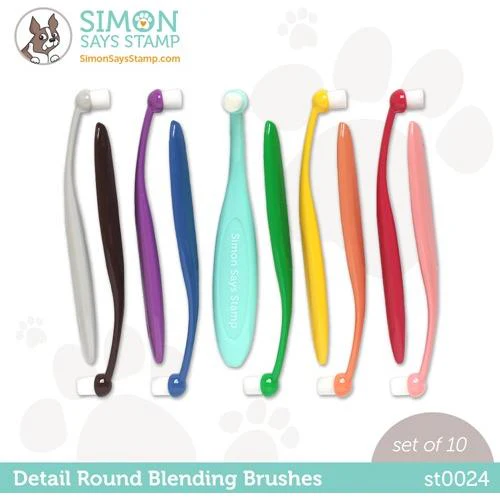
We'll use Simon Says Stamp Detail Round Brushes for the ink-blending on the smaller die-cuts and the Large Blending Brushes for ink-blending on the embossed background.
SIMON SAYS STAMP DETAIL ROUND BRUSHES

HERE'S HOW I STORE THEM

CLOSE UP OF BRUSH HEAD (showing Flat in the back and Round in the front)

LARGE BLENDING BRUSHES (on the far right)

PROJECT WALKTHROUGH
DIE-CUTTING - HUMMINGBIRDS
Die-cut the Delicate Hummingbird out of white cardstock twice.
Lay out each piece on your work surface leaving space for blending.

DETAILED INK-BLENDING - HUMMINGBIRDS
Arrange die-cut on top of a Waffle Flower Grip Mat, pressing to "adhere".
Use the Simon Says Stamp Detail Round Blending Brushes to add color to the die-cuts as shown.
To assemble the Hummingbird, use Tweezers and die packaging to guide placement of the wings and body once you have applied Bearly Craft Glue.

(look closely, the actuall die-cut is on the right!)

DIE-CUTTING & INK-BLENDING - SWING BLOSSOMS
Die-cut the Swing Blossoms out of white cardstock twice.
Lay out each piece on the Grip Mat leaving space for blending, pressing to "adhere".
Use the Simon Says Stamp Detail Round Blending Brushes to add color to the die-cuts as shown.
Assemble and adhere using Bearly Craft Glue.

DIE-CUTTING & INK-BLENDING - TUMBLING FLOWERS
Emboss white cardstock using the Tumbling Flowers Embossing Folder and place onto the Grip Mat.
Use Simon Says Stamp Large Blending Brushes (or Rainbow Splash Bending Brushes) to very lightly ink-blend Pawsitively Saturated Lilac and Marine inks.


CREATING THE SENTIMENT
Use a Large Blending Brush to ink-blend Pawsitively Saturated Peony Ink on white cardstock.
Die-cut with the Swoopy Love You Die.

ASSEMBLING
Position the Swing Blossom and Delicate Hummingbird die-cuts on top of the embossed background.
Cover with Glad Press N' Seal film and press to adhere.
Lift up and flip over to reveal the back.
Apply Bearly Art Precison Craft Glue to the die-cuts and let sit for about 20-30 seconds to let some of the moisture in the glue evaporate.
Flip film with die-cuts back over and carefully align on top of embossed background, pressing to permanently adhere.


I get worried about small die-cuts because I'm a bit clumsy, but with the Round Detail Blending Brushes and the Grip Mat, this was so much fun!

The gentle "swoops" of the Love You sentiment works well with all of our delicate designs!

I love how this came together as a scene! I think I will change the frame though, it's what I had on hand but it's a bit heavy-handed for these pretties!

Thank stopping by and hopefully being encouraged to doing some detailed ink-blending today.
Drop me a comment and say hi!
SUPPLIES:
I listed the products that I have used below. Please note that these are compensated affiliate links, used at no cost to you. I really appreciate your support. All stamps used today were part of my Cheering For You maker package from Simon Says Stamp. Click on the icons below each product picture to shop with SimonSaysStamp.com.
Beautiful! I especially love all the colours in the hummingbirds, they add so much!