Hello Lovelies! Foiling used to scare me and though I have (mostly) figured it out, I usually plan ahead and do foiling in batches. However, Simon Says Stamp Foiling Cards allow me to apply foil so easily, that I can do it as part of my regular card-making process.
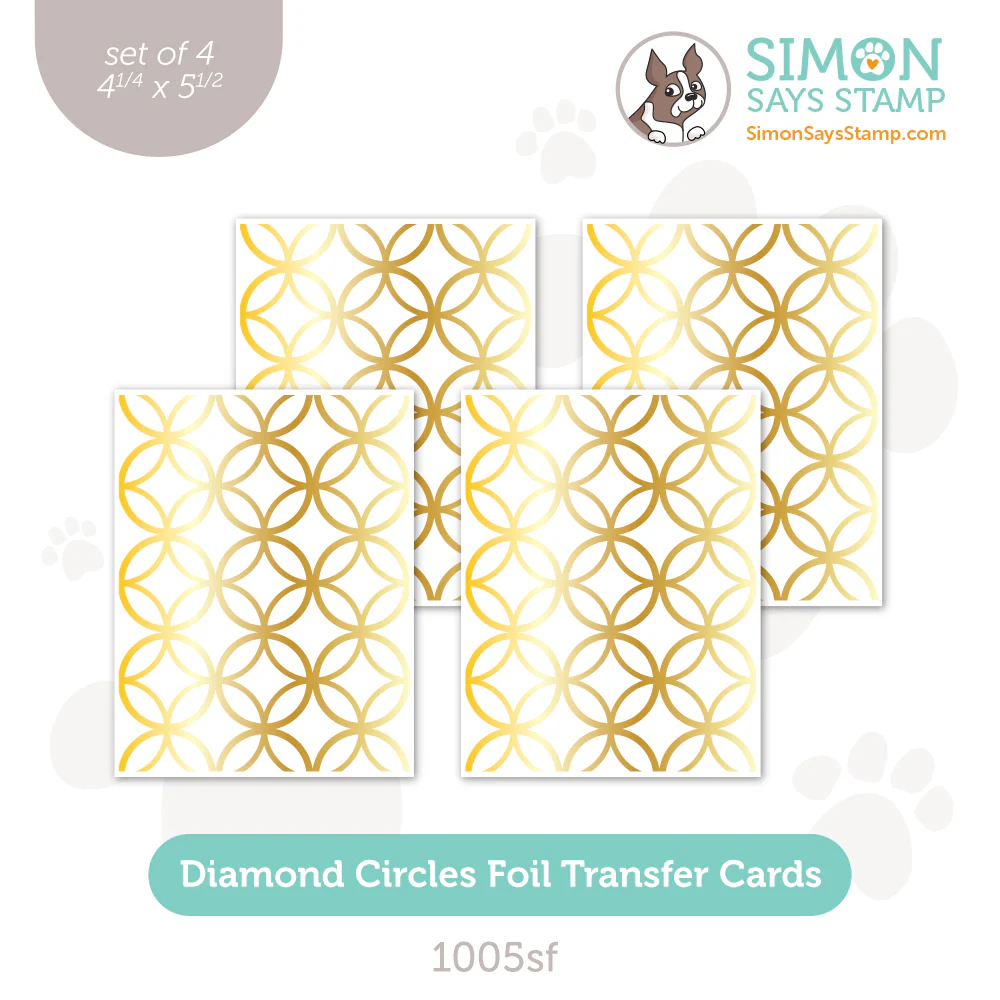
In the recent Celebrate Release, we got both pattern and sentiment Foiling Cards and today's project will use the Diamond Circles Background for a Friendship or Sweetheart Card, depending on how you look at it.

Time for Key Supplies!
Get Your Supplies!
Click on the image below to SHOP THE ENTIRE release OR
SHOP THIS CARD using the links throughout the post OR
SHOP the Supplies section at the bottom of this post
Today's GIF!
Hello Love!
Like this card and my corny GIFs? CLICK BUTTON BELOW
to sign up for blog updates:
HELLO LOVE CARD - Foiling, Ink Blending, Die-cutting
Card Base: 4 1/4" x 5 1/2"

COLOR PALETTE
Tim Holtz Distress Ink Pads - Picked Raspberry, Dried Marigold, Scattered Straw, Squeezed Lemonade

CARD WALKTHROUGH
FOILING
Turn on your heat laminator to warm it up.
Trim your piece of Gold Foil roughly to the size of the Diamond Circles Foiling Card.
Tape the edges of your foil (pretty side up) over the black pattern on the Foiling Card.
Insert the card with foil attached into the laminator and let it pass through the heated rollers.
Peel away the gold foil from the card to reveal the foiled design.

INK-BLENDING
Gather your favorite large blending brushes. If you are using Simon Says Stamp, I suggest the Cheeky, Grapefruit and Citrine Brushes or 4 of the large Rainbow Splash Blending Brushes
Starting with the Squeezed Lemon, apply color with a large blending brush to the foiled card.
Continue with Scattered Straw, followed by Dried Marigold and Picked Raspberry.
Trim to 4" x 5 1/4".
DIE-CUTTING
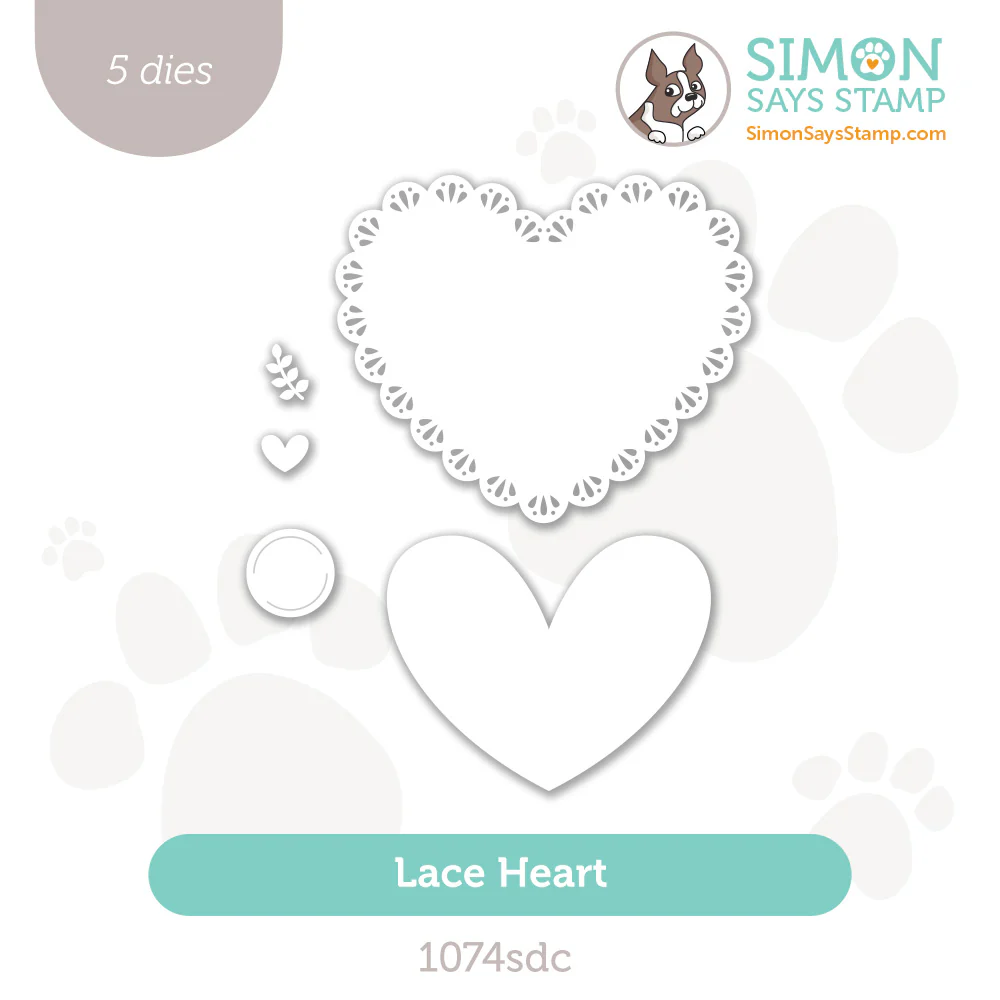
Die-cut the Lace Heart using Gold Matte Cardstock as shown.
Die-cut the "Hello" sentiment out of black cardstock and the outline out of white cardstock. Layer and adhere with craft glue.
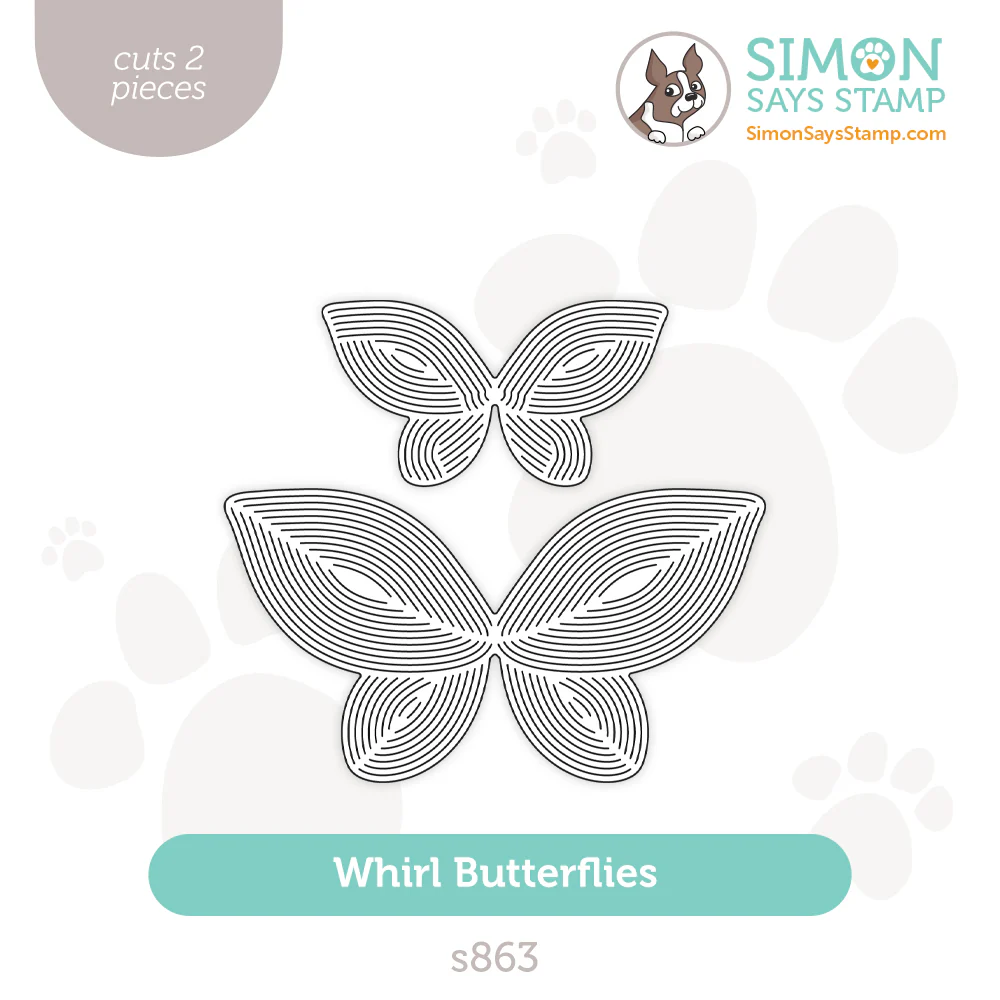
Die-cut the smaller Whirl Butterfly out of black cardstock. (I thought about painting the wings with a little gold paint and then changed my mind)
FINISHING
Adhere the gold lace heart as shown and trim the access.
Adhere the butterfly and heart with craft glue.
Pop up the hello sentiment with foam dots and adhere to the card front.
Pop up the Diamond Circles card front with foam tape and adhere to a black card base.
Adhere the yellow jewels.
It's almost unfair that you get to combine ink-blending and foiling; both so individually beautiful and delightful when they come together!

Just a few selected die-cuts finishes this shimmery card.

A little foiling goes a long way in making this sweet card.

Thank you SO much for stopping by! Drop me a comment and say hi!
SUPPLIES:
I listed the products that I have used below. Please note that these are compensated affiliate links, used at no cost to you. I really appreciate your support. All stamps used today were part of my Celebrate maker package from Simon Says Stamp. Click on the icons below each product picture to shop with SimonSaysStamp.com.


Comments