Simon Says Stamp - Festive Fun Release Blog Hop, Day 2
- Keisha Diann
- Nov 9, 2024
- 4 min read
Updated: Nov 9, 2024

Hi Lovelies!
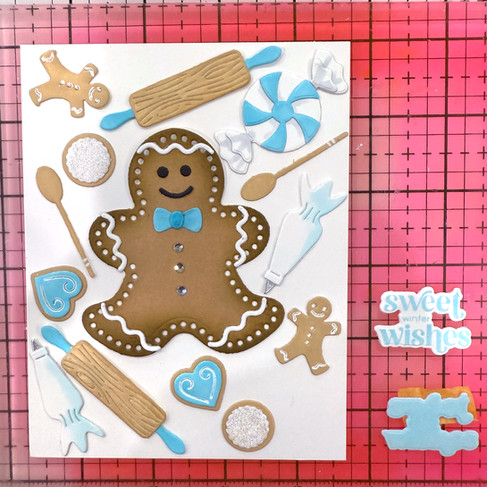
Welcome to Day 2 of Simon Says Stamp's Festive Fun Release Blog Hop! We're in the craftroom and the kitchen for today's Gingerbread Man Card.
We'll take our time creating and detailing some sweet baking/candy-themed die-cuts and it will be totally worth it to finish this Holiday card. It may look cute enough to eat, but I don't recommend that! If anyone has a good gingerbread recipe, please share, I want to try to make it again this year!

Why don't we get started then by reviewing the key supplies for today's cards:
Supplies are linked in the Supplies Section at the end of this post. Check out the entire Festive Fun release by clicking the image below:
Today's GIF!
I say this a LOT in the kitchen...😂
Like this card and my corny GIFs? CLICK BUTTON BELOW
to sign up for blog updates:
SWEET WINTER WISHES CARDS - Die-cutting, Inking/Coloring Die-cuts, Collaging, Embossing
Card Base: 4 1/4" x 5 1/2"
Embossed Layer: 4" x 5 1/4"

COLOR PALETTE
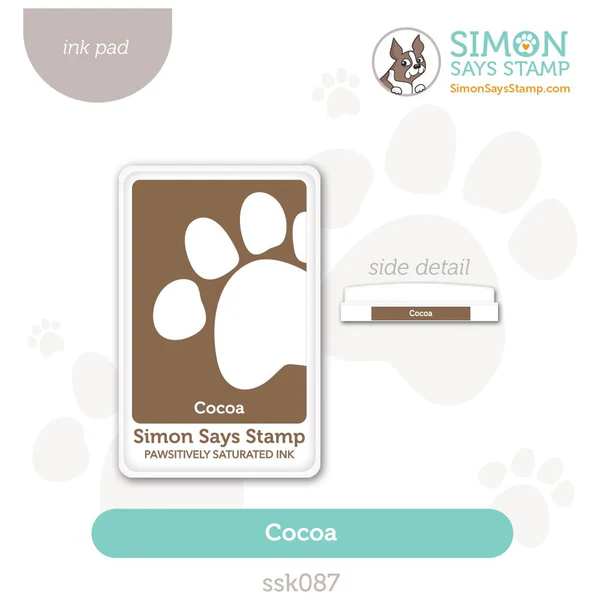
Pawsitively Saturated Ink Pads - Cookie, Gingerbread, Cocoa
Copic Marker - BG01, BG000
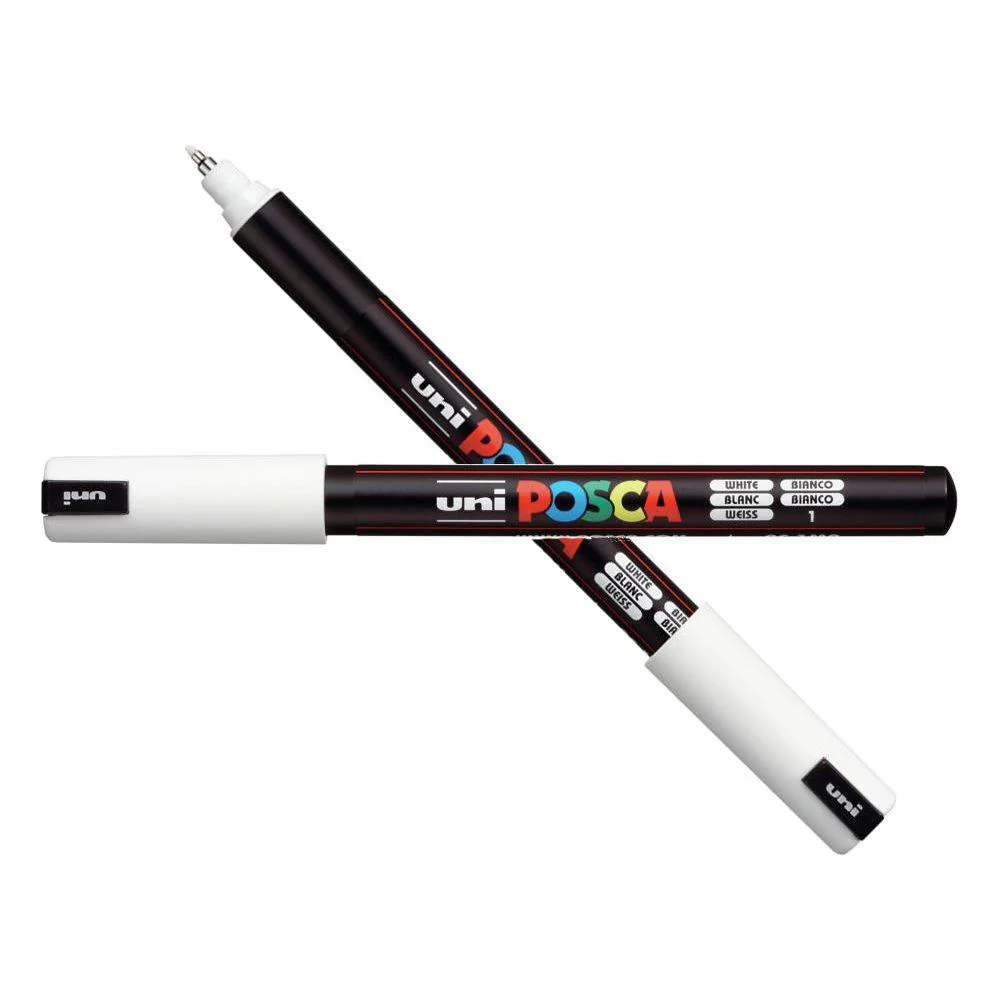
Posca Marker - White, Extra Fine
CARD WALKTHROUGH
DIE-CUTTING & INKING/COLORING
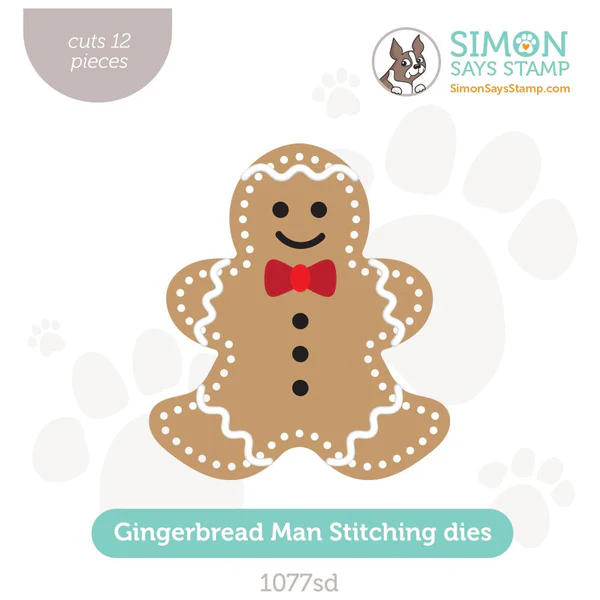
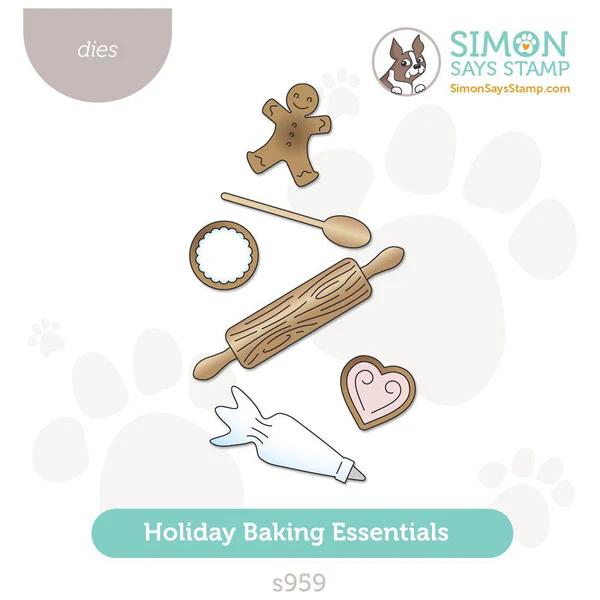
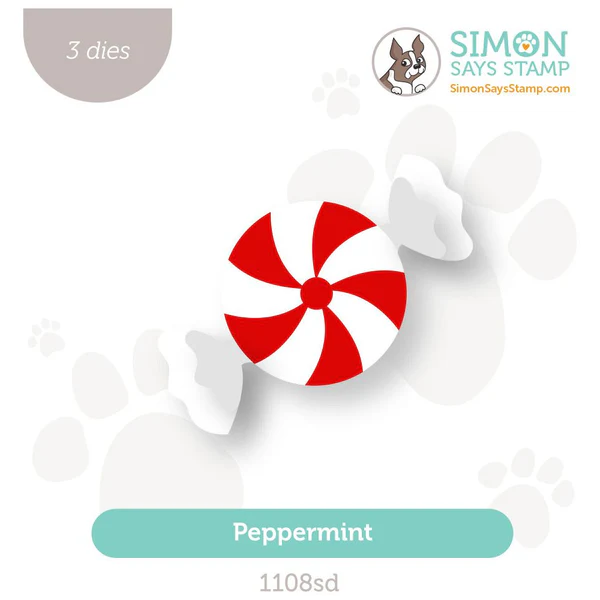
Die-cut the Holiday Baking Essentials, Peppermint Candy, and the Gingerbread Man out of white cardstock (except for the Frosting Nozzle, which should be cut out of Silver Matte Cardstock). You only need 1 Gingerbread Man for this project, I cut the extra 2 for my Gingerbread Couple Card. 😅
Use a Small Blending Brush to color the Gingerbread Man with Pawsitively Saturated Gingerbread Ink.
Use a Round Detail Brush to darken the edges of the Gingerbread Man.
DIE-CUTTING
Use a Round Detail Brush to color the rolling pins, mini gingerbread men, wooden spoons, and round cookie bases with Pawsitively Saturated Gingerbread Ink.
Arrange on a Tacky Mat for coloring.
Color the bowtie, rolling pin handles, heart-shaped frosting and peppermint striped layer using the BG01 Copic Marker.
Color the edge of the frosting bag using the BG000 Copic Marker.
Use Craft Glue to adhere the silver frosting nozzle to the frosting bag and the bow tie layers together.

EMBELLISHING THE DIE-CUTS
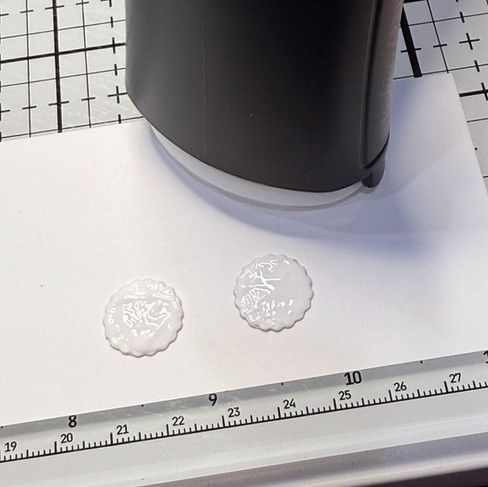
Apply Craft Glue to the scalloped round cookie icing.
Cover the glue with Unicorn Dust Glitter and let dry.
Adhere the icing to the cookie.
Use the Posca Pen to create white accents on the mini gingerbread men, wooden spoon and heart-shaped cookies.
Adhere the rolling pin layers.
SENTIMENTS & COLLAGING
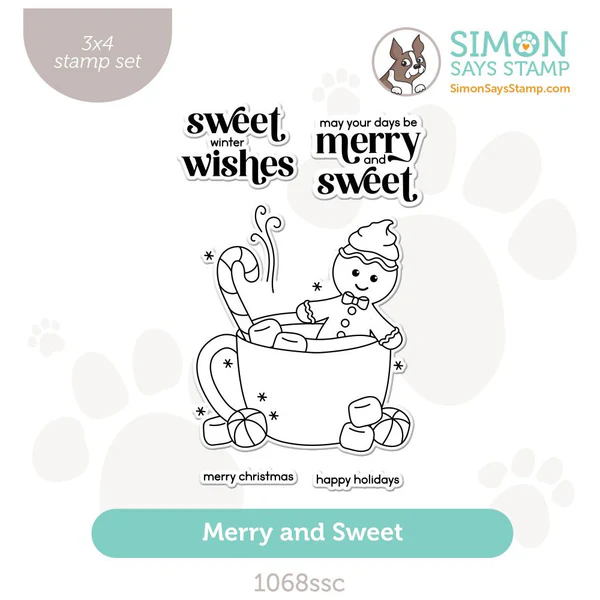
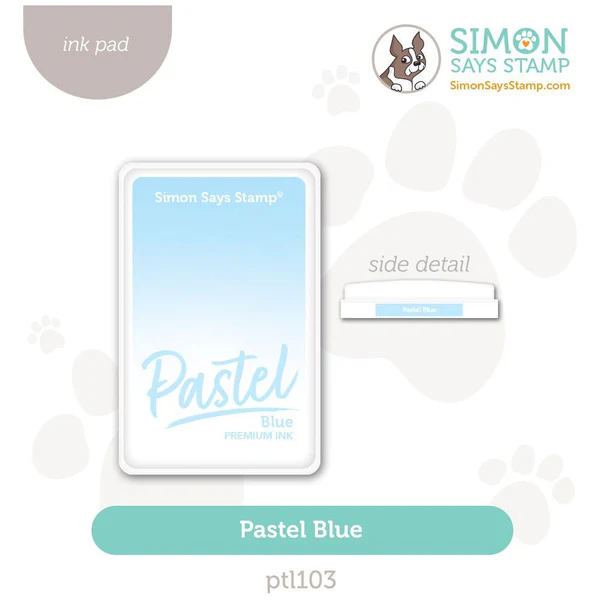
Stamp the sentiment from the Merry & Sweet Stamp Set in Pastel Blue on white cardstock and die-cut. Die-cut an additonal sentiment outline out of the same white cardstock and use a blending brush to color it with the same ink.
Offset the layers and adhere with craft glue. Add foam dots to the back of the sentiment.
Adhere the icing, (Clear Gem) buttons and bow-tie to the Gingerbread Man.
Arrange the die-cuts as shown on a white cardstock layer that will be embossed.
Use Glad Press N Seal to pick up the die-cuts off of the white cardstock and flip them over to show the back.
EMBOSSING & FINISHING
Emboss white cardstock using the Plaid Embossing Folder.
With a small blending brush lightly ink a rough outline of where the Gingerbread Man will be it using the Pastel Blue ink.
Offset the layers and adhere with craft glue. Add foam dots to the back of the sentiment.
Adhere the icing, (Clear Gem) buttons and bow-tie to the Gingerbread Man.
Arrange the die-cuts as shown on a white cardstock layer that will be embossed.
Apply Craft glue to the back of the die-cuts on the Press N Seal film.
Adhere the die-cuts to the embossed card background.
Apply Foam Tape to the embossed layer and adhere to the Sea Glass Card Base.
A lot of love went into each of these die-cuts so I thought I would share some close-ups so you can see the detail.


Last looks!

I want to make sure that you get the most of today's blog hop, so please take note Lovelies:
Be sure to explore the Festive Fun release gallery that is packed with inspiration from this release!!!
Comment to on this post to be eligible to win a $25 coupon from Simon Says Stamp. Winners will be chosen and posted on the Simon Says Stamp blog on Wednesday, the 13th of November. Winner should email Simon Says Stamp to claim their prize
The Cozy Together Stamp AND Die Set will be added to carts with $100 or more of Festive Fun goodies. (limited time offer - see details below)
Check out the full supply list below for your shopping convenience

Thanks again for stopping by and I hope to see you again soon Lovelies! Now, do go and check out Yippee for Yana Smakula has in store for you!
HOP ORDER:
SUPPLIES:
I listed the products that I have used below. Please note that these are compensated affiliate links used at no cost to you. I really appreciate your support. Simon Says Stamp's Festive Fun Release products were provided as part of my Design Team package. Click on the icons below each product picture to shop with SimonSaysStamp.com.









Kaiser OTC benefits provide members with discounts on over-the-counter medications, vitamins, and health essentials, promoting better health management and cost-effective wellness solutions.
Obituaries near me help you find recent death notices, providing information about funeral services, memorials, and tributes for loved ones in your area.
is traveluro legit? Many users have had mixed experiences with the platform, so it's important to read reviews and verify deals before booking.
Elevate your everyday look with trendy pieces from Zing Apparel exclusives collection that speak to your style on Christmas.
What a cute card. I love the colors and the design.
This is the BEST Christmas baking because nothing gets burned and comes out great!! LOVE your details!!! You did fabulous with all of the colors you chose! Am on the waiting list for this product bc it is so popular!
This is one of my favorite cards from the blog hop. Soooo cute! I like the use of non-traditional colors.