Hello Lovelies! Halloween is almost here, but October has been keeping me busier than I expected, so I am VERY late sharing this tutorial using the Halloween Damask Stencil!
But I can't keep this cuteness to myself, so today we will stencil, stamp and die-cut this adorable Halloween card for those of us who like sweet over scary.

Take a look at our SCARY supplies below (the Just Batty stamps and dies can be purchased separately or as a set):
Get Your Supplies!
Click on the image below to SHOP THE ENTIRE release;
SHOP THIS CARD using the links throughout the post OR;
SHOP the Supplies section at the bottom of this post:
Today's GIF!
Time for me to get my Halloween bed sheet out of storage! LOL
Like this card and my corny GIFs? CLICK BUTTON BELOW
to sign up for blog updates:
HAPPY HALLOWEEN CARD - Stenciling, Stamping, Inking and Die-cutting
Card Base: 4 1/4" x 5 1/2"
Stenciled Layer: 3 1/4 " x 4 1/2"

COLOR PALETTE
Simon Says Stamp Pawsitively Saturated Ink Cubes:
Bubblegum
Sherbet
CARD WALKTHROUGH
STENCILING
Secure a 6" X 6" piece of 110lb Neenah Solar White Cardstock to your craft surface. Secure the outline layer of the Halloween Damask stencil over the cardstock
Use the Large Cheeky Blending Brush to ink-blend Bubblegum Ink through the openings in the stencil
Swap the outline layer for the detailed lay of the stencil and use a Large Grapefruit Blending Brush to to ink-blend Sherbet through the openings in the stencil
Trim the stenciled cardstock to 3 1/4" x 4 1/2". Save the scrap for another project or make a Halloween bookmark :-)

STAMPING, INKING & DIE-CUTTING
Stamp a 3" X 3" piece of 110lb Neenah Solar White Cardstock with the skull sign from the Just Batty Stamp Set in Sherbet ink
Stamp the Happy Halloween sentiment in Intense Black Ink onto the skull sign to complete the card sentiment
Die-cut the skull sign with the corresponding Just Batty Wafer Die
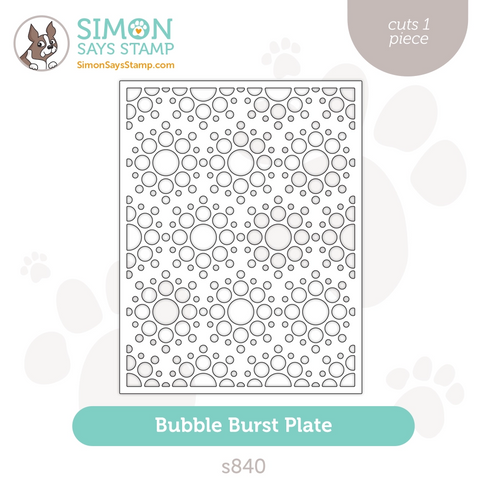
Die-cut the a piece of white cardstock using the Bubble Burst Die
Use the Large Grapefruit Blending Brush to ink the edges of the Bubble Burst die-cut with Sherbet Ink
Die-cut a scrap of Tangerine Glitter Cardstock using the Spider Die
ASSEMBLY
Pop up the stenciled layer with Foam Squares and adhere to the Bubble Burst layer
Adhere the Bubble Burst layer to a Card Base
Pop up the sign die-cut with Foam Squares and adhere to the card front
Pop up the spider die-cut with Foam Squares and adhere to the card front
Adhere the Orchid Pearls to the card front to finish

A spider cannot be scary if it's glittery!

I love how bold and clean this stamped sign came out and it just pops against our PINK Halloween Damask

These Orchid Pearls also help soften this cute card!.

Hoping that your Halloween is filled with sweet treats! Happy Crafting!
SUPPLIES:
I listed the products that I have used below. Please note that these are compensated affiliate links, used at no cost to you. I really appreciate your support. All stamps used today were part of my Season of Wonder maker package from Simon Says Stamp. Click on the icons below each product picture to shop with SimonSaysStamp.com.


Comments