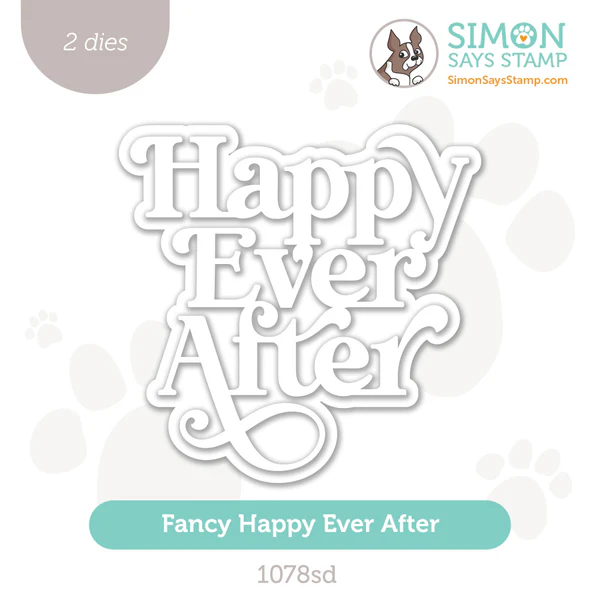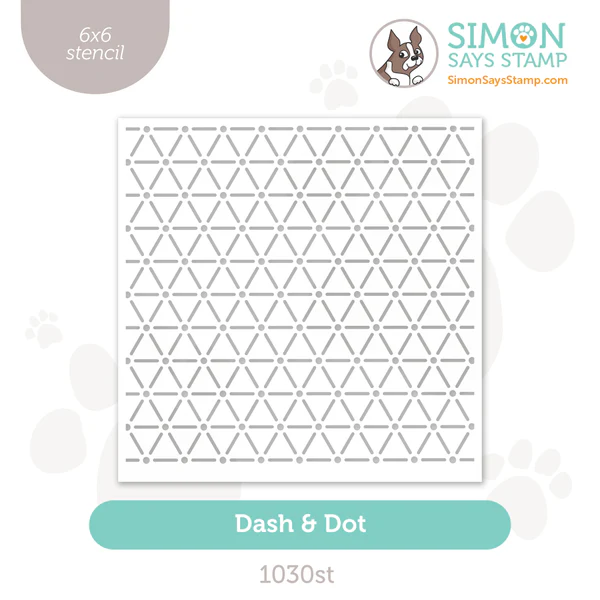
Hello Lovelies! I'm a colorful crafter...so of course I had to do a rainbow wedding card. This is a simple supplies card use the Dot and Dash Stencil and the Happy Ever After Dies from Simon Says Stamp's Celebrate Release.
In today's card we are doubling down on the stenciling with an ink-blending layer followed by a layer of sparkles!

Time for Key Supplies!
Get Your Supplies!
Click on the image below to SHOP THE ENTIRE release OR
SHOP THIS CARD using the links throughout the post OR
SHOP the Supplies section at the bottom of this post
Today's GIF!
I didn't have a flower girl and it looks like I REALLY missed out.
Like this card and my corny GIFs? CLICK BUTTON BELOW
to sign up for blog updates:
HAPPY EVER AFTER CARD - Stenciling, Ink-Blending & Die-cutting
Card Base: 4 1/4" x 5 1/2"

COLOR PALETTE
Simon Says Stamp Pawsitively Saturated Ink Pads - Carnation, Butter and Seafoam

CARD WALKTHROUGH
STENCILING
Adhere a 6" x 6" piece of white cardstock to a Stamp and Stencil Mat.
Secure the Dash and Dot Stencil over the cardstock.
Use a Large Blending Brush and the Pawsitively Saturated Seafoam Ink to apply color through the openings in the stencil as shown.
Continue to ink blend the colors into the following order:
Carnation
Butter
Seafoam (again, over some of the Butter to create the green blend)
Leaving the stencil in place, use a dry cloth/papertowel to gently remove any residual ink on the stencil
Use a palette knife to spread clear Stickles Glitter Glue through the openings in the stencil onto the cardstock.
Remove the stencil and place in water.
Set aside cardstock to dry.
Trim cardstock to 4 1/4" x 5 1/2". Retain scraps for another project :-)


MORE INK-BLENDING
Use the same colors to create a rainbow on a piece of 3 1/2" x 3 1/2" white cardstock as shown below:

DIE-CUTTING
Align and secure the "Happy Ever After" outline die to the Dot and Dash background
Run through a die-cutting machine to create an opening
Die-cut an additional another "Happy Ever After" outline using white cardstock
Die-cut the "Happy Ever After" sentiment using the rainbow gradient cardstock as well as white cardstock
Adhere layers with craft glue
SENTIMENT
FINISHING
Use foam tape to pop up the stenciled panel
Adhere the stenciled panel to a card-base
Apply craft glue to the sentiment die-cut and adhere inside the opening of the stenciled panel
Adhere gems with craft glue to embellish the card front
Of course I love the combo of that pastel rainbow gradient with the simmer of Stickles

We doubled-down on the rainbow gradient with the sentiment as well as the stenciled panel!

These clear gems enhance this color card without competing with the other elements.

I hope that rainbows also make you smile!

Thank you SO much for stopping by! Drop me a comment and say hi!
SUPPLIES:
I listed the products that I have used below. Please note that these are compensated affiliate links, used at no cost to you. I really appreciate your support. All stamps used today were part of my Celebrate maker package from Simon Says Stamp. Click on the icons below each product picture to shop with SimonSaysStamp.com.


Comments