Hello Lovelies! I was so pleased with the Brilliant Poinsettias card I made trying this "embossing folder black-out" technique (not sure that what it is really called), that I immediately made another. I remember the first embossing folders I got as a crafter and they are SO different from what the 3D embossing folders can do now.
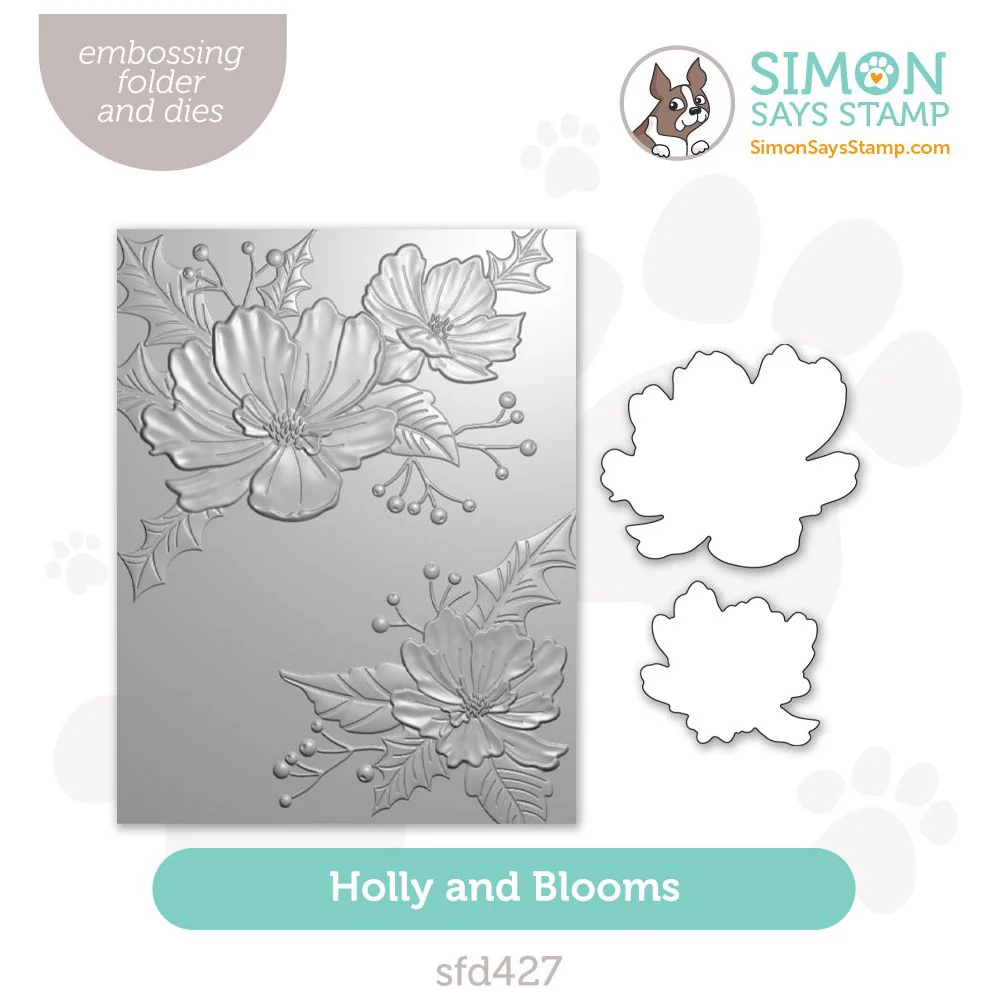
The Holly and Blooms Embossing Folder may have been made with Christmas in mind, but it is one I will be able to use at other times in the year, which makes it even more appealing to me.

Time for Key Supplies!
I combined a few Pawsitively Saturated Inks with Distress Ink for this card, but if you have similar colors in other water-based inks those should work well to so shop your stash first.
Get Your Supplies!
Click on the image below to SHOP THE ENTIRE release OR
SHOP the Supplies section at the bottom of this post
Today's GIF!
Just footage of me celebrating everytime I make something that works out well!
Like this card and my CORNY GIFs? CLICK BUTTON BELOW
to sign up for blog updates:
HOLLY & BLOOMS CHRISTMAS CARD - Dry Embossing, Ink-blending, Blackout Inking
Card Size: 4 1/4" x 5 1/2"

COLOR PALETTE
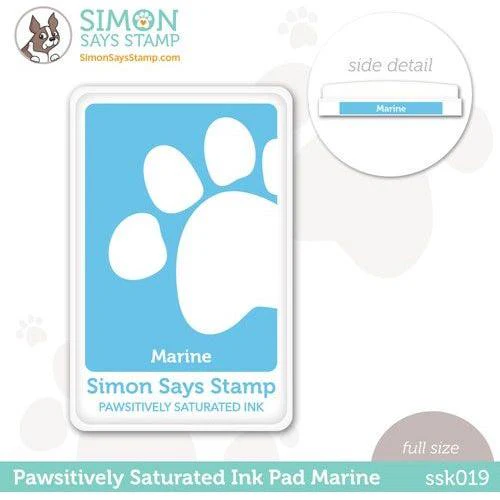
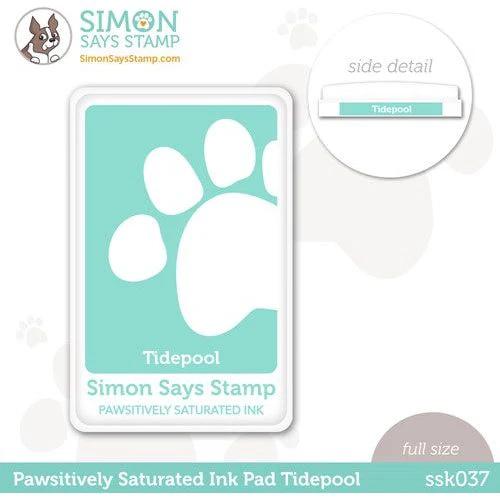
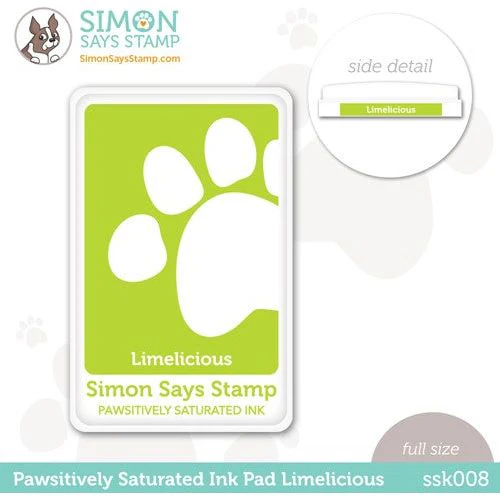
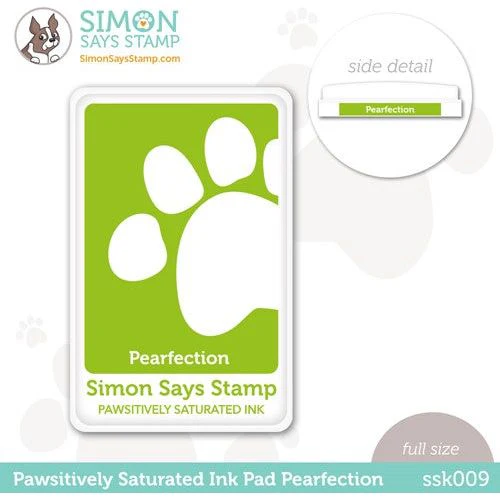
Pawsitively Saturated Ink Pads - Marine, Tidepool, Limelicious, Pearfection
Distress Ink - Chipped Sapphire

PROJECT HIGHLIGHTS
INK-BLENDING
Emboss white cardstock with the Holly & Blooms Folder and position the debossed (sunken in) side up/facing you on your Sticky Mat.
Use a Detail Round Blending Brushes to add Marine to the center, adding random spots of the same color to parts of the petals.
Use a Small Blending Brush to ink-blend Tidepool onto the petals.
Lightly ink-blend Limelicious all over the leaves.
Deepen the green color in spots by ink-blending Pearfection over the Limelicious.
BLACKOUT INKING
Wipe a firm chunk of foam across the Chipped Saphire Ink pad and pick up some ink. Gently wipe this across the holly leaves to color the "spines" of each leaf.
Now take the Chipped Sapphire ink pad and gently rub it in circles over white raised sections of the embossed design until you have "blacked out" the white sections in between the leaves and flowers.
The aim is to color all the raised areas with this color, some will seem into the sunken areas of the petals but this will only enhance them.
DIE-CUTTING
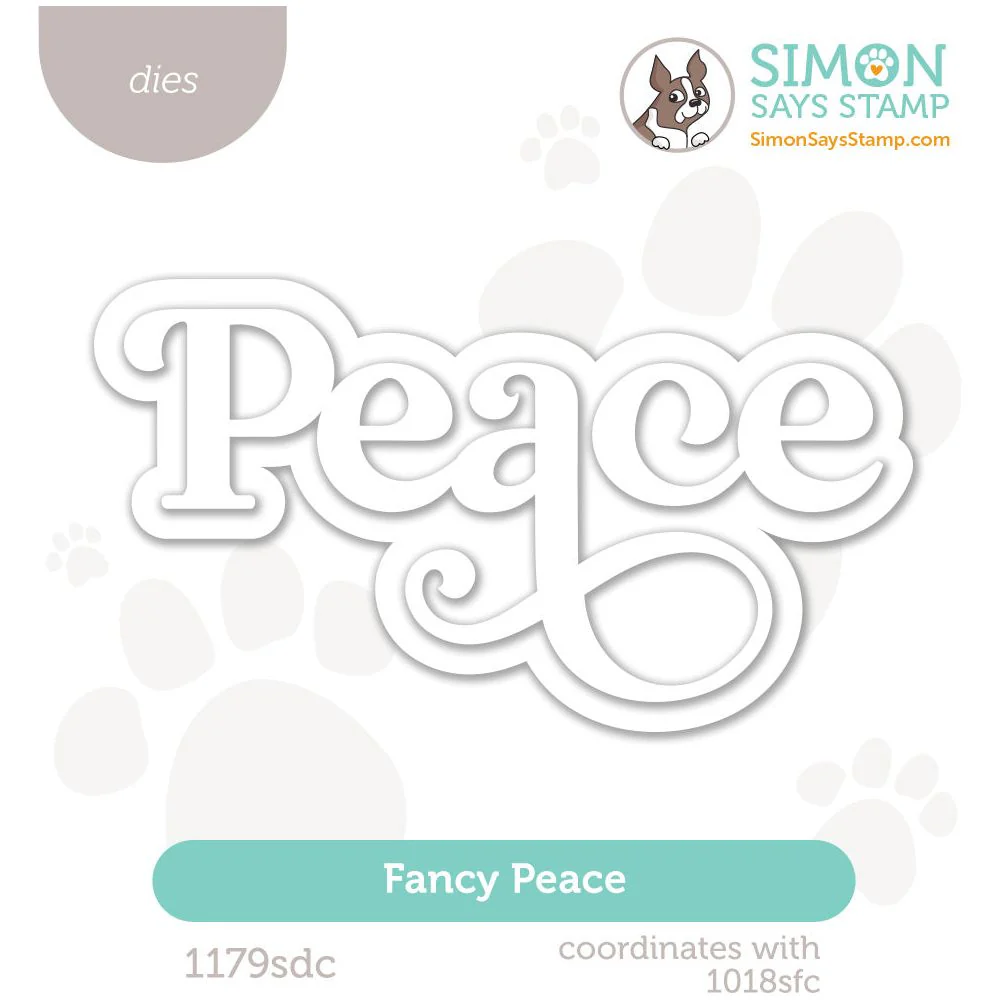
Die-cut the sentiment using Matte Silver Cardstock.
Die-cut the Holiday Greenery leaves out of white cardstock and color with green copic markers, highlighting the spines with a darker green than you use for the leaves.
Die-cut the sentiment outline out of white cardstock and ink-blend Chipped Sapphire over it to color match it to the card front.
Layer and adhere the die-cuts using Craft Glue.
Trim the embossed card front to 4" x 5 1/4", apply foam tape and adhere to a white card base.
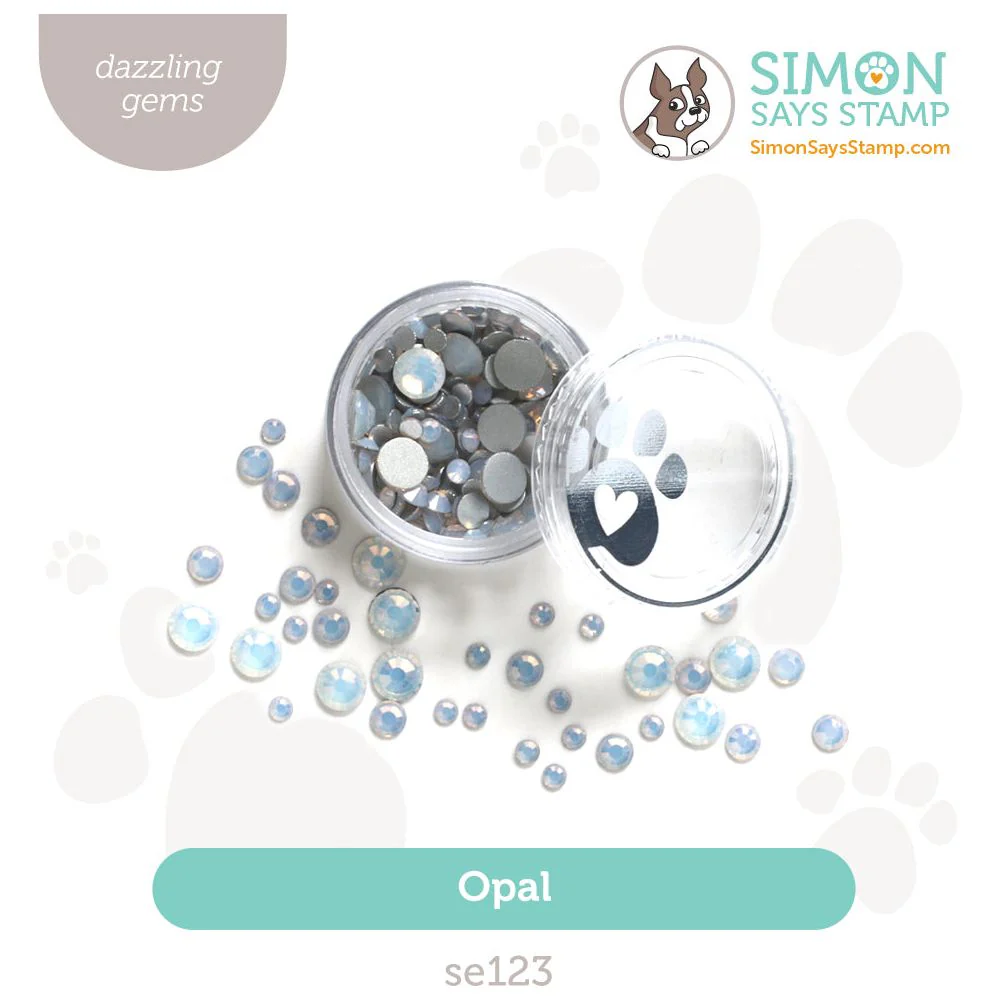
Add Opal Gems to embellish and use a white Posca marker to accent the center of the blooms.
The card looked a bit suspect when first started ink-blending the colors onto the blooms and leaves, but it all came together when the Chipped Sapphire was added.


I dont usually put this many gems on a card, but I am SO glad that I decided to go for it make in making them my berries!

Drop me a comment and say hi!
SUPPLIES:
I listed the products that I have used below. Please note that these are compensated affiliate links, used at no cost to you. I really appreciate your support. All stamps used today were part of my Sweet Wishes maker package from Simon Says Stamp. Click on the icons below each product picture to shop with SimonSaysStamp.com.


