

Simon Says Stamp - JUST WRITE Cards & Bookmark
- Keisha Diann
- Aug 9, 2024
- 4 min read

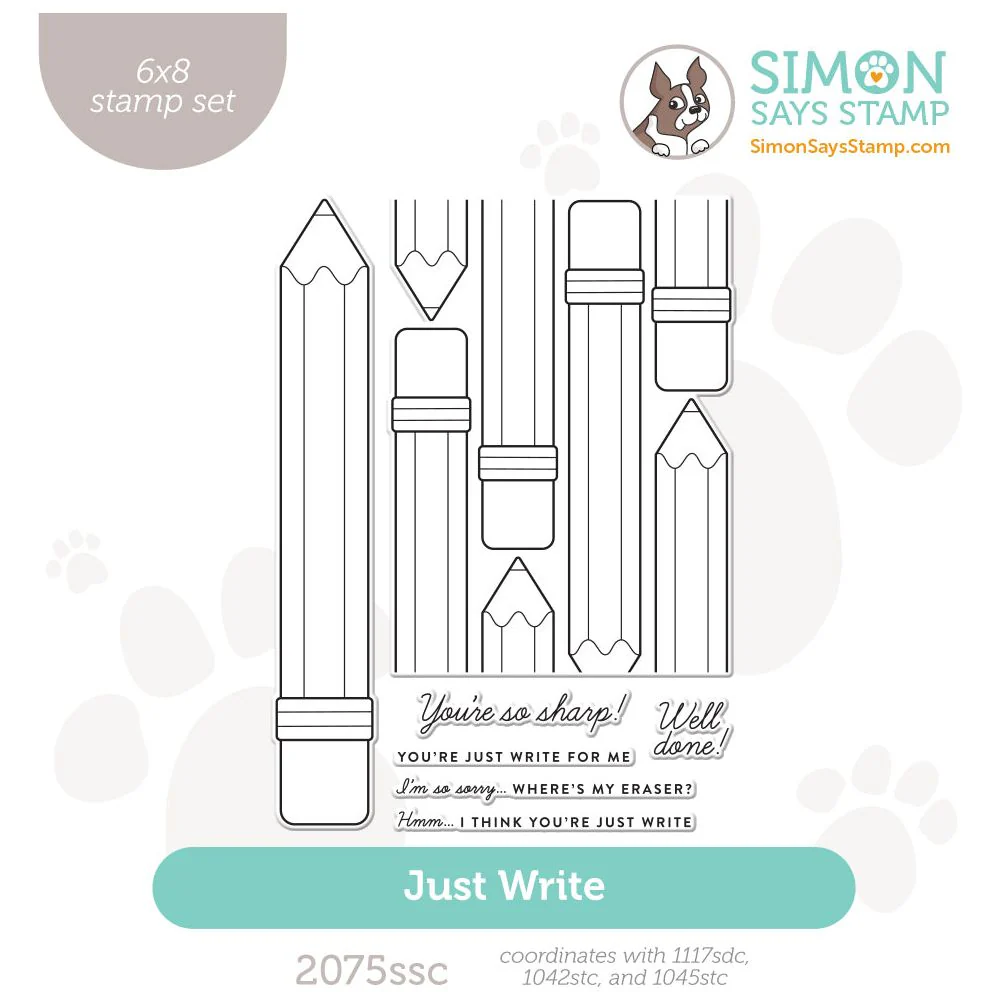
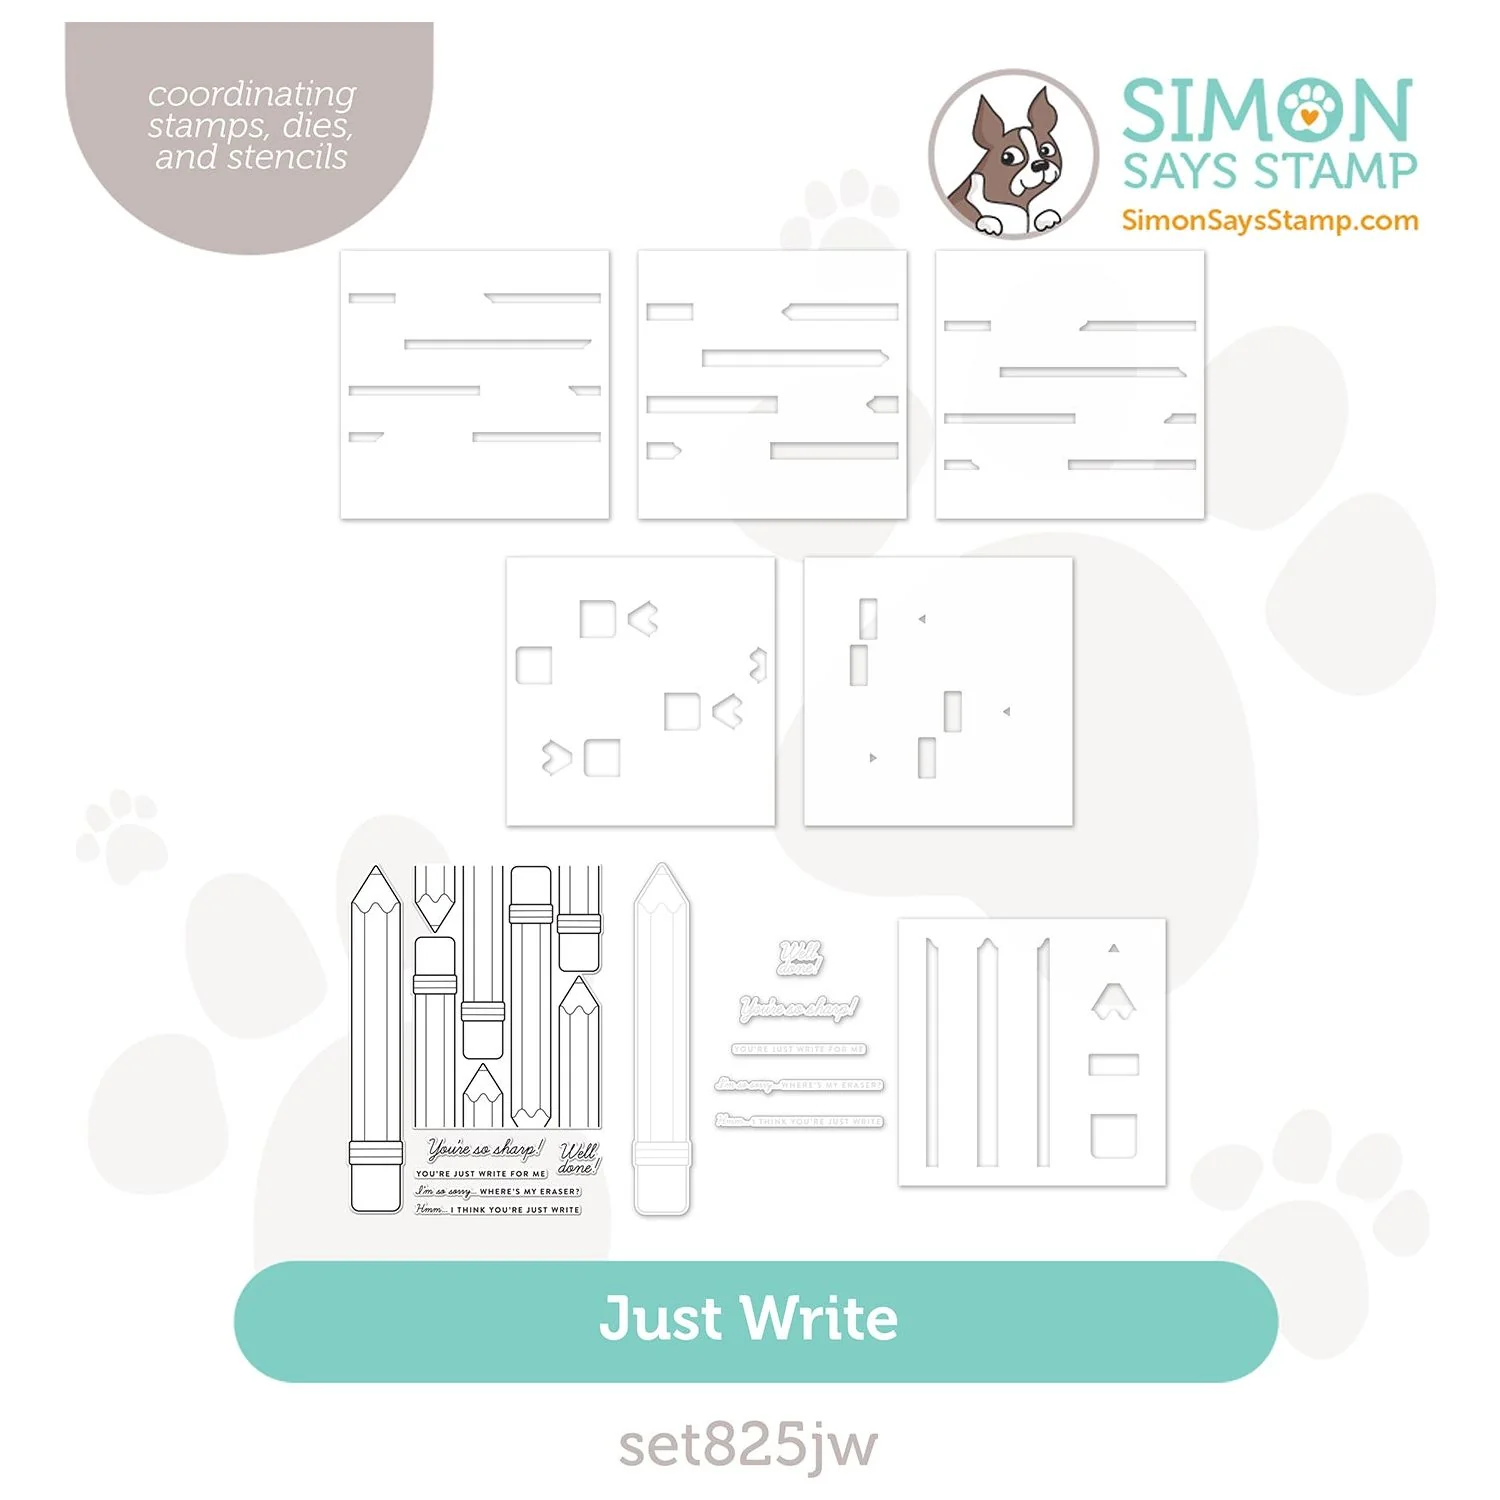
Hello Lovelies! The Simon Says Stamp Just Write Set is charming and nostalgic for me. It has a bit of a Back to School theme, but I used it here for an apology card and for a card and a bookmark to let someone know how awesome they are. I love this versatility!
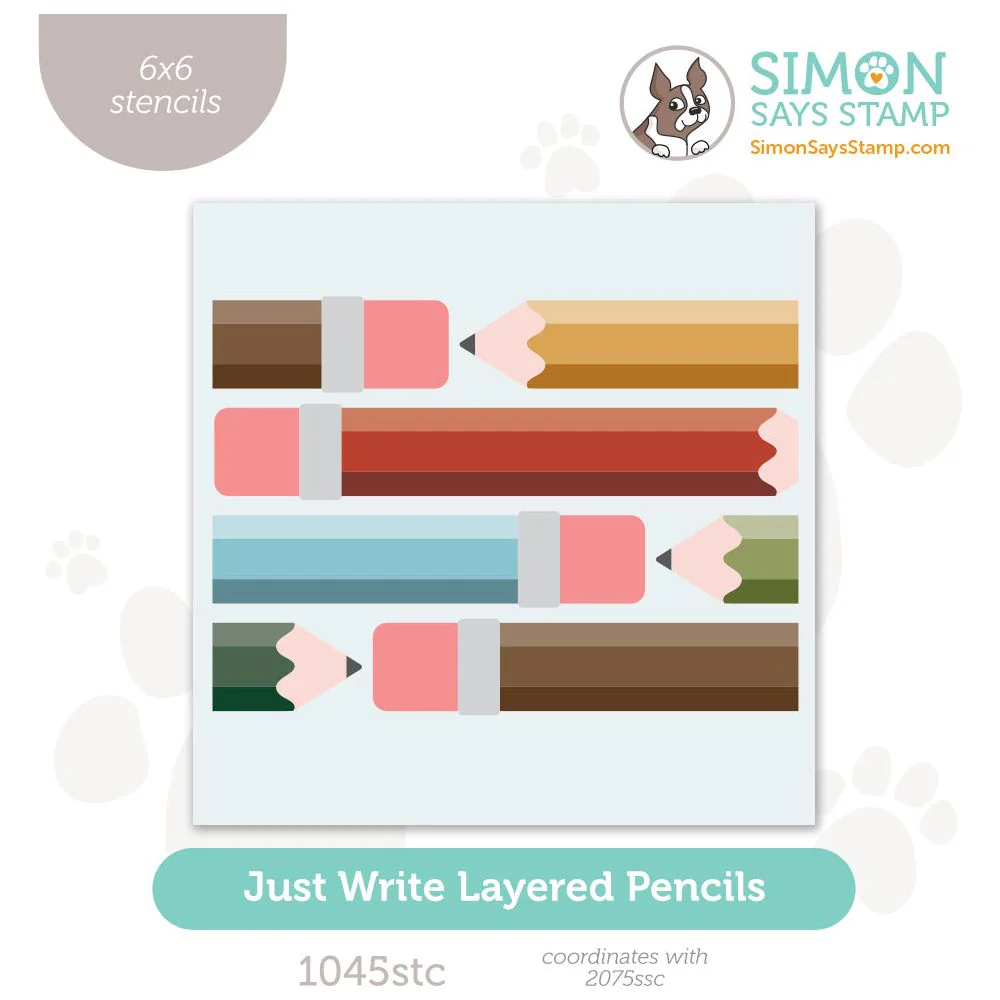
I both stenciled and colored the pencil images with alcohol ink markers. The simple lines of the design makes this easy, fun and very forgiving, just like writing with a pencil.
Sidebar - Growing up, I was a big fan of writing my school notes in pencil. It made correcting mistakes easier and I was a little obsessive over pristine notes. Yes, I'm dating myself as was in my pre-personal laptop era!

Time for Key Supplies!
Get Your Supplies!
Click on the image below to SHOP THE ENTIRE release OR
SHOP the Supplies section at the bottom of this post

Today's GIF!
Just expressing my love for pencils!
Like this card and my corny GIFs? CLICK BUTTON BELOW
to sign up for blog updates:
I'M SO SORRY CARD - Stamping, Stenciling and Die-cutting
Card Base: 4 1/4" x 5 1/2"

COLOR PALETTE
Pawsitively Saturated Ink Pads/Cubes -See below, one for each layer of the pencil body!


CARD WALKTHROUGH
All PIX, no WORDS needed for this one except for one tip! I am using a Waffle Flowet Grip Mat on top of my Glass Mat to hold these delicate die-cuts in place while I apply color with a Blending Brush.
STAMPING
Stamp image in Simon Says Stanmp Intense Black onto 4 1/4" x 5 1/2" white cardstock

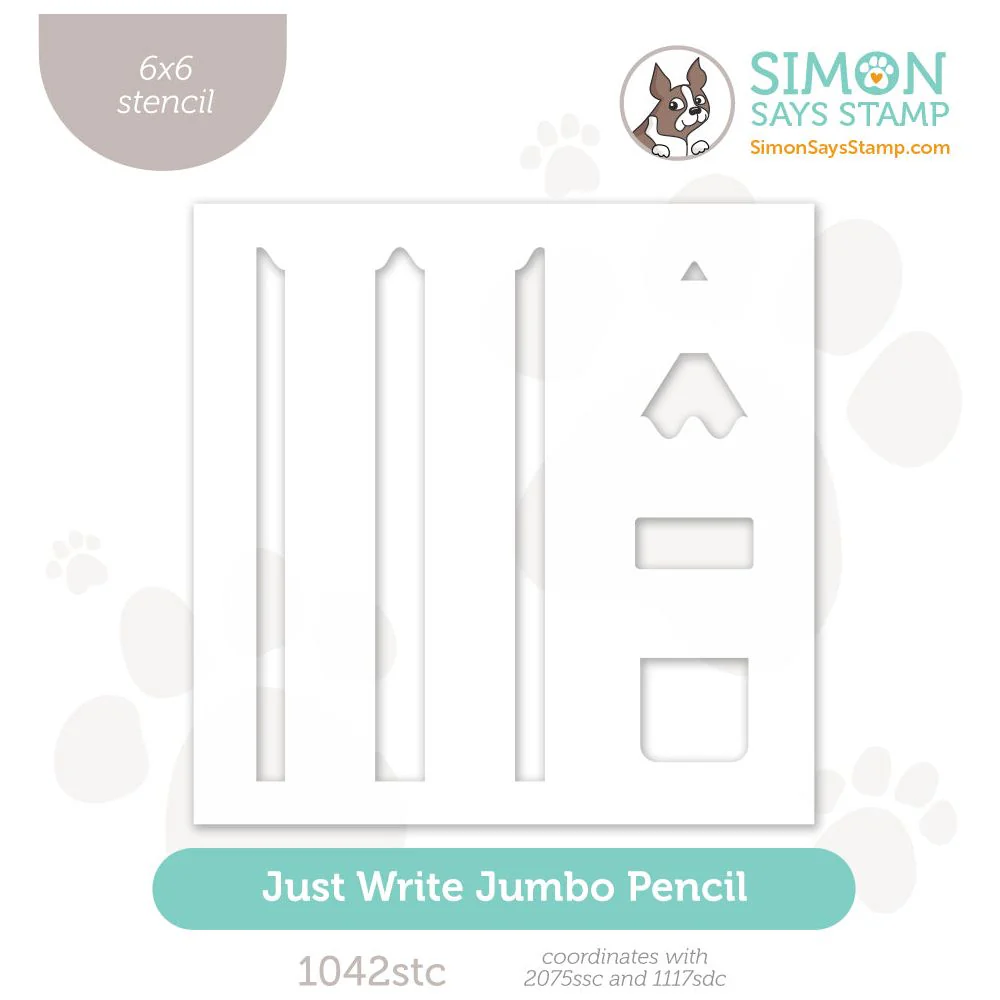
PENCIL BODY 1
Secure cardstock with image to your work surface. I am using a Waffle Flower Grip Mat.
Use a blending brush to apply each of the colors as shown through the openings in the stencil.


PENCIL BODY 2
Remove the first stencil and replace with this one
Continue stenciling with the selected colors


PENCIL BODY 3
Remove the previous stencil and replace with this one
Continue stenciling with the selected colors


ERASER/UNPAINTED PENCIL WOOD
Remove the previous stencil and replace with this one
Continue stenciling with the selected colors


PENCIL LEAD/ERASER HOLDER
Remove the previous stencil and replace with this one
Continue stenciling with the selected colors


CREATING SENTIMENTS
Stamp the "I'm so sorry.." sentiment in Intense Black onto the middle space of the yellow pencil.
Adhere the stenciled layer to a black card base.
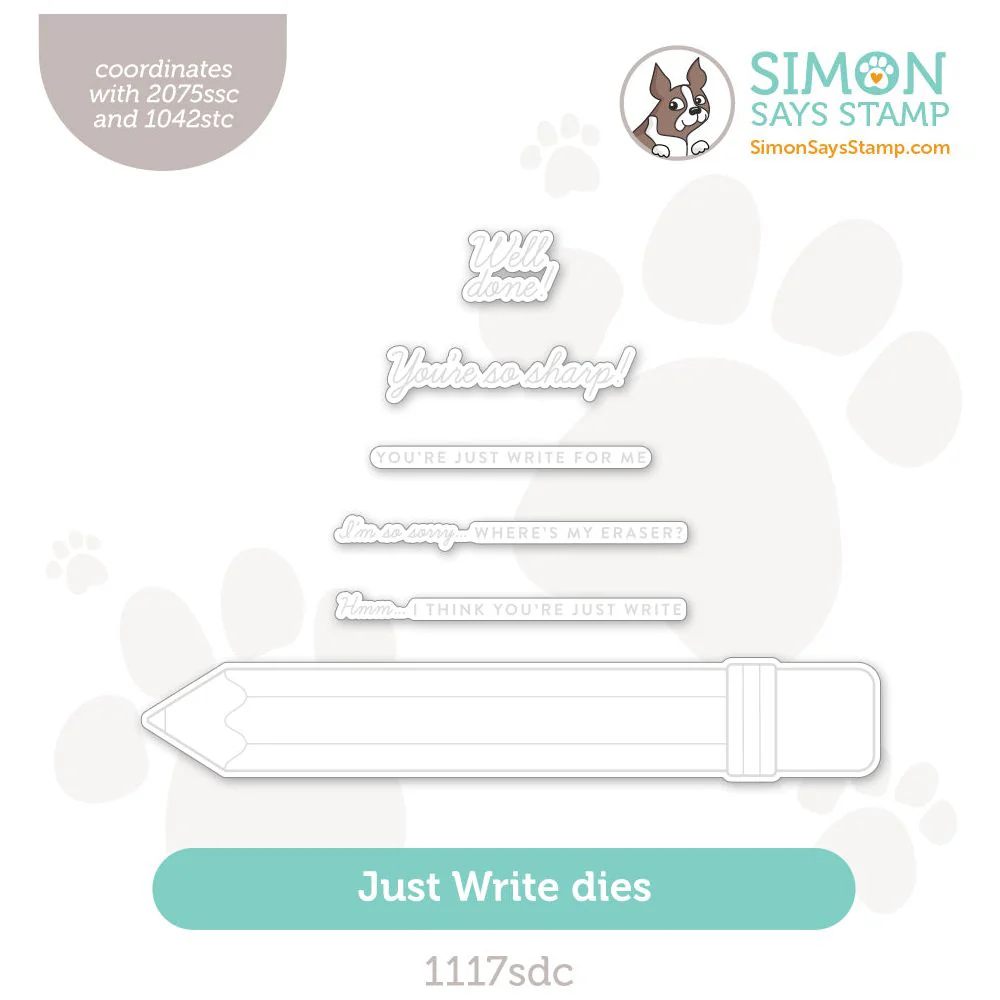
Die-cut the "Oh Crap" sentiment out of black cardstock twice. Die-cut the outline out of vellum. Layer and adhere with Craft Glue.
Adhere die-cut to card front.


I don't use it often, but I love this sentiment SO much!

I love how easy layered stencils make coloring!

Cute and easy card card to apologize to someone or just express sympathy.
JUST WRITE CARD - Stamping, Coloring and Die-cutting
Card Base: 4 1/4" x 5 1/2"

COLOR PALETTE
COPIC Markers -See below!

CARD WALKTHROUGH
STAMPING
Stamp the multiple pencil image in Memento Tuxedo Black onto white cardstock
Stamp the "you're just write.." sentiment in Memento Tuxedo Black onto kraft cardstock


DIE-CUTTING
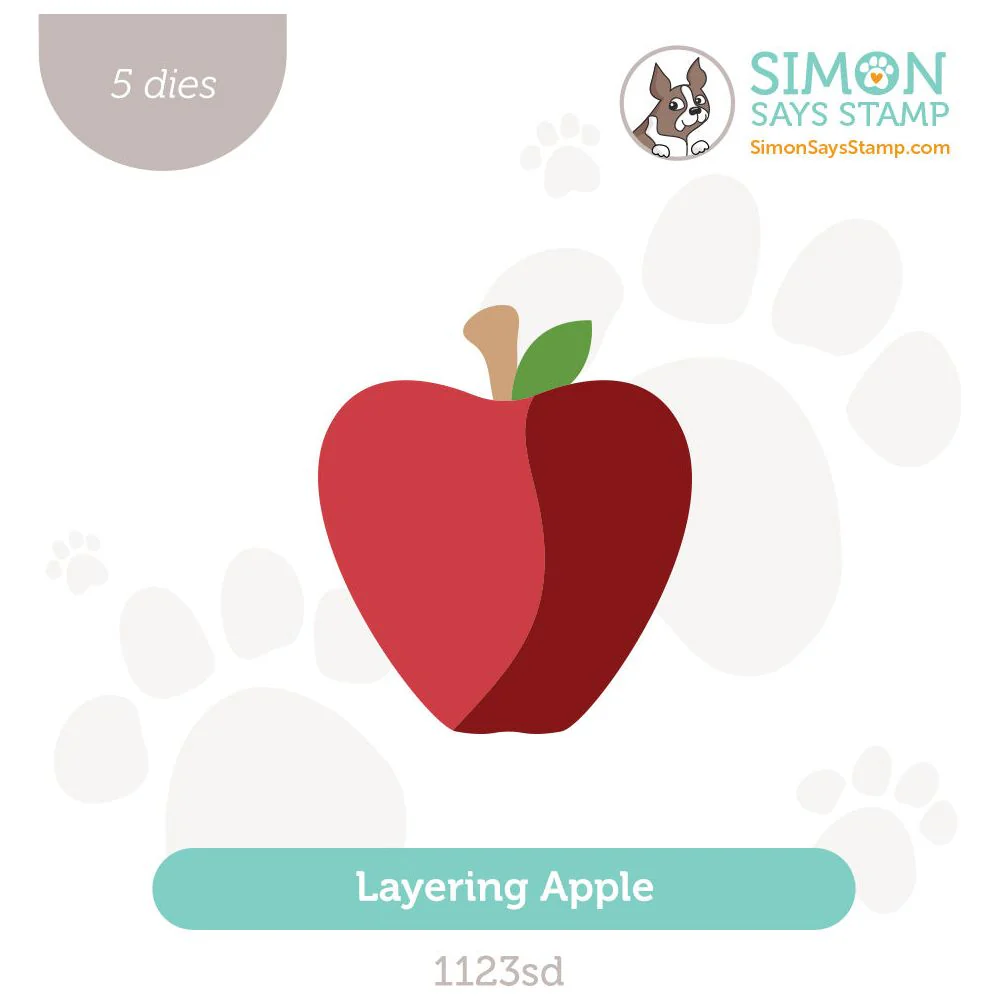
Die-cut the apple layers twice as shown.
Adhere the layers with Craft Glue.
Use Thin 3D Foam Squares to pop up the overlapping apples.


COLORING & ASSEMBLY
color the pencil with the selected Copic Markers.
Adhere the apple die-cuts and sentiment.

Usually I would say that I like stenciling more than alcohol marker coloring, but here this pencil image is so easy, that the markers win out for once!

This apple couple looks just as sweet as the sentiment!

Simply adorable I think!

I'M SO SORRY CARD - Stenciling and Die-cutting
Card Base: 4 1/4" x 5 1/2"

COLOR PALETTE
Pawsitively Saturated Ink Pads/Cubes -See below!

PROJECT WALKTHROUGH
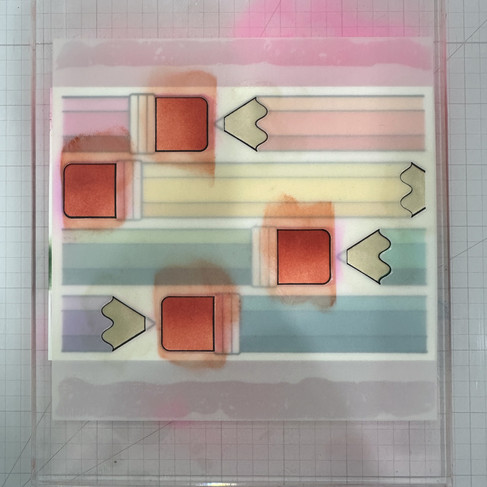
STENCILING
Secure a 2" x 8" piece of white cardstock to your work surface.
Align and Adhere the stencil to the work surface.
Use a blending brush to apply each of the colors as shown through the openings in the stencil.
Gently clean away the excess ink on the stencil with a Microfiber Cleaning Cloth
Re-align and adhere the stencil to the work surface to color a new section of the pencil.
Repeat steps 3, 4 and 5 above until the pencil is stenciled.
Repeat all steps to create a second pencil.


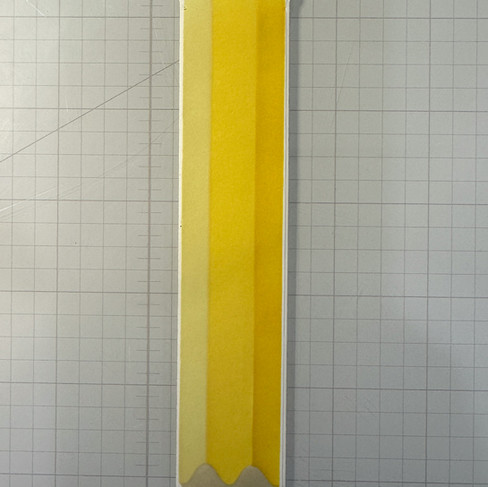
COLORING GLITTER CARDSTOCK
use the Y18 Copic Marker to darken a scrap of yellow glitter cardstock big enough to fit 2 a+ dies


DIE-CUTTING
Die-cut the two stenciled pencils with the pencil outline
Die-cut a plain piece of white cardstock with the pencil outline
Die-cut the "a+" layers as shown out of:
black cardstock (x 2)
white cardstock
yellow glitter cardstock (x2)
orange glitter cardstock
Adhere the a+ layers with Craft Glue


STAMPING


ASSEMBLY
Use a 1/8" hole punch to create a hole in the top center of the eraser for each pencil layer.
Adhere the layers and then using the existing hole as a guide, punch a hole through the white center layer.
Punch a hole in the a+.
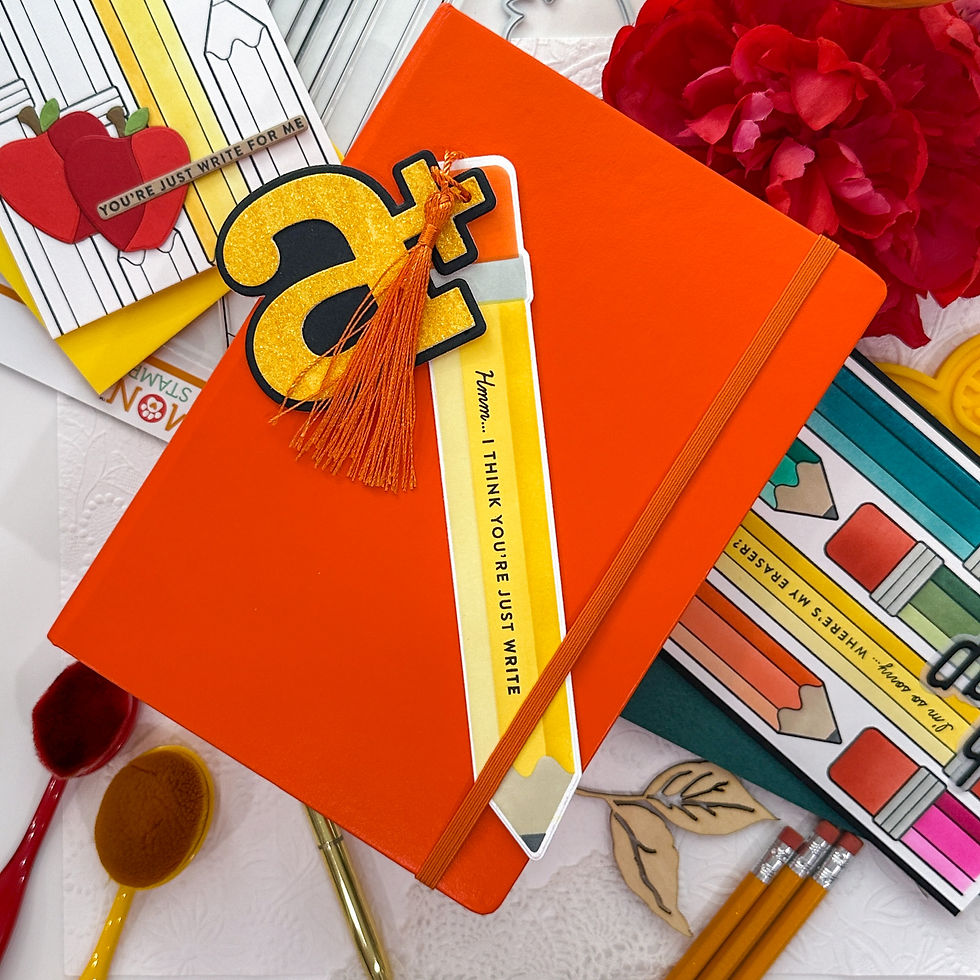
Thread a tassel through the hole in the pencila and a+.


It worked out better than I expected!

I pulled this die-cut from my stash and love how it coordinates with the pencil!

Sentiments on each side of the pencil for maximum cheer!

Perfect for tucking into a favorite notebook or book!
Thanks for coming by!
SUPPLIES:
I listed the products that I have used below. Please note that these are compensated affiliate links, used at no cost to you. I really appreciate your support. All stamps used today were part of my Cheering For You maker package from Simon Says Stamp. Click on the icons below each product picture to shop with SimonSaysStamp.com.
Comments