


Hello Lovelies! More often than not when looking at a new release, I always gravitate to the stencils, and it's even better when the stencils have layers!
Back to school time is just around the corner in Georgia, so I've made a little Teacher card with this adorable Layered Apples stencil set from the Just A Note release. Teachers deserve all the hugs for everything they do and this is just the smallest way to say we appreciate it.

I must confess, my Distress Ink reds are still my favorites, the colors are so lush and rich and perfect for this project!
Let's take a look at the key supplies.


Click on the image below to check out the ENTIRE release or SHOP THIS CARD throughout the post OR in the Supplies section at the bottom of this post:

Today's GIF!
I don't even know what this is about,
but this is waaaayy to cute not to share!
Like this card and my corny GIFs? CLICK BUTTON BELOW
to sign up for blog updates:
YOU MAKE A DIFFERENCE CARD - Stenciling, Glossy Accents and Fussy -Cutting
Card Base: 4 1/4" x 5 1/2
Stenciled Layer: 3 1/4' x 4 1/2"

COLOR PALETTE
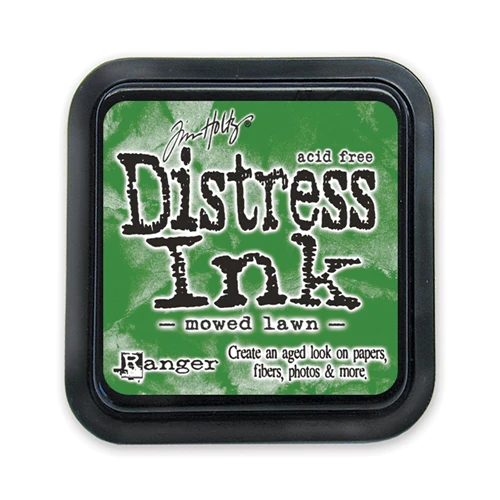
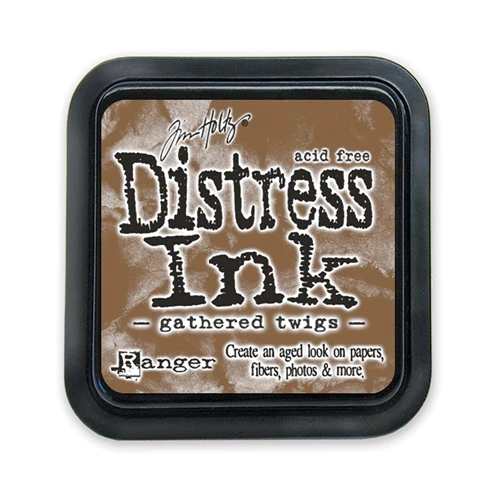
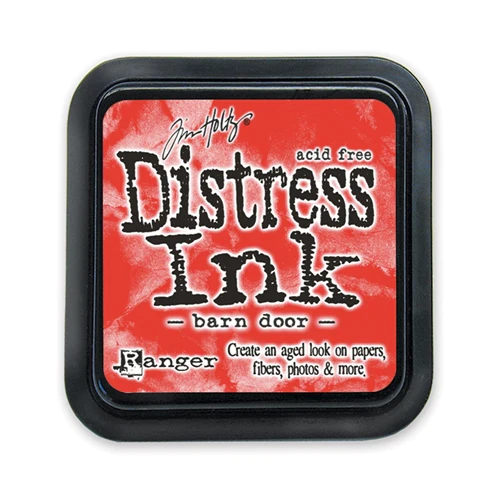
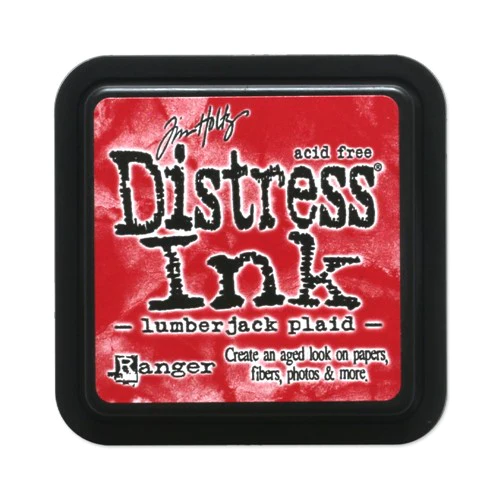
Distress Inks in da house!!! - Barn Door, Lumberjack Plaid, Aged Mahogany, Mowed Lawn and Gathered Twigs
PICTORIAL GUIDE
Secure the Layered Apple Stencil to the your craft surface with painter's tape
The Stencil has 4 layers:
Whole Apple - Barn Door
Partial Apple - Lumberjack Plaid with a little Aged Mahogany towards the base of the apple
Apple Leaf - Mowed Green (not shown below)
Apple Stem - Gathered Twigs


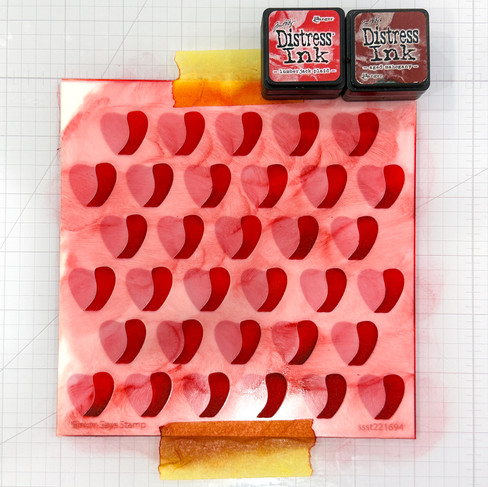


Here is the completed Layered Apples stenciled background. Take a last look before we cut it up for our card!

Trim the stenciled background to 3 1/4" x 4 1/2"
Fussy-cut one of the apples from the left-over section of the background; cover the apple, stem, and leaf in Glossy Accents. Set aside to dry.
Trim the "You Have Made a Difference" Reverse Teacher Sentiment Strip
Use the Teacher die to die-cut Black Glossy Cardstock. Die-cut the outline out of white cardstock. Adhere the word to the outline.
Emboss a 4 1/4" x 5 1/2" piece of Kraft Cardstock with the Gradient Dot Embossing Folder
Adhere the embossed cardstock to a card base; pop up the stenciled background with foam tape and then adhere the remaining die-cuts, sentiments and embellishments to finish


How can you not love this stencil?

The Glossy Accents makes the apple look even more yummy, though I am going to have to work harder to get the bubbles out next time!

Though the Gradient Dot embossing its subtle, somehow it makes a big difference.

A simple card that comes together nicely for your favorite teachers.

Now I am suddenly feeling the urge to rainbow this....

Lovelies, I am having a lot of fun not overthinking my card-making lately, so I hope that you liked this simple card and will give it a whirl.
Happy Crafting!
SUPPLIES:
I listed the products that I have used below. Please note that these are compensated affiliate links, used at no cost to you. I really appreciate your support. All stamps used today were part of my Just A Note maker package from Simon Says Stamp. Click on the icons below each product picture to shop with SimonSaysStamp.com.
Comentarios