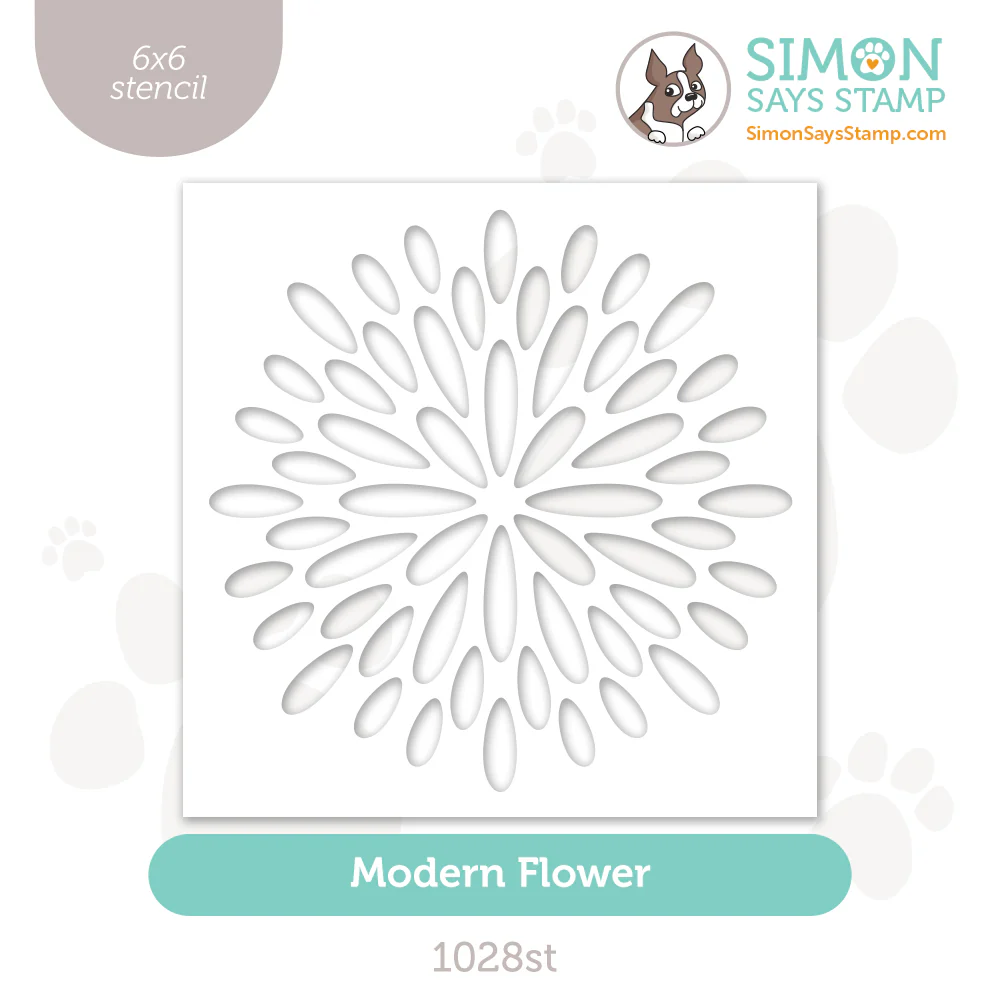
Hello Lovelies! I am always hesitant when I do a super simple card, I often question if I ahould have done more to make it more elaborate, but here I loved the Modern Flower Stencil design so much with the ink blending that I could not bear to do more. I used the Modern Flower from Simon Says Stamp's Celebrate Release on 3 cards so far and this is the boldest of the trio.
In today's card we are using Simon Says Stamp Pawsitively Saturated Inks for our vibrant blending and bringing back one of my favorite die-cut sentiments for this Friendship Card.

Time for Key Supplies!
Get Your Supplies!
Click on the image below to SHOP THE ENTIRE release OR
SHOP THIS CARD using the links throughout the post OR
SHOP the Supplies section at the bottom of this post
Today's GIF!
Bestie hugs are ALWAYS welcome!
Like this card and my corny GIFs? CLICK BUTTON BELOW
to sign up for blog updates:
HELLO FRIEND CARD - Stenciling, Distressed Ink-Blending & Die-cutting
Card Base: 4 1/4" x 5 1/2"

COLOR PALETTE
Simon Says Stamp Pawsitively Saturated Ink Pads - Sunbeam, Grapefruit and Amethyst

CARD WALKTHROUGH
STENCILING
Adhere a 6" x 6" piece of white cardstock to a Stamp and Stencil Mat.
Secure the Modern Flower Stencil over the cardstock.
Use Large Blending Brushes and each of the Pawsitively Saturated Inks to apply color through the openings in the stencil as shown. Start with Sunbeam and overlap with Grapefruit; finish with Amethyst.
Remove the stencil and cardstock.
Use a spray bottle to generously splatter the stenciled cardstock with water. Let droplets sit and then dab with a dry rag/paper towel or a heating tool.
Gather two scraps of white cardstock large enough for the "Friend" die-cuts.
In one with Taffy, directly using a Taffy Ink Pad and the other with Amethyst.
Once dry, die-cut the Amethyst layer using the Friend Outline Die and die-cut the Taffy Layer using the Friend Sentiment die. Layer and adhere with sentiment glue.
Trim the Modern Flower background to 4 1/4" x 5 1/2" and the "Hello" sentiment as shown. Pop up the Modern Flower background using foam tape
Adhere the sentiments to the Modern Flower background and adhere the background to a card base.


I think that a little distressing adds a bit of softness to this backgound.

With all of that vibrant color in the background, the bold sentiments are able to stand out and make a statement of their own. Also those lovely Orchid jewels do not hurt!

Hopefully this card inspired you to splatter some of your stenciling and to have fun with color.

Thank you SO much for stopping by! Drop me a comment and say hi!
SUPPLIES:
I listed the products that I have used below. Please note that these are compensated affiliate links, used at no cost to you. I really appreciate your support. All stamps used today were part of my Celebrate maker package from Simon Says Stamp. Click on the icons below each product picture to shop with SimonSaysStamp.com.


Please, do NOT EVER feel your cards are not enough! You call this simple, I call it BEAUTIFUL!