Simon Says Stamp - NOVEMBER 2024 Card Kit, CHRISTMAS CHEER
- Keisha Diann
- Oct 29, 2024
- 3 min read

Hello Lovelies! As of the time of this post, the November 2024 Christmas Cheer Card Kit is available and stuffed with goodies for some festive makes! If you already snagged it, that's even better, and I'm hoping this will give you an idea of how you can create a sweet layered scene with the stamp set.
After a rather intense month of coloring in STAMPtember, I am feeling a lot more comfortable with coloring and decided to make that the main technique in creating this card.

Here's a closer look at ALL the kit goodies. Click image below to shop for the kit and the following link to see the full supply list.
Here's the full list of all the crafty goodies that the kit contains:
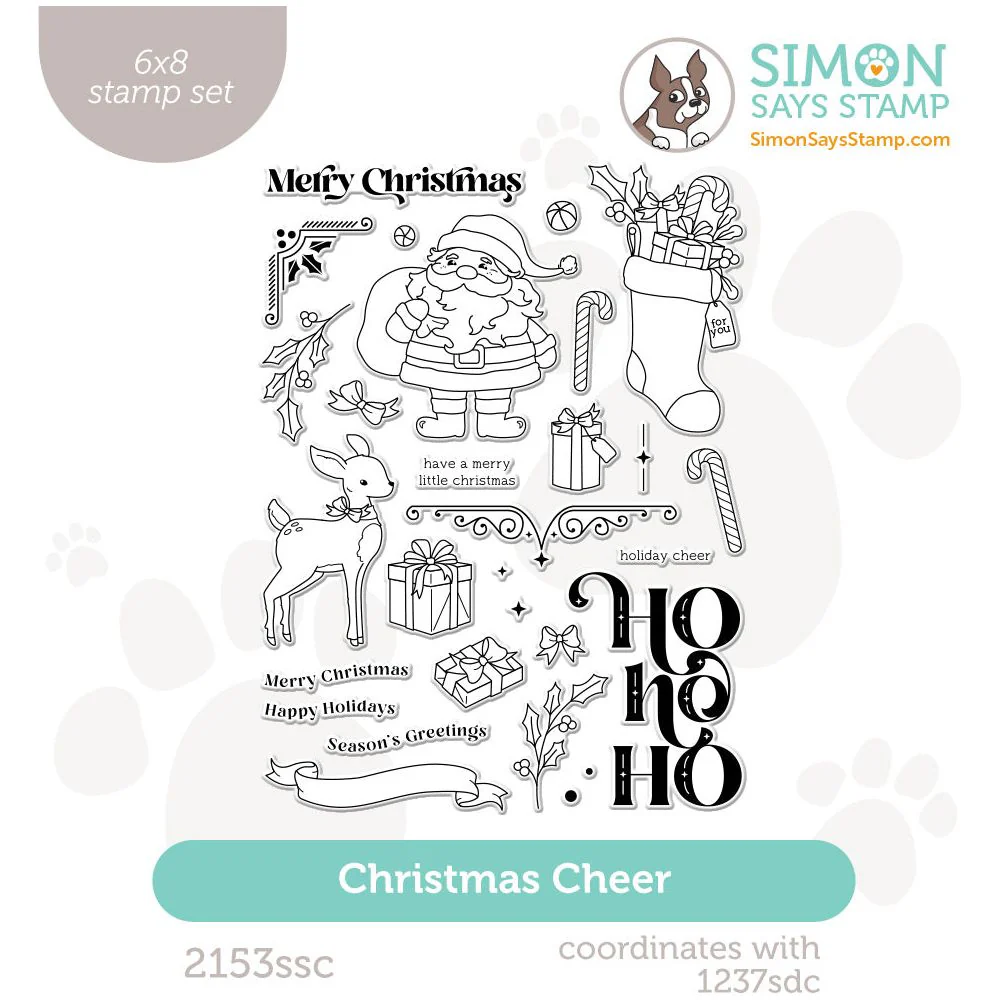
1 NEW and exclusive Simon Says Stamp Christmas Cheer 6x8 inch clear stamp set
1 NEW and exclusive Simon Says Stamp Fanciful Joy die
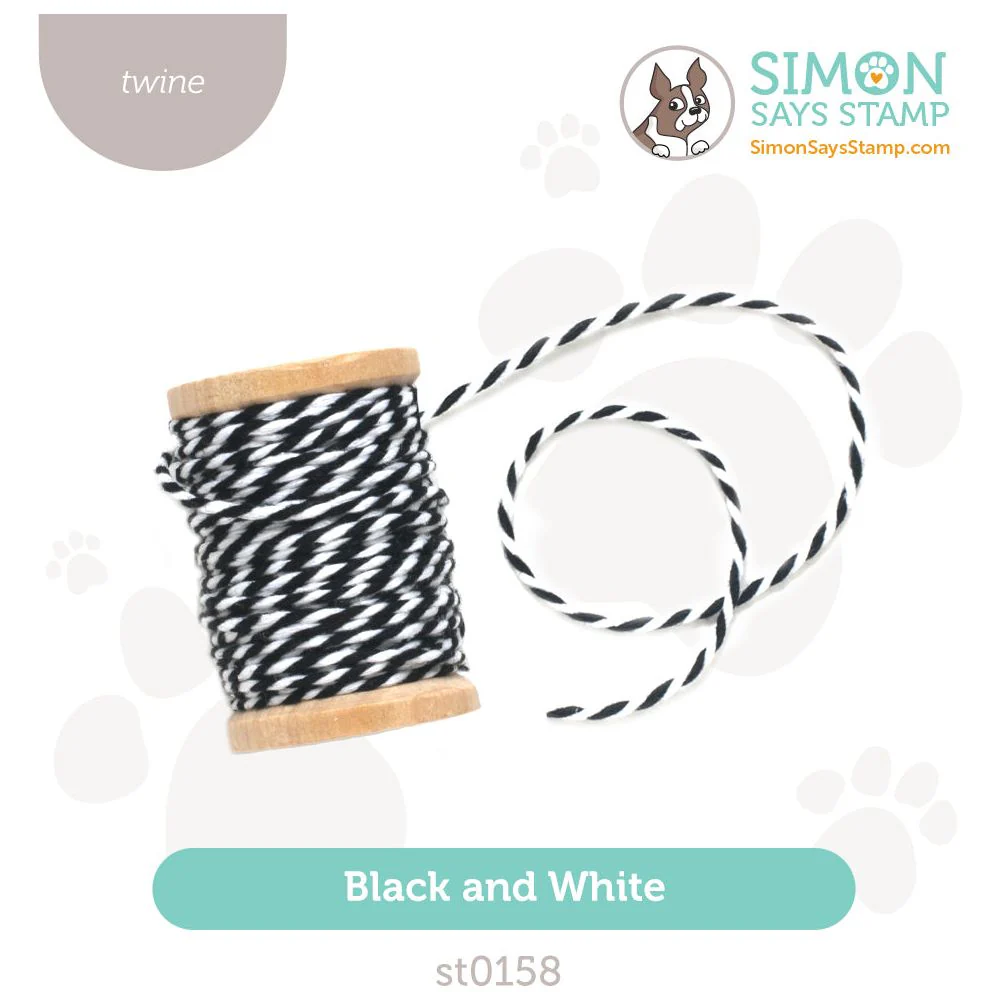
1 NEW Simon Says Stamp Black and White baker’s twine spool
1 NEW Simon Says Stamp A2 Cotton Candy pre-scored card
1 Rainbow Splash Twinkling Stars embossing folder
8 double-sided Prima Marketing Candy Cane Lane 6x6 inch patterned paper sheets
1 Craft Consortium Christmas Market decoupage paper pack (includes foam adhesive squares!)
1 Tim Holtz Idea-ology Sweets tag metal adornment
1 Simon Says Stamp Tear-rific adhesive sheet
1 Simon Says Stamp 8.5 x11 inch 90 lb Rich Red cardstock sheet
1 Simon Says Stamp 8.5 x5.5 inch 90 lb Matte Silver cardstock sheet
1 Neenah 8.5x11 inch 110 lb Solar White cardstock sheet
1 Simon Says Stamp A2 Metallic Cotton Candy envelope
Highlighted in turquoise are the card kit contents that we'll use for this card.
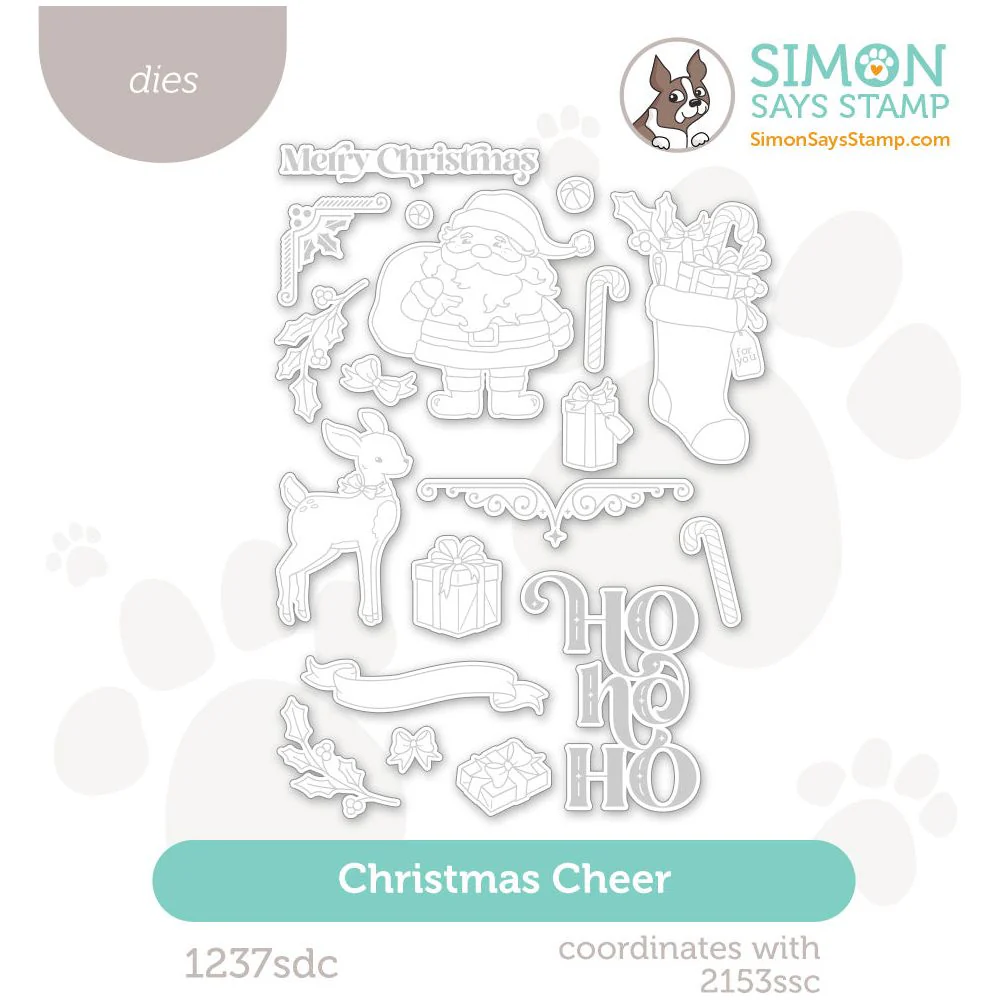
Spotlighted below are these key items that inspired this card; they are also available separately if you are interested in particular one! The Christmas Cheer Dies are NOT included in the Kit, but can come in handy for this card if you don't feel like fussy-cutting!
Card Kit Jokes
I find myself asking this question alot as my family is not always able to
match my festive energy!
MERRY CHRISTMAS CARD - Ink-blending, Stamping, Coloring, Die-Cutting and Collaging
Base Layer: 4 1/2" x 6 1/4"
Collage Layer: 4 1/4" x 6 1/2"
Featuring:
IN KIT:
1 NEW and exclusive Simon Says Stamp Christmas Cheer 6x8 inch clear stamp set
1 Neenah 8.5x11 inch 110 lb Solar White cardstock sheet
1 NEW Simon Says Stamp Black and White baker’s twine spool
ADDITIONAL:
Simon Says Stamp Christmas Cheer Die set (optional)
Copic Markers - colors below in Palette section
Distress and Pawsitively Saturate Ink Pads - colors below in Palette section
Posca Pen - White

COLOR PALETTE:
Copic Markers - C00, C0, C1, BG000, BG01, BG15, BG45, BG49, BG53, RV10, RV11, RV52, RV55, R21, R24, R27, R29, N1, N3, N5, N6, E21, E23, E25, E40, E41, E42, E53, E55, E57, Y19, Y26
Distress Ink Pad - Tumbled Glass
Pawsitively Saturated Ink Pad - Bubblegum, Earl


CARD HIGHLIGHTS:
STAMPING, COLORING & DIE-CUTTING
Stamp the images in Memento Tuxedo black onto 110lb Neenah White Cardstock
Color using Copic or alcohol ink similar markers
Add highlights using a white Posca Pen


Scribble some BG000 marker onto white cardstock as shown and then stamp banner in Memento Tuxedo Black
Stamp sentiment inside banner with same ink
Fussy-cut or die-cut.
DIE-CUTTING/FUSSY-CUTTING, INK-BLENDING & COLLAGING
Die-cut/fussy-cut the colored images
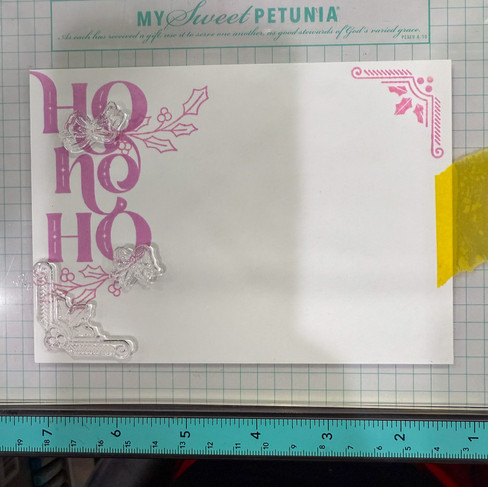
Trim a piece of white cardstock for a background to 4 1/4" x 6" and secure inside a MISTI
Start with stamping the largest elements first - the sentiment in Bubblegum and then adding the Holly Sprigs, corner decorations and bows.
Arrange the die-cut/fussy-cut image as shown below and then arrange the candy cane, balls and stars in the locations shown and stamp in Earl.
Remove the die-cut images and set aside. Ink-blend a little Tumbled Glass as a backdrop to Santa and splatter with Picket Fence Distress White Paint

ASSEMBLY
Adhere the images to the background with Craft Glue.
Apply Foam Dots to the back of the sentiment and adhere.
Apply Foam Tape to the back of the card front and adhere to a 4 1/2" x 6 1/4" card base.
Adhere the embossed panel to the card base
Wrap the Bakers Twine around the perimeter of the cardfront as shown and secure with some Craft Glue.


How sweet is our little deer?.

Santa looks quite please with his stash of gifts!

This card is full of candy cane sweetness for a special someone after all that coloring!

SUPPLIES:
I listed the products that I have used below. Please note that these are compensated affiliate links used at no cost to you. I really appreciate your support. Simon Says Stamps Card Kit products were provided as part of my Design Team package.
Click image below to shop for the Kit ONLY!
Click on the icons below each product picture to shop additional supplies with SimonSaysStamp.com.


Kaiser OTC benefits provide members with discounts on over-the-counter medications, vitamins, and health essentials, promoting better health management and cost-effective wellness solutions.
Obituaries near me help you find recent death notices, providing information about funeral services, memorials, and tributes for loved ones in your area.
is traveluro legit? Many users have had mixed experiences with the platform, so it's important to read reviews and verify deals before booking.