
Hello Lovelies! This should probably be a card for my Made In Minutes Series as it's definitely an easy one! You can probably also tell that I am not a purist when it comes to seasonal color, as these sweet pastels don't scream Autumn. I think it's ok to do the unexpected every now and then though.
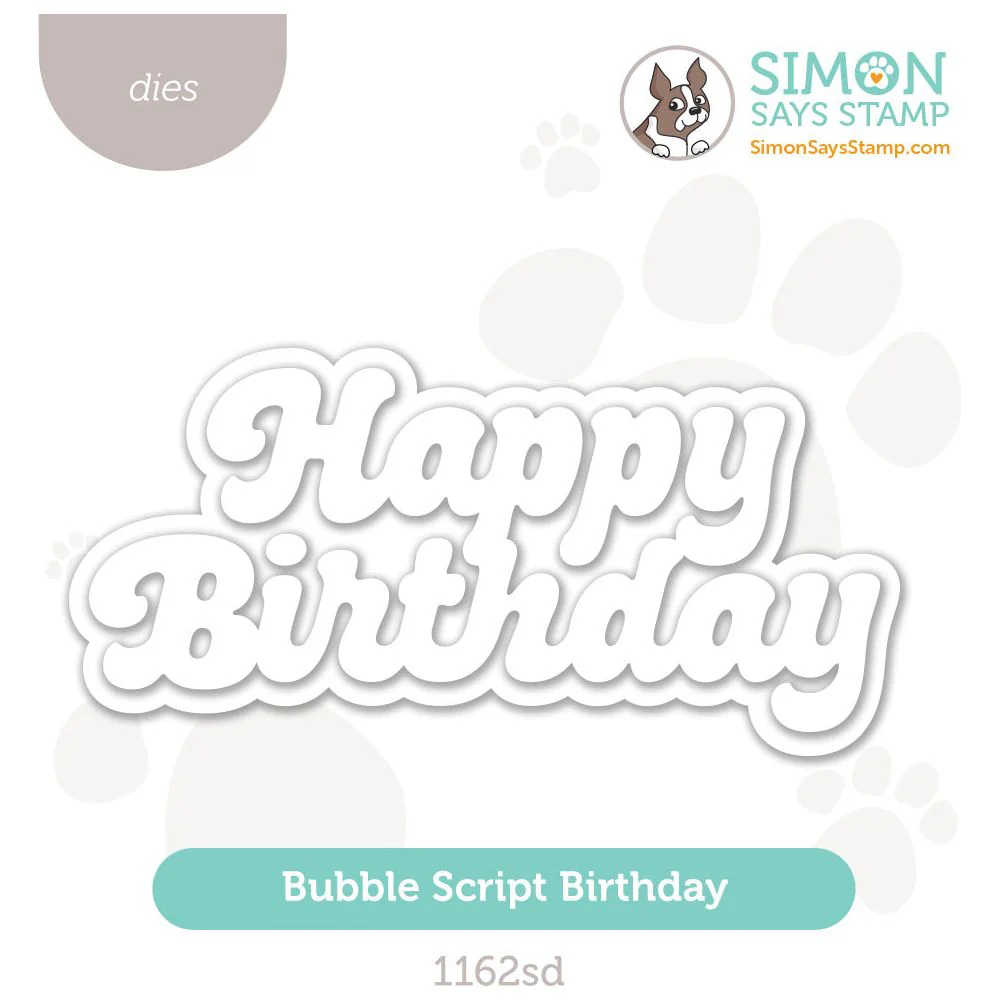
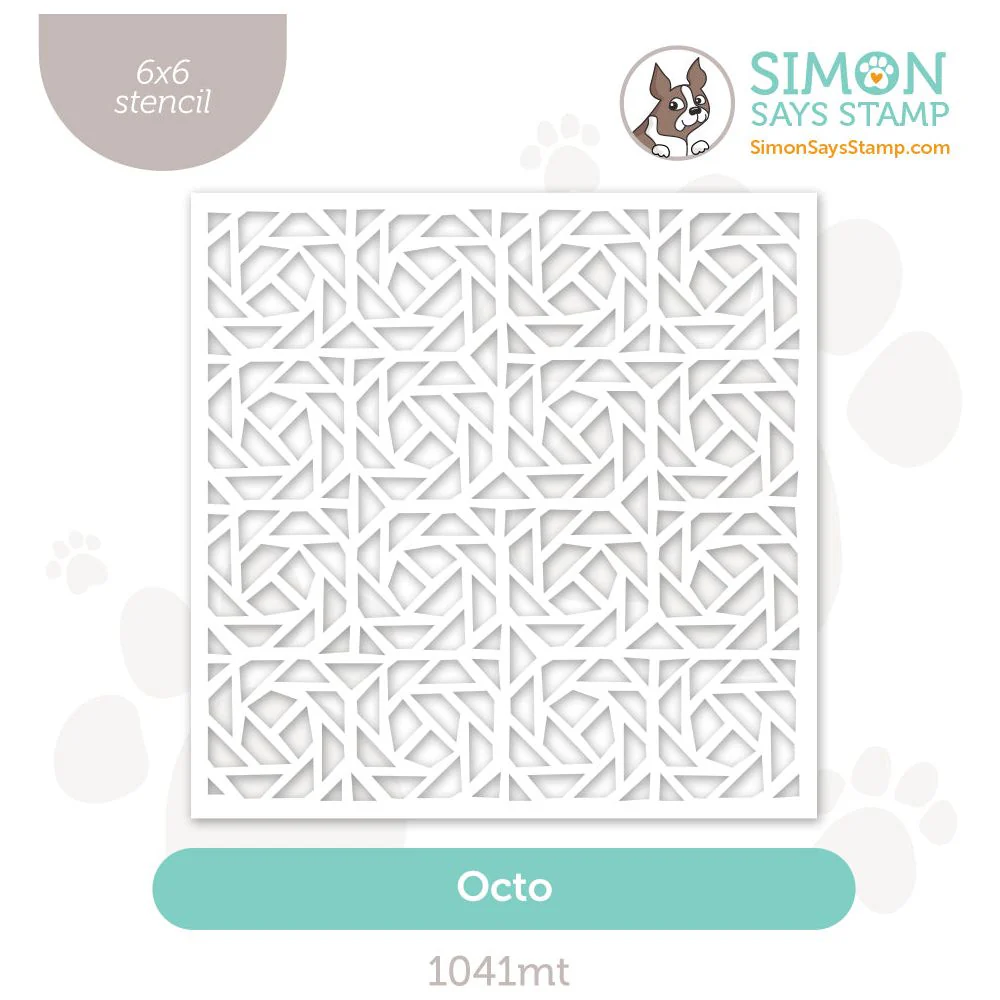
I am quite fond of glitter, but not the mess it makes, so we are going to use two products that give the shimmer of glitter without the clean-up job. The font on the Bubble Script Happy Birthday is what sucked me in and it never takes much for me to get to stenciling. This beauty is the Octo Stencil from the Sweet Wishes release.

Time for Key Supplies!
Get Your Supplies!
Click on the image below to SHOP THE ENTIRE release OR
SHOP the Supplies section at the bottom of this post
Today's GIF!
This is ME, EVERY time I use traditional glitter!
Like this card and my CORNY GIFs? CLICK BUTTON BELOW
to sign up for blog updates:
OCTO HAPPY BIRTHDAY CARD - Double Stenciling with Ink and Texture Paste, Die-Cutting
Card Size: 4 1/4" x 5 1/2"

COLOR PALETTE
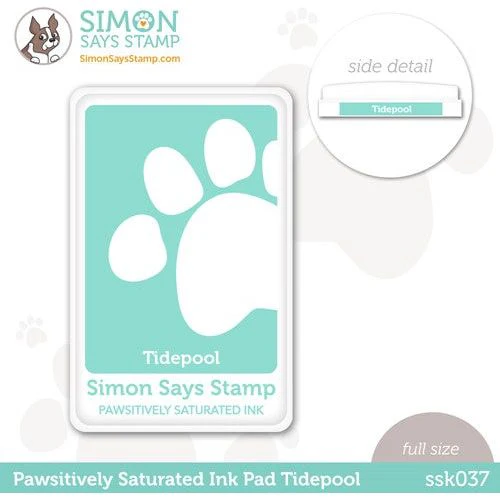
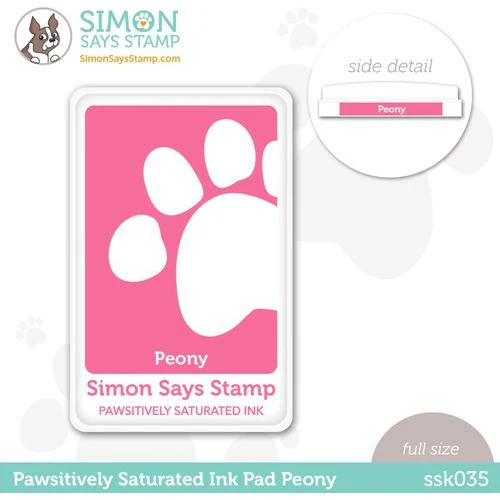
Pawsitively Saturated Ink Pads - Royal, Tidepool, Cheeky and Peony
PROJECT HIGHLIGHTS
STENCILING: INK-BLENDING
Position 4" x 5 1/4" white cardstock on a Pawsitively Perfect Craft Tacky Mat.
Secure the Octo Stencil over the cardstock.
Use Large Blending Brushes to lightly blend the four colors in horizontal stripes across the shorter side of the cardstock in the following order: Royal, Tidepool, Cheeky and Peony.
STENCILING: TEXTURE PASTE
Leaving the stencil in place, gently dab up extra in using a dry micro-fiber towel.
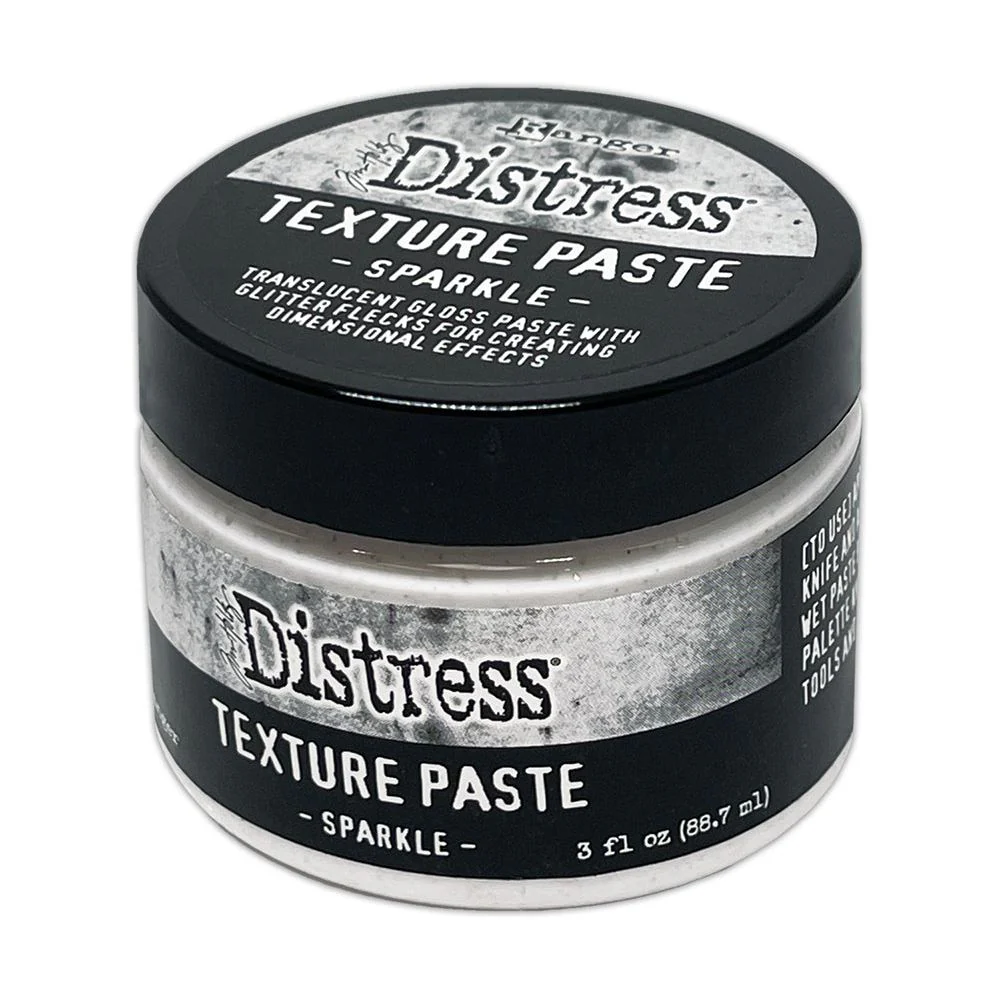
Using a palette knife spread an even layer of Sparkle Distress Texture Paste through the stencil.
Once coverage is even, quickly remove and wash the stencil.
Set aside the panel to dry.
DIE-CUTTING
Die-cut the Bubble Happy Birthday sentiment using Gold Luxe Cardstock and the outline with white cardstock.
Die-cut the dry Octo background using the Bubble Happy Birthday outline.
Pop up the die-cut background with Foam Tape and adhere to a card base.
Layer and adhere the Luxe sentiment with Craft Glue in the opening.
Adhere Gold Gems with Craft Glue to embellish.
Three types of sparkle on this simple card and some how they don't compete with each other!

I may need to use this Luxe cardstock more often. :-)

I hope you'll make this. You won't be disappointed.

Drop me a comment and say hi!
SUPPLIES:
I listed the products that I have used below. Please note that these are compensated affiliate links, used at no cost to you. I really appreciate your support. All stamps used today were part of my Sweet Wishes maker package from Simon Says Stamp. Click on the icons below each product picture to shop with SimonSaysStamp.com.







Comments