Simon Says Stamp - Peeking Bunny Textured Rainbow Friendship Card
- Keisha Diann
- Mar 31
- 2 min read

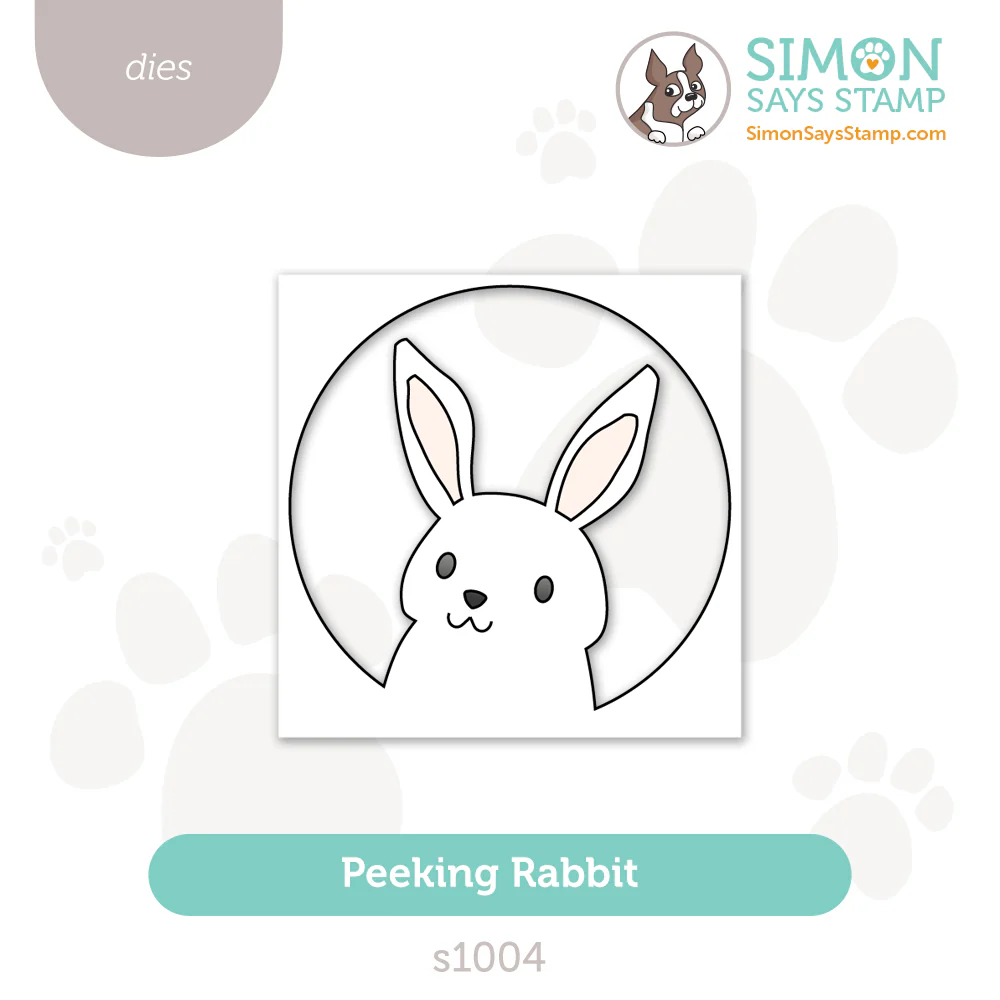
Hello Lovelies! I'm back with another critter just as cute as the one from my last card. Meet Peeking Bunny!!! Just to ensure she is "peeking appropriately", I made her a window for her white wooden cottage.
Our background today is an ink-blended rainbow that is embossed with one of the newest dot-pattern embossing folders and then further accented with white pigment ink. Just a few simple steps to our textured rainbow friendship card; its not just easy but fun, so let's get started!

Key Supplies For Textured Rainbow Friendship Card!
Get Your Supplies!
Click on the image below to SHOP THE ENTIRE release OR
SHOP the Supplies section at the bottom of this post
Today's GIF!
Peeking but NOT creepy!
Like this card and my CORNY GIFs? CLICK BUTTON BELOW
to sign up for blog updates:
THANKS FOR BEING MY FRIEND CARD - Ink-blending, Embossing and Die-cutting
Card Size: 4 1/4" x 5 1/2"

CARD HIGHLIGHTS
CREATING THE TEXTURED RAINBOW BACKGROUND
Ink Large white cardstock Blending Brushes with Carnation, Sunbeam and Surf ink and blend overlapping colors to create the rainbow gradient.
Emboss the rainbow with the Dotty Diamonds Embossing Folder.
Heat-set to ensure the ink is fully dried.
Lightly drag a Simon Says Stamp White Pigment Ink Pad across the raised surface of the embossed cardstock to highlight the raised dots.
CREATING THE BUNNY WINDOW
Trim white cardstock to 2 1/2" x 3 1/2".
Die-cut with the Peeking Bunny top layer about 1/2" down from the top.
Score the "window" at 1/2" intervals to create the wooden slats.
COLORING THE BUNNY WINDOW
Mask off the bunny with washi, delicate painters tape or Post Its .
Gently swipe a Lost Shadow Distress Ink Pad down the slats to create a worn wood texture.
Ink the bottom layer of the bunny ears with Carnation ink and the head with Flannel or Lost Shadow Ink.
Use Foam Tape to elevate the window.
FINISHING
Adhere the embossed panel to a card base.
Adhere the window to the embossed panel
Die-cut, ink (Flannel or Lost Shadow) and assemble and adhere the "Thanks" sentiment die-cut.
Trim and adhere the "for all you do" Sentiment Strip.


Last Look!

You can never have too many Friendship cards! Drop me a comment and say hi!
SUPPLIES:
I listed the products that I have used below. Please note that these are compensated affiliate links, used at no cost to you. I really appreciate your support. All stamps used today were part of my Rain or Shine maker package from Simon Says Stamp. Click on the icons below each product picture to shop with SimonSaysStamp.com.


Comentários