

Simon Says Stamp - Rustic Layering Flower Friendship Card
- Keisha Diann
- Sep 3, 2024
- 3 min read

Hello Lovelies! I had a totally different vision for this card and I am SO glad that I ended up with something completely different!
In today's tutorial uses Copic Markers to create a roughly blended background on the new Plaid die-cut from the STAMPtember® release available now. I don't think I've done a marker-blended background before, but I have done a lot of detailed ink-blending and I think it worked out pretty nicely on that darling Rustic Layering Flower die-cut so let's get to it!

Time for Key Supplies!
Get Your Supplies!
Click on the image below to SHOP THE ENTIRE release OR
SHOP the Supplies section at the bottom of this post

Today's GIF!
My plaid is a bit different, but this sure looks comfy!
Like this card and my CORNy GIFs? CLICK BUTTON BELOW
to sign up for blog updates:
SO VERY LOVED CARD - Alcohol-Ink Marker Blended Background, Detailed Ink-Blending, Die-cutting
Card Size: 4 1/4" x 5 1/2"

COLOR PALETTE
CARD BACKGROUND
Copic Markers - V12, V17, BG07, B45, BG78

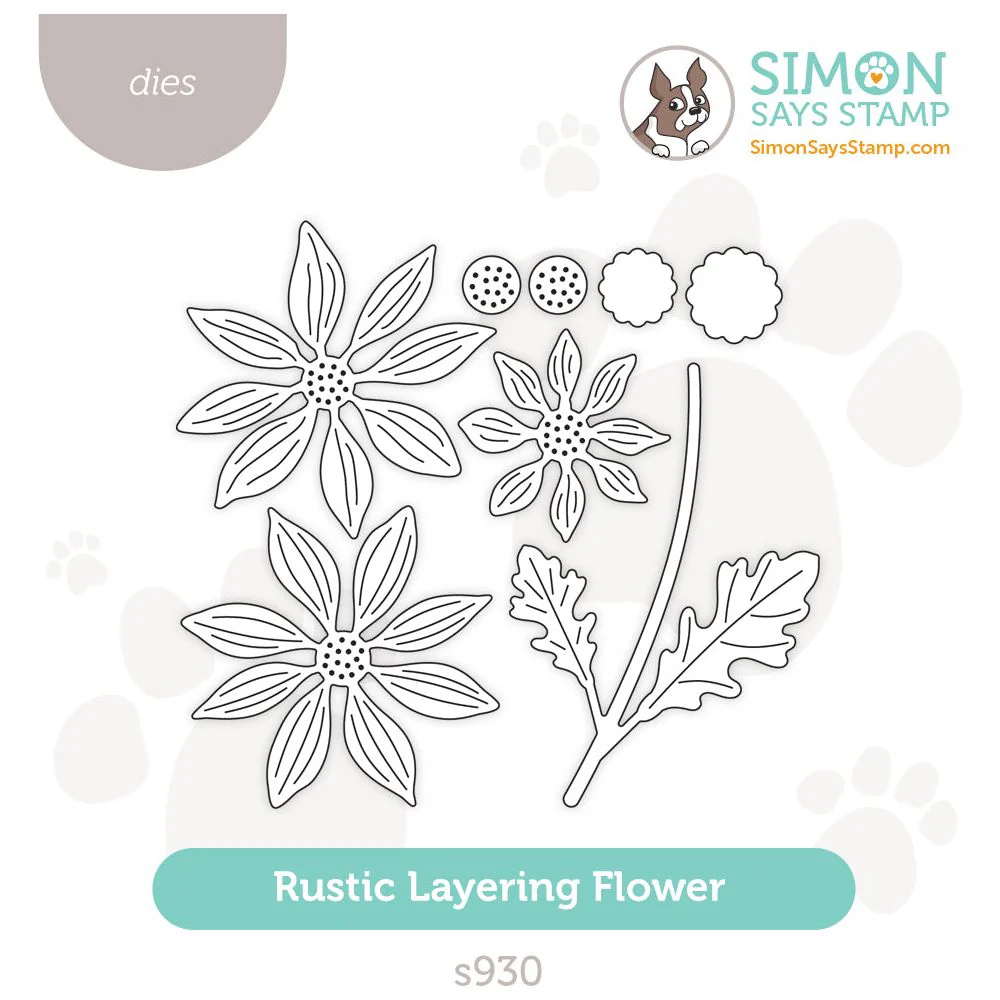
RUSTIC LAYERING FLOWER
Pawsitively Saturated Ink Pads - Sweets, Bubblegum, Morning, Fairway, Field

KEY TOOLS
CRAFT TACKY MAT
I said this in my Chelsea Butterfly card post, but I'm resharing it here because I'm really into this mat.
"This may be my favorite thing from the release! I only "discovered" polymer grip mats 2 weeks before I received this (yes I have been under a rock!). I really enjoy this one as it add grid lines marking the 1/4" segments, so you can position both your cardstock and whatever you are putting on it with a understanding of their overall placement!"
I used it here for ink-blending the flower and butterfly die-cuts and was sooo happy to NOT have to use adhesives or magnets to hold them in place for coloring.

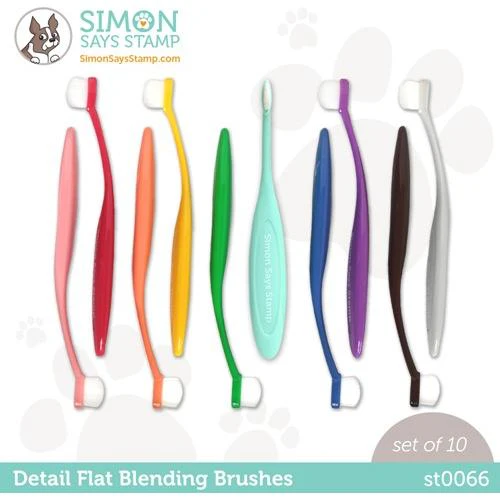
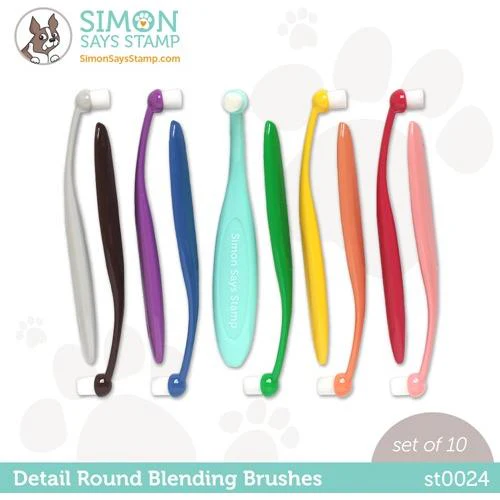
BLENDING BRUSHES
The flat and round size brushes shown here are great for .
HOW I STORE MY DETAIL BRUSHES:

PROJECT WALKTHROUGH
DIE-CUTTING AND COPIC "BLENDED" BACKGROUND
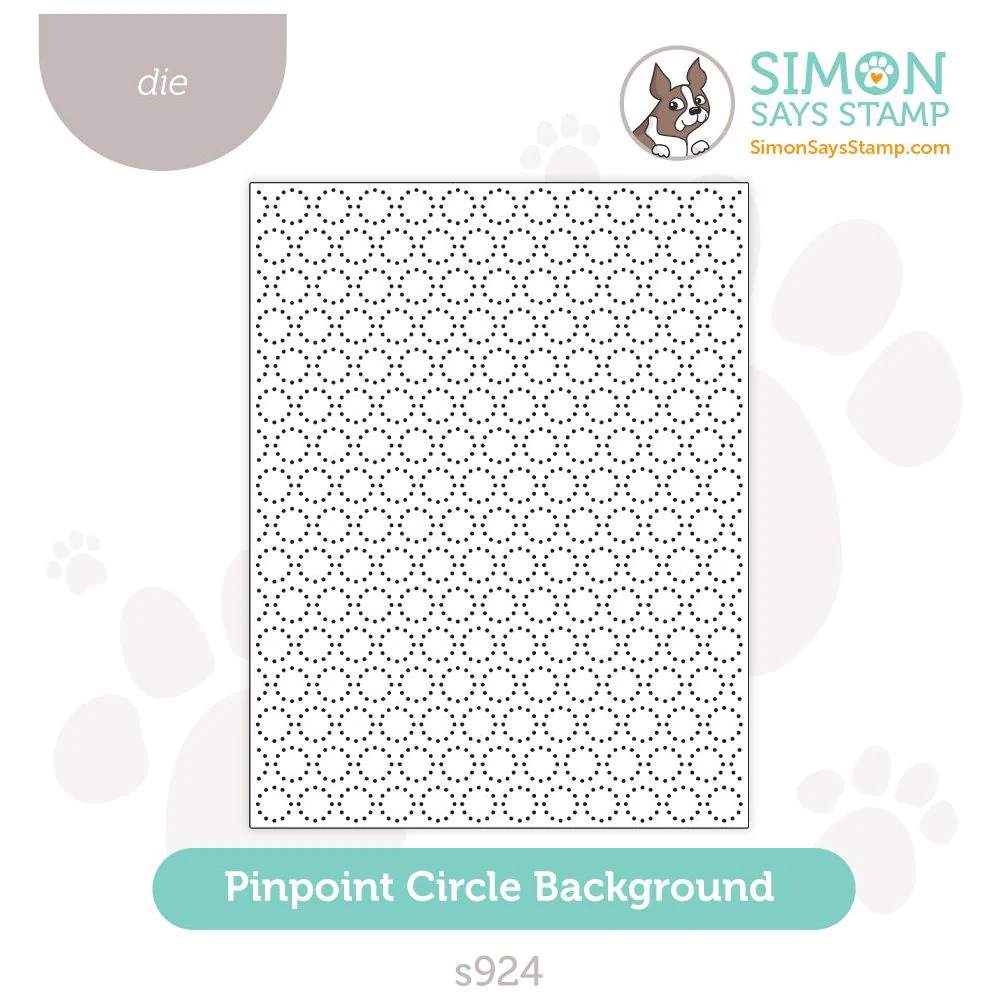
Die-cut Neenah Solar White 110lb Cardstock using the Pinpoint Circle Background die.
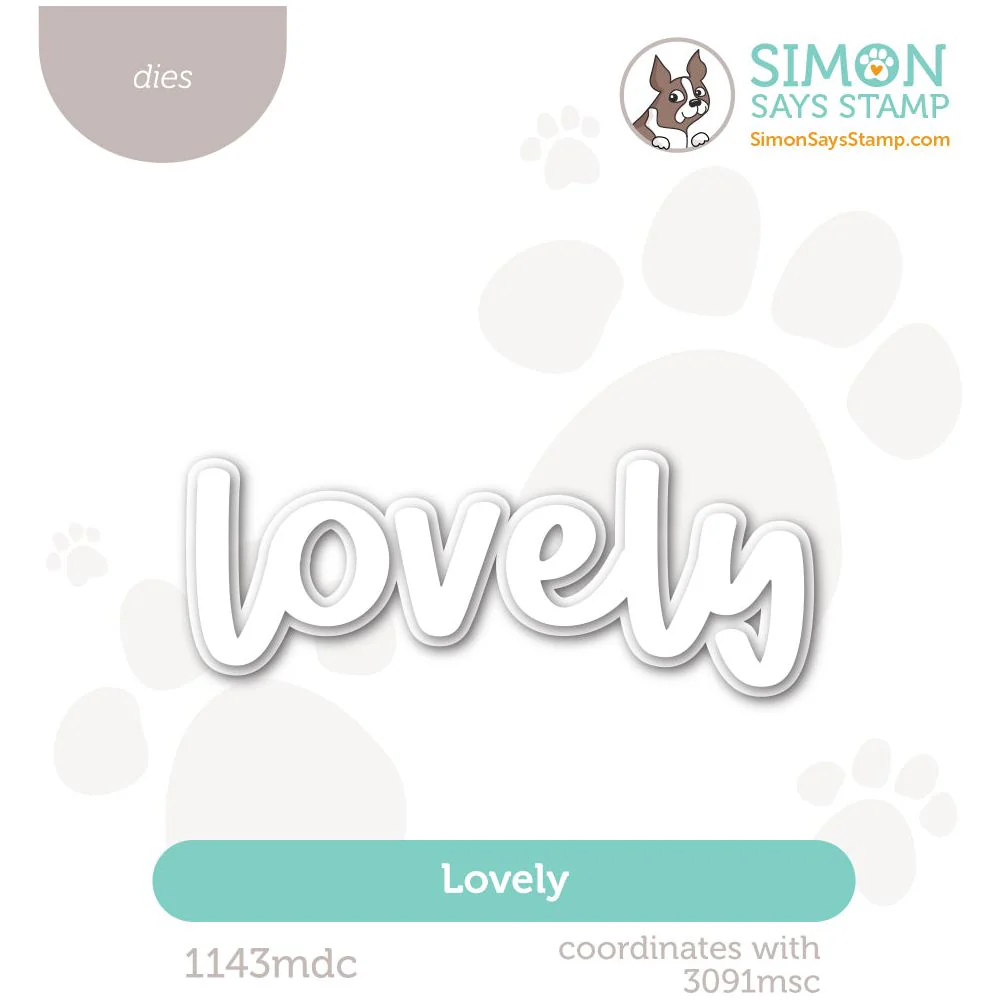
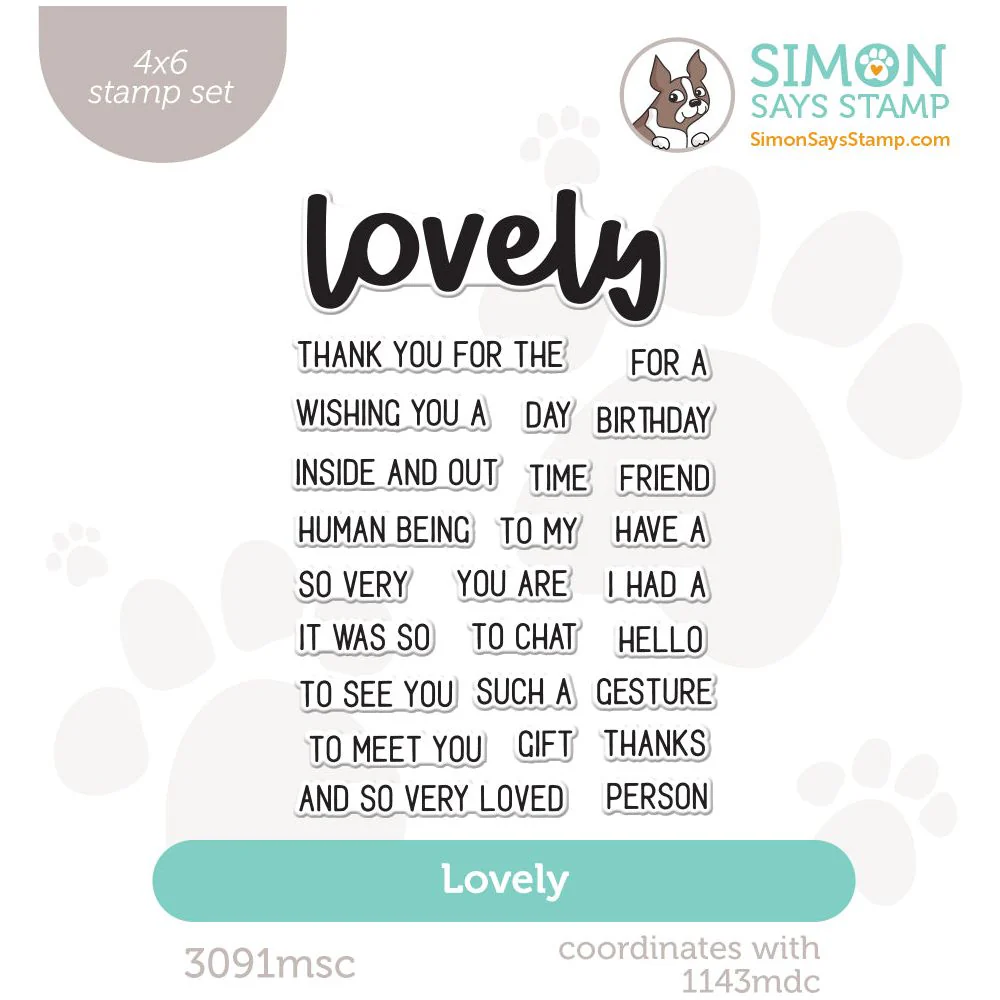
Die-cut Neenah Solar White 110lb Cardstock using the outline layer of the Lovely die.
Die-cut Silver Holographic or Silver Matte Cardstock using the word layer of the Lovely die.
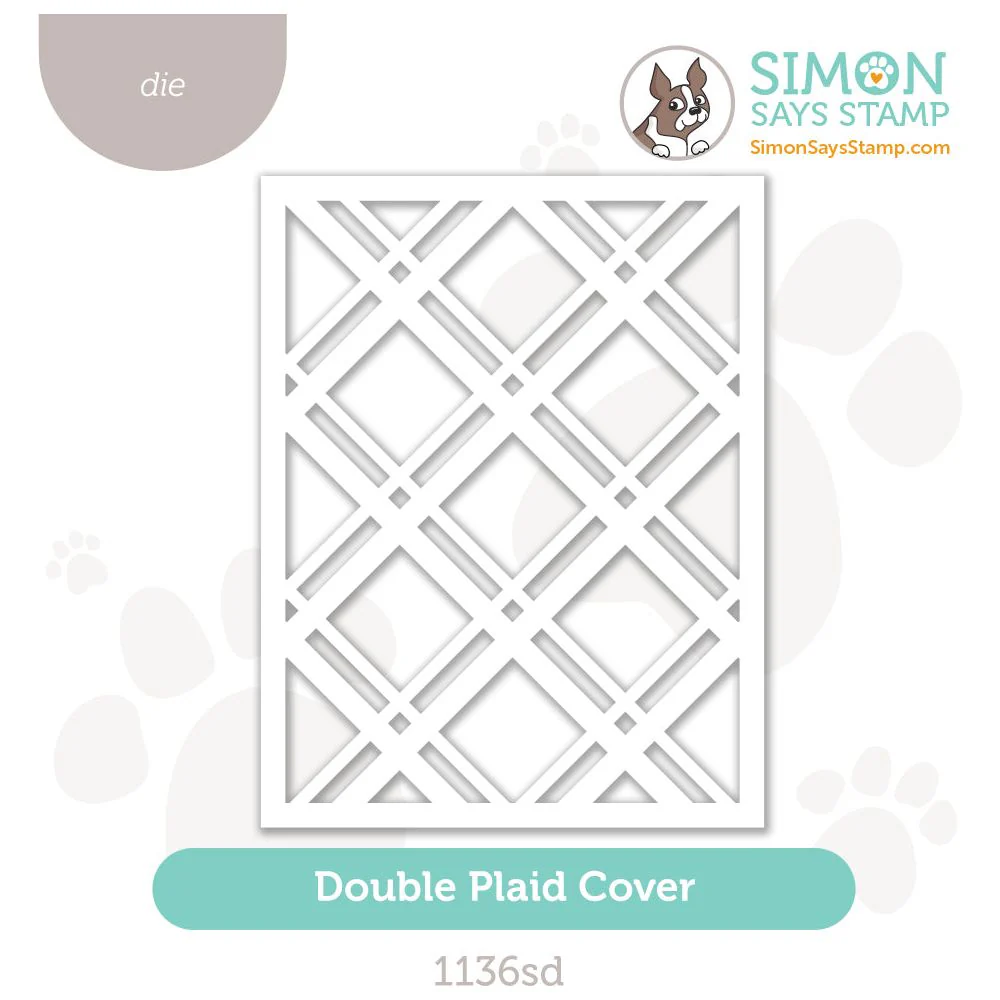
Die-cut Neenah Solar White 110lb Cardstock using the Double Plaid Cover die.
Color die-cut overlapping the selected colors until they blend a little into the next color. Don't try to make it perfect.


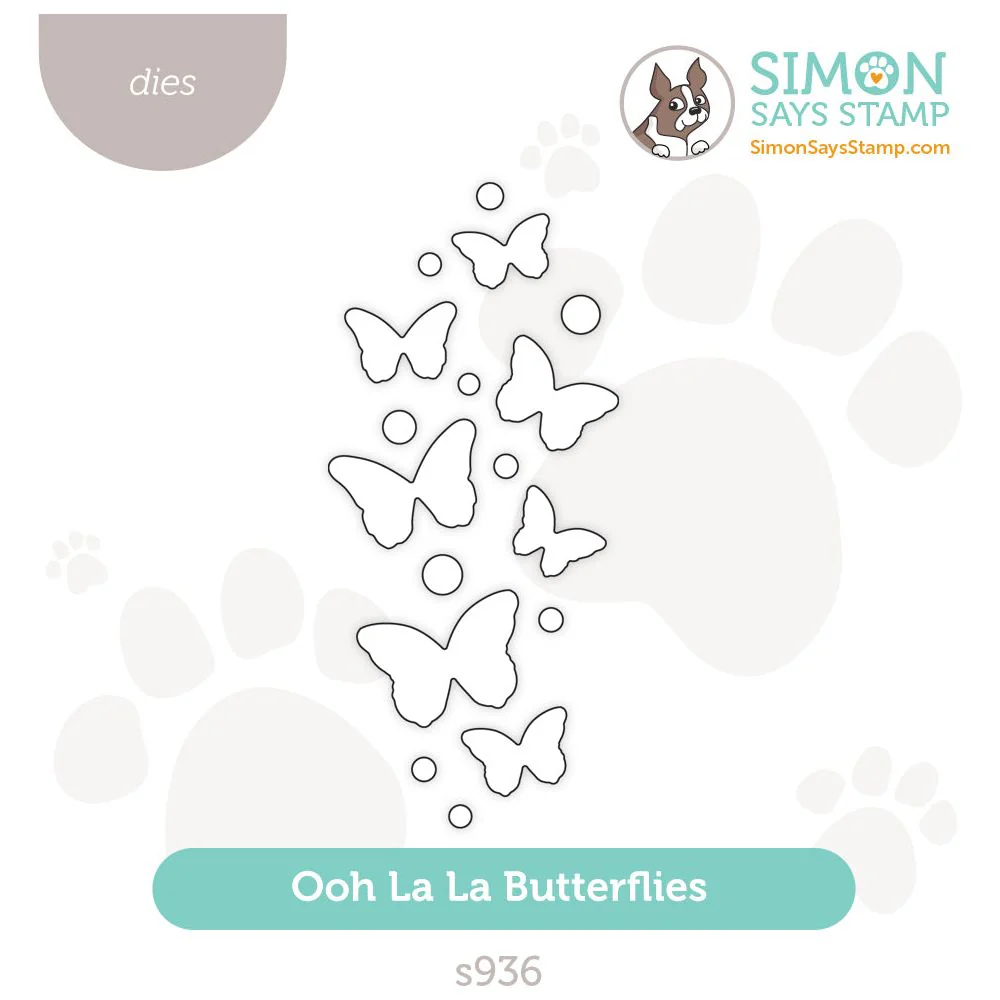
FLOWER & BUTTERFLIES - INK-BLENDING
Place the die-cuts onto the Crafty Tacky Mat, pressing to lightly adhere for blending.
For the Flower layers, start with Round Detail Blending Brushes at the center and work your way outwards
For the stem/leaves, start with Flat or Round Detail Blending Brushes the lightest green and then deepen the colors in the areas shown.


SENTIMENTS
Use a Large Blending Brush to ink-blend Pawsitively Saturated Morning Ink onto a scrap of white cardstock.
Stamp the "Morning" cardstock with the "AND SO VERY LOVED" sentiment and trim to size.
Layer and adhere the Lovely word die-cut using Bearly Craft Glue.


ASSEMBLY - COLLAGING
Adhere the "blended" Plaid die-cut to the Pinpoint background.
Adhere these die-cut layers to a card base.
Arrange and adhere the flower, butterfly and sentiments to the card front as shown.
The ink-blending with the markers is not perfect but I love the mottled effect in some places, it gives it a unique, handmade touch!

I will never NOT love pink and purple together!

The metallic sheen feels like a little bit of jewelry on this card and is that not a darling sentiment???

Hello pretty one! Yes, I am fan-girling over my own card, because even though it is not what I planned, it has it's own magic!
Last Look!
Drop me a comment and say hi!
SUPPLIES:
I listed the products that I have used below. Please note that these are compensated affiliate links, used at no cost to you. I really appreciate your support. All stamps used today were part of my STAMPtember® maker package from Simon Says Stamp. Click on the icons below each product picture to shop with SimonSaysStamp.com.
ArboStar’s https://arbostar.com/arborist-software wide range of features make it suitable for small, mid-sized, and large tree care businesses.