Hello Lovelies! I feel like a bit of a fraud because, growing up in the Caribbean, I've never actually built a real snowman since I came to the US. I've made snow angels and had a couple of snow fights, but I think I'll need to try an actual snowman the next time I get a chance.
Until then, I'll just have to make my snowbuddies in my craftroom. Arthur and Oliver are from the Festive Fun release and so simple to put together and even easier to love. We are going to two easy card hacks to elevate this simple card.

Time for Key Supplies!
Get Your Supplies!
Click on the image below to SHOP THE ENTIRE release OR
SHOP the Supplies section at the bottom of this post
Today's GIF!
Let's make shimmery things!
Like this card and my CORNY GIFs? CLICK BUTTON BELOW
to sign up for blog updates:
SNOW BUDDIES CHRISTMAS CARD - Embossing, Die-Cutting and Coloring Die-cuts
Card Size: 4 1/4" x 5 1/2"

COLOR PALETTE
Simon Says Stamp Pawsitively Saturated Ink - Morning

Copic Markers - R24, R29, YR09, YR16, YG09, G03, B41, B95, 100

PROJECT WALKTHROUGH
STAMPING
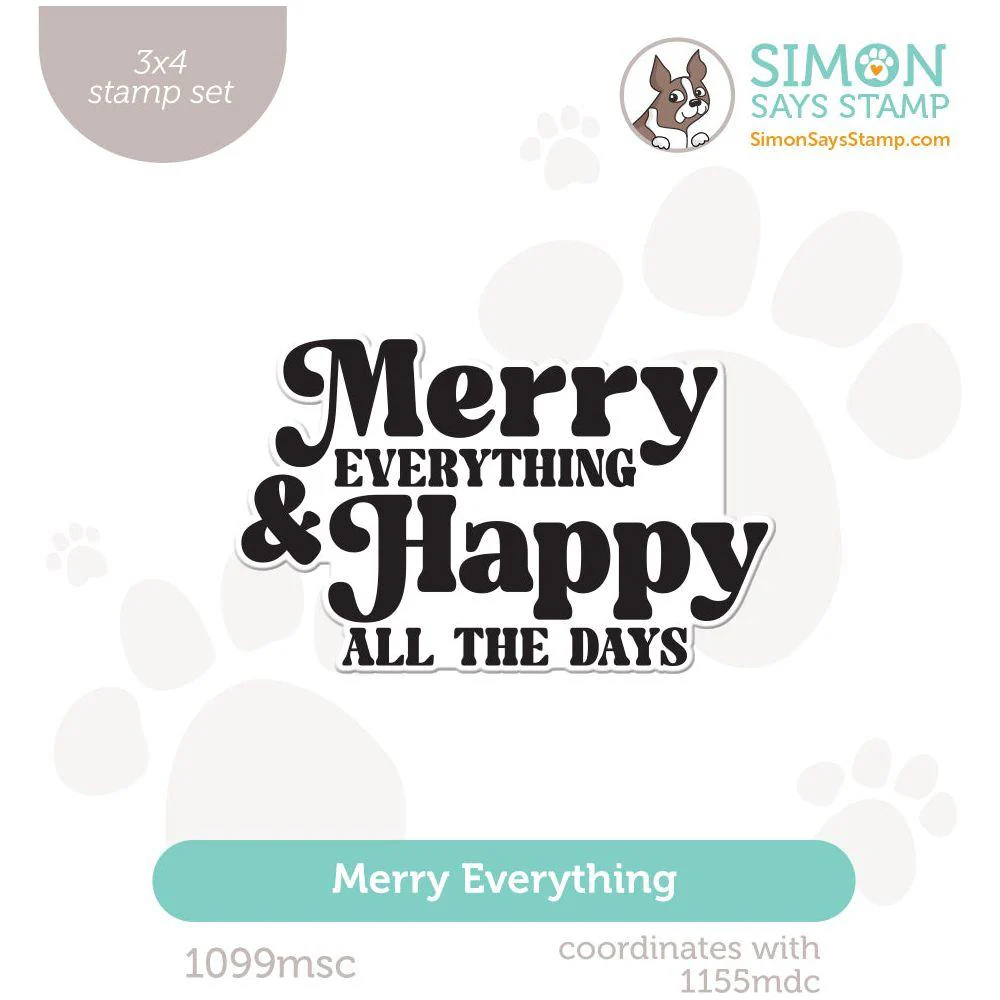
Stamp 4 1/4" x 6 1/2"white cardstock using the Merry Everything in Pawsitively Saturated Morning Ink.

EMBOSSING
Hack 1 - Insert the stamped cardstock into the Frosty Pines embossing folder and emboss the design over the sentiment. Tip: It is best to use a bold stamped design when doing this so you don't loose intricate detail in the grooves of the raised design. Also, I used a longer piece of cardstock in the image below, please disregard.
Emboss a second piece of scrap cardstock with the same folder. We will use this one to create a mask for spraying an uneven "line of snow".


SPRAYING
Tear the embossed cardstock scrap along the base of the trees to create a rough edge.
Use the Frost Tsukineko Sheer Shimmer Craft Spray to spray the bottom of the stamped/embossed card front.
Use the Sparkle Tsukineko Sheer Shimmer Craft Spray to spray another snow bank line along the bottom. This one will be a bit darker.
DIE-CUTTING
Cut the snowmen bodies (Arthur and Oliver) out of White Glitter Cardstock.
Cut the accessories out of white cardstock
COLORING THE DIE-CUTS
Use the Copic Markers selected or similar to color the white cardstock die-cuts except for Oliver's hat.
Ink a blending brush with Morning Ink and color Oliver's hat.
Hack 2: Use a white Extra Fine Tip Posca Marker to add an asterisk star to Oliver's hat and polka dots to Arthur's hat.
FINISHING
Create a red cardstock base with folded dimensions of 4 1/2" x 6 1/4".
Assemble/adhere Arthur and Oliver using craft glue and the die packaging as a guide to help you position each piece
Adhere Thin 3D Foam Squares to Arthur and Oliver.
Adhere foam tape to the stamped/embossed card front and adhere to the card base.
Adhere Arthur and Oliver to the card front.
Use craft glue to adhere Dusk Gems to the card front to finish.
Both this sweet sentiment and these adorable snowmen make me smile!

Thanks so muchfor stopping by! Drop me a comment and say hi!
SUPPLIES:
I listed the products that I have used below. Please note that these are compensated affiliate links, used at no cost to you. I really appreciate your support. All stamps used today were part of my Festive Fun maker package from Simon Says Stamp. Click on the icons below each product picture to shop with SimonSaysStamp.com.


Kaiser OTC benefits provide members with discounts on over-the-counter medications, vitamins, and health essentials, promoting better health management and cost-effective wellness solutions.
Obituaries near me help you find recent death notices, providing information about funeral services, memorials, and tributes for loved ones in your area.
is traveluro legit? Many users have had mixed experiences with the platform, so it's important to read reviews and verify deals before booking.