

Simon Says Stamp - SPOOKY SWEETS Halloween Treat Bags
- Keisha Diann
- Aug 18, 2024
- 3 min read

Hello Lovelies! I'm so glad that the Spooky Sweets set inspired me to try making Halloween Treat Bags! Once you are done with the coloring, they come together so quickly! Now I want to make treat bags for everything, so don't be surprised if these pop up again with a different theme!
I'll walk you through two color options to consider so you can try both or just choose your favorite option.

Time for Key Supplies!
Get Your Supplies!
Click on the image below to SHOP THE ENTIRE release OR
SHOP the Supplies section at the bottom of this post

Today's GIF!
Today's Treat Bag can fit 2 mini cupcakes or a handful of candy or at least 10 lollipops, just case you need any ideas...I've taste tested ALL of the above!
Like this card and my CORNy GIFs? CLICK BUTTON BELOW
to sign up for blog updates:
SPOOKY SWEETS TREAT BAGS - Stamping, Alcohol-Ink Marker Coloring, Die-cutting, Creating a Gift Bag, Stenciling
Assembled Bag Dimensions:


COLOR PALETTE
WITCH CUPCAKE
Copic Markers - E55, E53, C5, C3, C1, C0, Y08, Y06, V17, V15, V12, RV52, RV55

GREEN SLIME CUPCAKE
Copic Markers - E55, E57, C5, C3, C1, C0, Y08, Y06, YG23, G14, G05, YG21, FYG1

CARDSTOCK
Rainbow Splash Lime, Simon Says Stamp Lavender, Simon Says Stamp Black Glitter, Simon Says Stamp Amethyst Glitter


KEY TOOLS
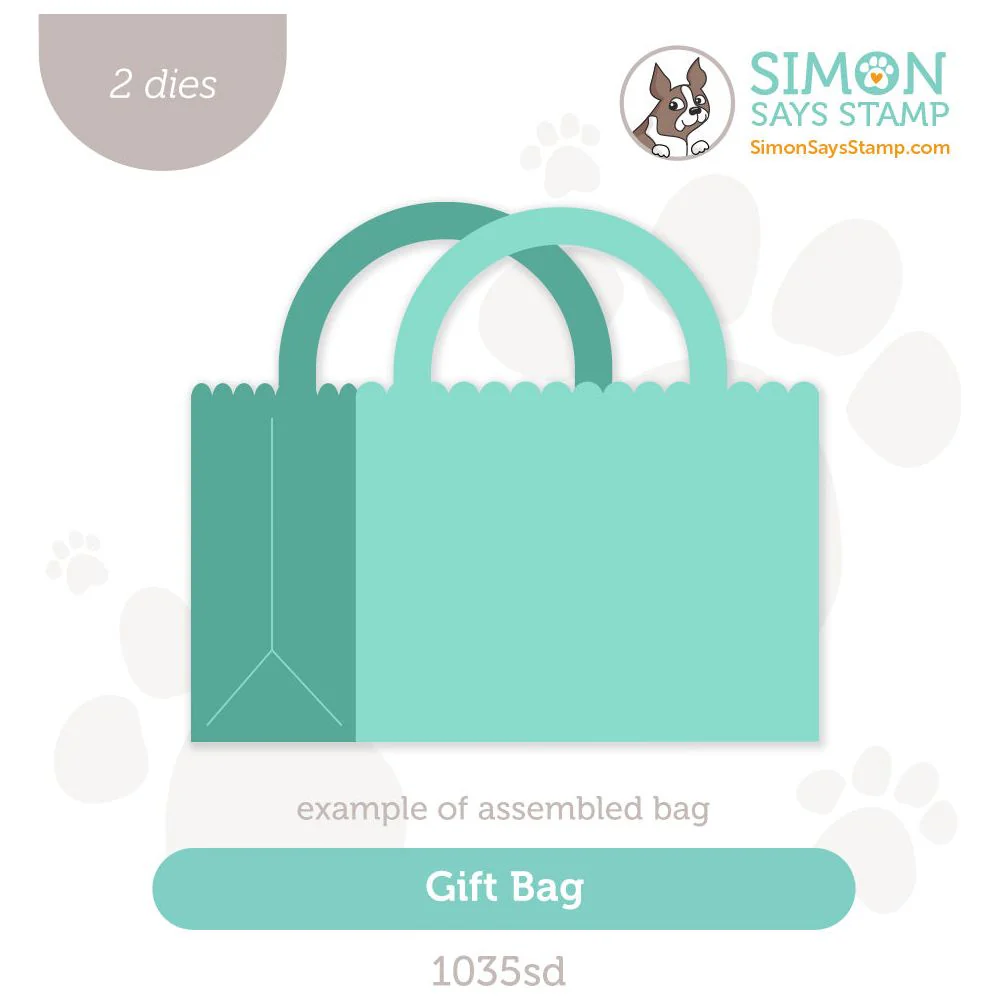
GIFT BAG DIE
The die set is comprised of two shapes - bag handle and bag body.

PROJECT WALKTHROUGH
STAMPING, COLORING & DIE-CUTTING
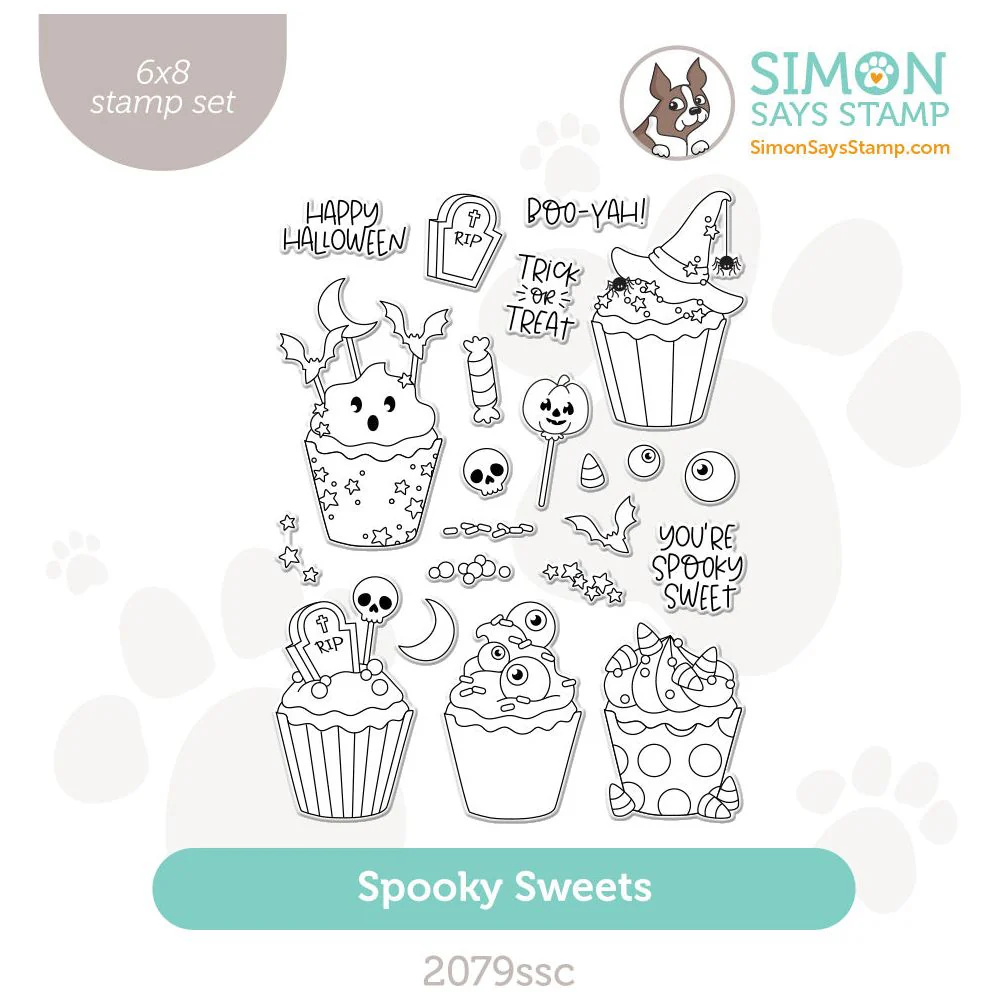
Stamp the Spooky Sweets images onto white cardstock using Memento Tuxedo Black Ink. NOTE: I stamped and colored images from two stamp sets at once because I am lazy and this wastes less paper and makes coloring more convenient for me. :-)
Color with the selected Copic Markers. Refer to the close- up for details on coloring the Spooky Sweets cupcakes and accessories.
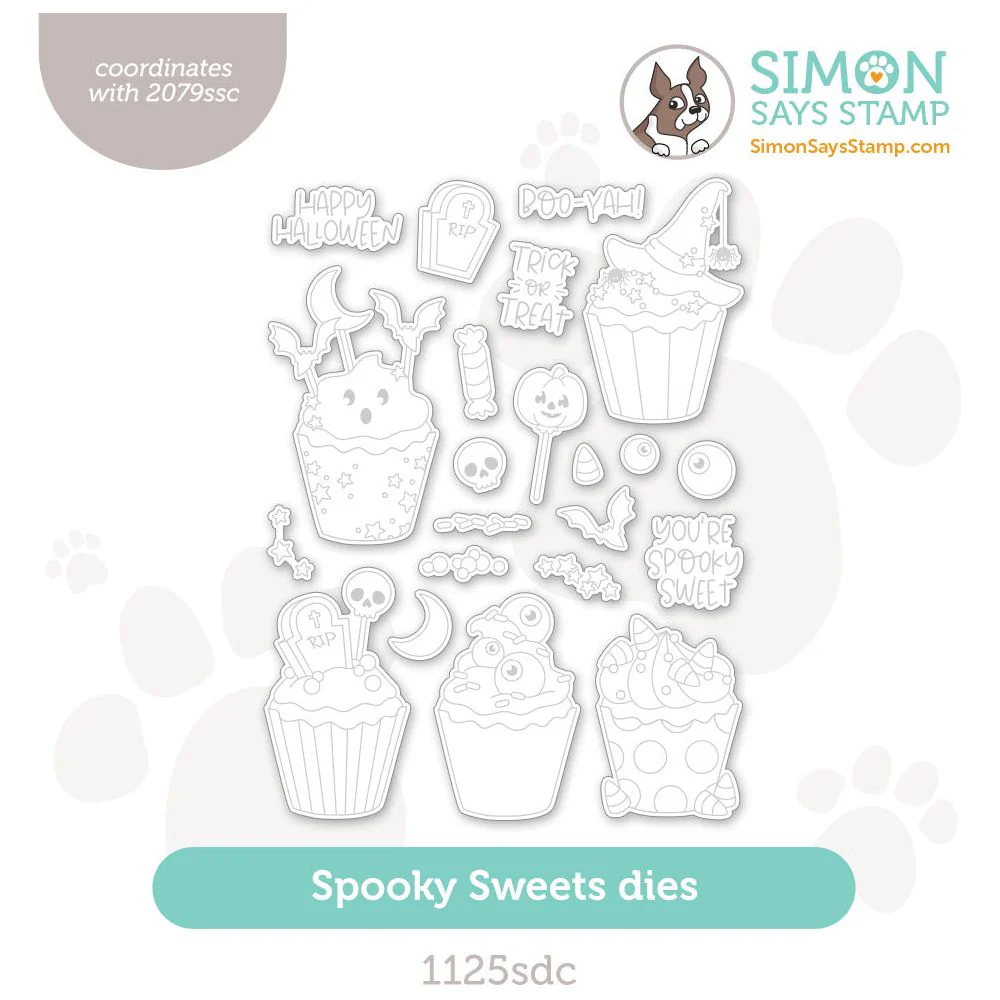
Align and adhere the matching dies over the images to cut out.


CUPCAKE & ACCESSORIES CLOSE-UPS

STAMPING, COLORING & DIE-CUTTING - SENTIMENTS & GIFT BAG
NOTE: You will also need to die-cut Gift Bag Handles using Black Glitter Cardstock


STENCILING
Use the Scattered Stars Stencil with a Pouncer or a Blending Brush and the coordinating ink to stencil the pattern onto the front panel of a Gift Bag die-cut.
Color with the selected Copic Markers. Refer to the close- up for details on coloring the Halloween Friends.


ASSEMBLING GIFT BAG
Gather the die-cut Gift Bag pieces. (Note: I changed the handles to Glitter Cardstock later on, so this is not shown below in the initial photo).
Score the side flaps of the bags along the score lines.
Apply 1/8" Simon Says Stamp TEAR RIFIC TAPE to both sets of flaps and to the bottom of one of the pair of die-cuts.
Adhere the two pieces together using the tape.
Use Simon Says Stamp Craft Tacky Glue to adhere the Gift Bag handle pairs to each other and then to the inside of the Gift Bag.


EMBELLISHING GIFT BAG
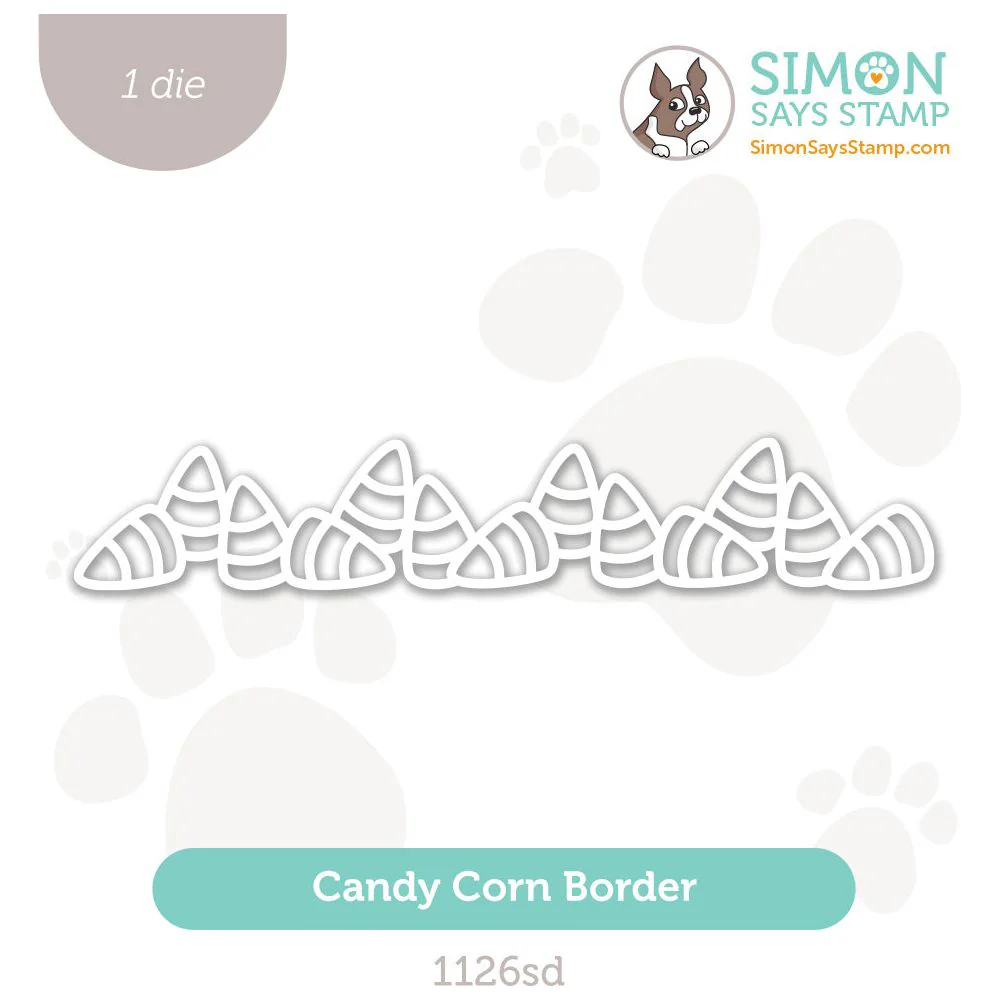
Use Simon Says Stamp Thin Foam Dots and Bearly Arts Craft Glue to adhere the cupcakes, accessories and glitter Candy Corn Border and stamps.


These are perfect for special treats for the cutest critters you know!

Is that dollop of green slime or a fluffy green ghost???

Thanks for hanging out for a little sweet Halloween fun! Drop me a comment and say hi!
SUPPLIES:
I listed the products that I have used below. Please note that these are compensated affiliate links, used at no cost to you. I really appreciate your support. All stamps used today were part of my Cheering For You maker package from Simon Says Stamp. Click on the icons below each product picture to shop with SimonSaysStamp.com.
Comments