

Simon Says Stamp - STAMPtember® 2024 Blog Party
- Keisha Diann
- Sep 2, 2024
- 4 min read

Hi Lovelies!
Welcome to Simon Says Stamp's STAMPtember® 2024 Blog Party! Get your snacks and favorite drinks and join this INSPIRATION Party! There's so much to see and sooo many treats along the way! Be sure to visit the Simon Says Stamp Blog to check out all the other STAMPtember Blog Party projects!
I'll be joining you with a cuppa of my favorite brew as in honor of today's card, I've got a bit of a PAR-TEA going! I dug out my markers and my Pawsitively Saturated Inks for a whole lot of coloring and ink-blending to bring this whimsical scene to life. If I can make this, YOU definitely can!

I generally limit my alcohol ink marker coloring, but the Par-Tea set was irresistible and inspired me to go for it!!
Let's get started and review the key supplies:


Get Your Supplies!
Click on the image below to SHOP THE ENTIRE STAMPtember® release;
SHOP THIS CARD using the links throughout the post OR;
SHOP the Supplies Section at the bottom of this post:

When you have chosen your STAMPtember purchases, remember search for item set818cc and add one to your cart and when you check out enter code CNDY in order to get the exclusive Cotton Candy Wishes Stamp and Die Set for free with $30 or more purchase! This promotion will expire on 9/3 at 11:59 pm EDT or while supplies last.
Today's GIF!
I don't care, I want ALL the STAMPtember treats!
Like this card and my corny GIFs? CLICK BUTTON BELOW
to sign up for blog updates:
BEAU-TEA-FUL BIRTHDAT CARD - Alcohol Marker Coloring, Ink-blending, Die-cutting, Embossing, Inking Embossed Designs
A2 Card Base: 4 1/4" x 5 1/2"
Embossed Layer & Ink-Blended Coloring: 4" x 5 1/4"
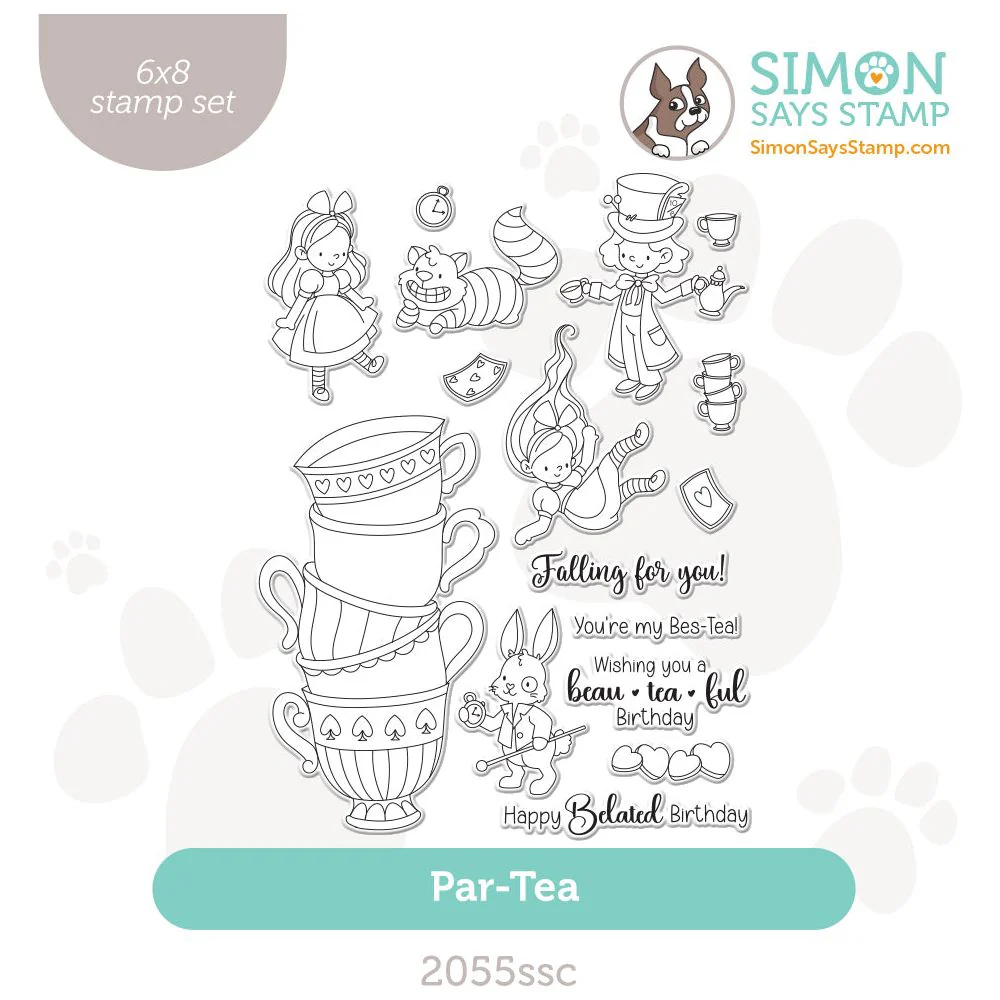
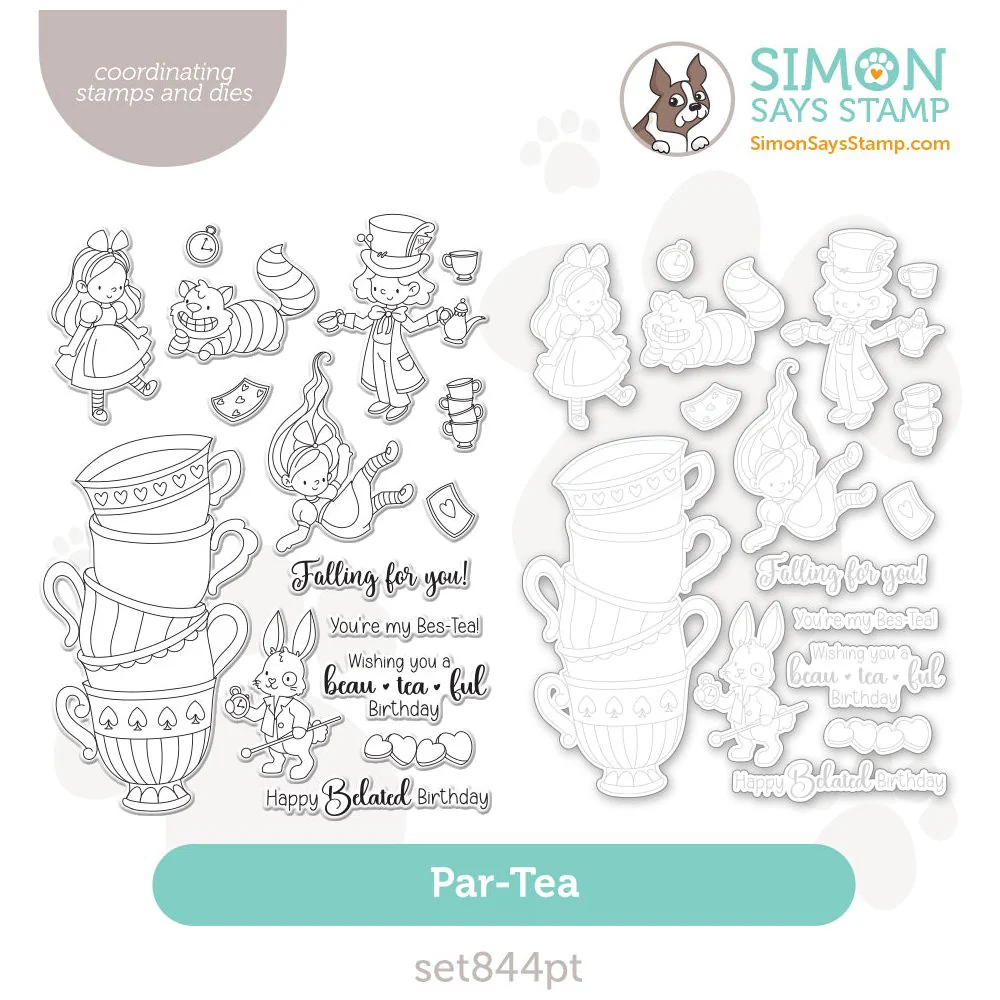
Featuring:

COLOR PALETTE
Today we will use both Copic Markers and Pawsitively Saturated Inks
INK PAD COLORS - Cappucino, Mocha, Melon, Field, Fairway, Citrine, Sunbeam, Surf, Marine

COPIC MARKERS
Girl | E51, E53, YR21, YR23, Y36, YR27, R20, N0, N2, W5, BG000, BG01, BG02, BG05 |
Boy | Y13, Y18, YR16, YR18, BG23, BG34, BG49, BG45, BGG01, BG05, E51, E53 |
Bunny | R20, N0, N2, BV02, BV13, Y13, Y18, W5 |
Cat | BG000, RV00, RV02, RV04, RV09 |
Cups | BV02, BV13, RV09, RV04 |
EMBOSSING AND INKING EMBOSSED IMAGE

Arrange stamps on a 6" x 8 1/2" Neenah 110lb White Cardstock. NOTE: I stamped and colored all images from the set, but we will not use all of them on this card.

Stamp using Memento Tuxedo Black, until you have a even impression.
Color images using the selectecd makers (see table above). NOTE: Ignore the large tea-cups, upside down girl and, watch, hearts and cards; they wont't be used in today's card.


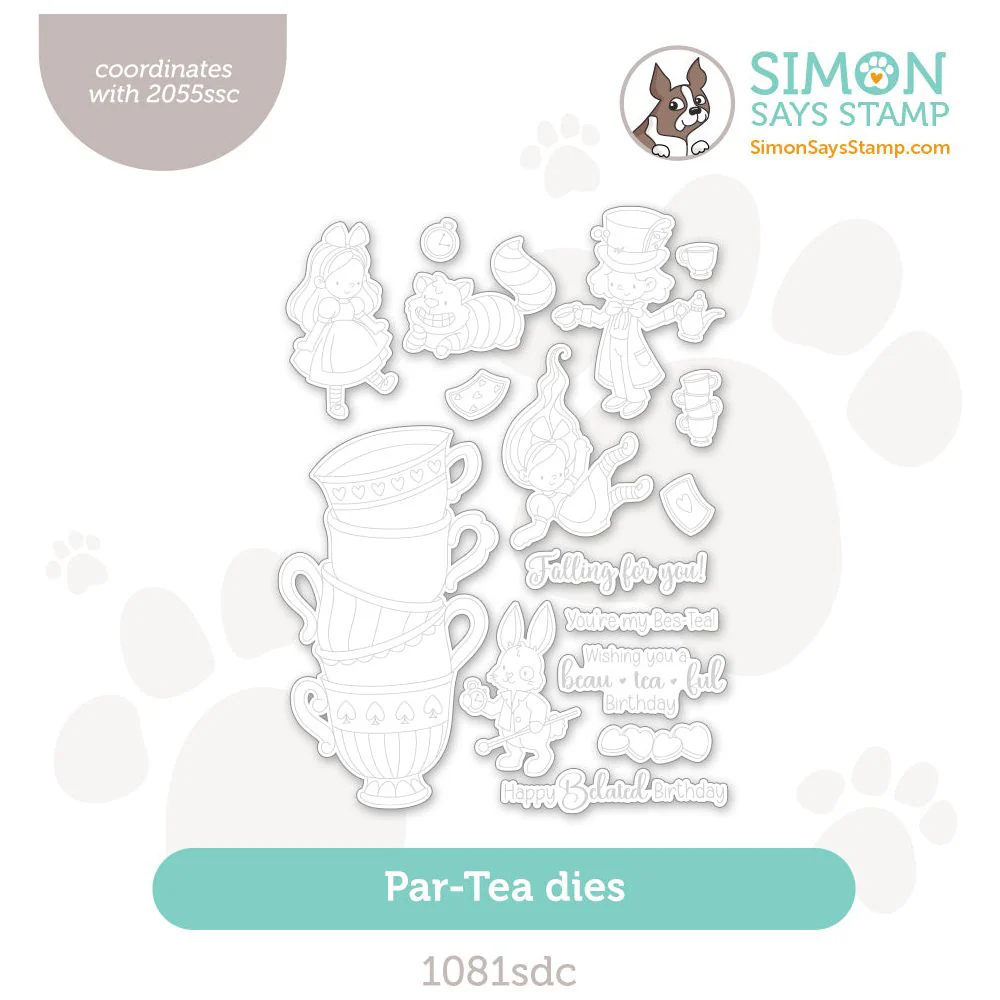
Align coordinating dies over colored images and secure with your favorite low-tack adhesive. NOTE: I'm using painter's tape.

Set aside the needed die-cuts for the collage.
EMBOSSING, INK-BLENDING & DIE-CUTTING
Emboss a 4 1/4" x 5 1/2" piece of Neenah 110lb White Cardstock using the Arched Trees Embossing Folder.
Emboss and then die-cut a 4 1/4" x 5 1/2" piece of Neenah 110lb White Cardstock using the Arched Trees Embossing Folder and the matching die.
Use a Large Blending Brushes to apply Melon, Citrine, Sunbeam, Surf, Marine, Field, and Fairway Inks to the embossed ONLY background.
Use a Large Blending Brushes to apply Cappucino, Mocha, Field, and Fairway Inks to the embossed and die-cut background. Trim both backgrounds to 4" x 5 1/4".
Apply Thin Foam Dots to the back side of the embossed and die-cut background and adhere the ink-blended embossed only background.
Apply Foam Tap to the layered backgrounds and adhere to a white 4 1/4" x 5 1/2" Card Base.


SENTIMENTS & ASSEMBLY
Ink-blend Surf and Fairway Inks onto a scrap of white cardstock.
Once dry, stamp with the selected sentiment and then die-cut.
Arrange Par-tea die-cuts on card front and cover with Glad Press N Seal film to hold in place before flipping over and applying Bearly Arts Craft Glue.
Adhere to card front.


This was so fun to make and I was so surprised with the final result once I put all the pieces together.
I want to make sure that you get the most of today's blog party, so please take note Lovelies:
Be sure to explore the STAMPtember® Gallery that is packed with inspiration from this release!!!
Search for set818cc and one to your cart and when you check out enter code CNDY in order to get the exclusive Cotton Candy Wishes Stamp and Die Set for free with $30 or more purchase!
Check out the supply list here or at the bottom of this post for your shopping convenience
You've got to let me know what colors you would use if you were to make this card. I'd love to hear from you in the comments so do drop me a note!
Thanks again for stopping by and I hope to see you again soon Lovelies!
SUPPLIES:
I listed the products that I have used below. Please note that these are compensated affiliate links used at no cost to you. I really appreciate your support. Simon Says Stamps STAMPtember® Release products were provided as part of my Design Team package. Click on the icons below each product picture to shop with SimonSaysStamp.com.
Hey guys! Social media growth hinges on having content that catches the eye. One method I've found incredibly effective is inverting pictures. It adds a fresh perspective to your images, making them more engaging. I stumbled upon a really helpful guide on how to invert a picture on an iPhone: invert a photo. It’s super easy to follow and has helped me elevate my social media posts. If you want to enhance your visuals and boost your social media growth, check out this guide.
So cute!
Really Amazing card!