

Simon Says Stamp - STAMPtember® Launch & Chelsea Butterfly Love Card
- Keisha Diann
- Aug 31, 2024
- 3 min read

Hello Lovelies! The 15th year of STAMPtember® is here and we are going to craft our way through a month of celebrations and surprises from Simon Says Stamp and so many of your favorite brands!
In today's post I'll share a tutorial for the first card I made with STAMPtember® release goodies that are available now. I'll also highlight a few personal favorites from the core release. It's going to be a struggle though, as there are so many delights to choose from!

Time for Key Supplies!
Get Your Supplies!
Click on the image below to SHOP THE ENTIRE release OR
SHOP the Supplies section at the bottom of this post

Today's GIF!
Hmmm... so not exactly a butterfly, but I like it!
Like this card and my CORNy GIFs? CLICK BUTTON BELOW
to sign up for blog updates:
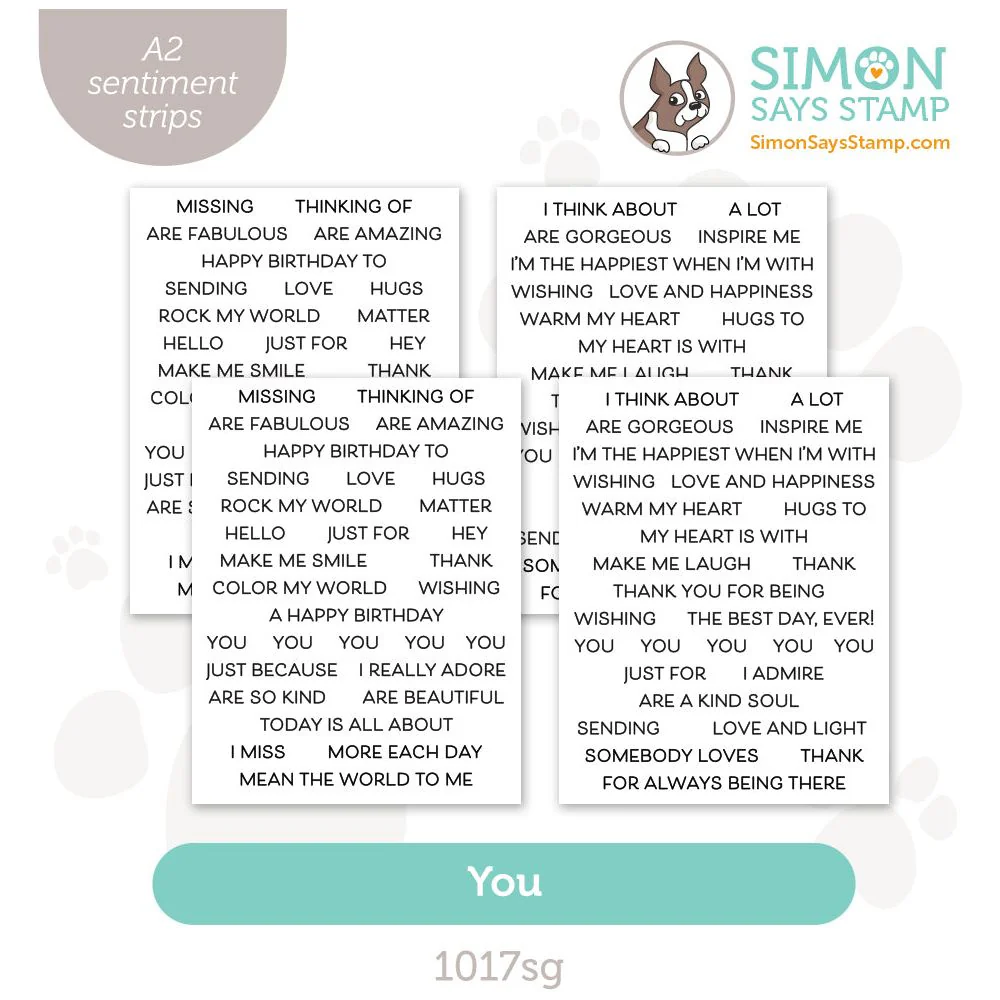
MY HEART IS WITH YOU - Embossing, Ink-blending, Alcohol-Ink Marker Coloring, Die-cutting,
Card Size: 4 1/4" x 5 1/2"

COLOR PALETTE
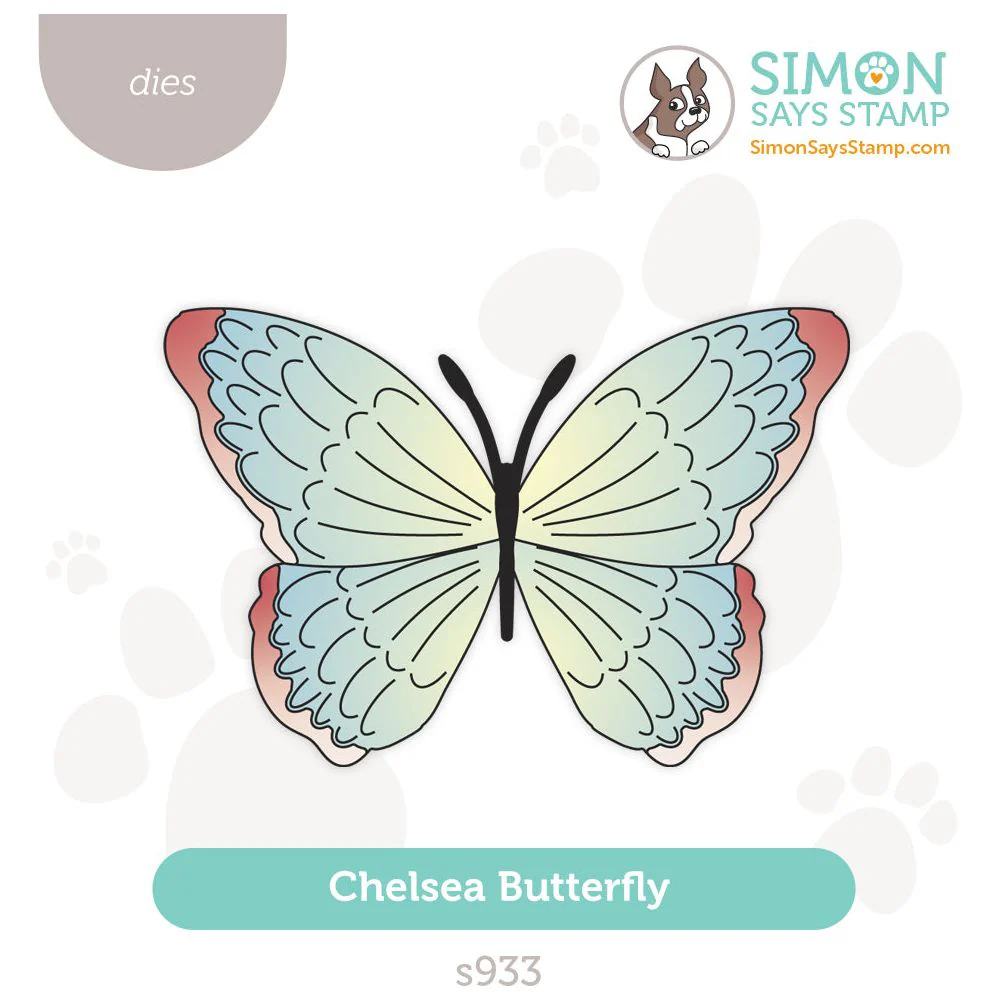
CHELSEA BUTTERFLY
Copic Markers - 100, YR09, YR04, Y18

CARD BACKGROUND
Pawsitively Saturated Ink Pads - Citrine, Honey, Mandarin

CARDSTOCK
Simon Says Stamp Cardstock 100lb - Sunshine SS9
KEY TOOLS
CRAFT TACKY MAT
This may be my favorite thing from the release! I only "discovered" polymer grip mats 2 weeks before I received this (yes I have been under a rock!). I really enjoy this one as it add grid lines marking the 1/4" segments, so you can position both your cardstock and whatever you are putting on it with a understanding of their overall placement!
It made both coloring the small butterfly die-cuts AND ink-blending the background so much easier, without having to use adhesives or magnets to hold them in place for coloring

BLENDING BRUSHES
The large size brushes shown here work well for deepening the color of our bright background and creating that center "glow" effect.
PROJECT WALKTHROUGH
DIE-CUTTING & COLORING
Die-cut Neenah Solar White 110lb Cardstock twice using the Chelsea Butterfly die.
Color the "wing edge layers" Black (100).
Color the bottom wings as shown with Lightning Yellow (Y18) as a base color. Fill in the white edges with Black (100). Don't overlap the black and yellow.
Add Chrome Orange (YR04) over the base of the Lightning Yellow towards the outer parts of the wing. Use the Lightning Yellow again to help blend the two yellows.
Color the top wing as show with Chrome Orange. Color the wing edges with Black (100).
Add Chinese Orange (YR09) over the base of the Chrome Orange towards the outer parts of the wing. Use the Chrome Orange again to help blend the two oranges.
Use a Uni Posca Extra Fine White Pen to add dots to the black parts of the butterfly wings.


BACKGROUND - INK-BLENDING & EMBOSSING
Place a 4 1/4" x 5 1/2" piece of Sunshine Cardstock onto the Crafty Tacky Mat, pressing to lightly adhere for blending.
Start with the lightest color and blend in a circular motion around the perimeter of the cardstock. Repeat with the next two color to achieve a subtle halo/glow effect with the darkest color along that most outer parts of the background.
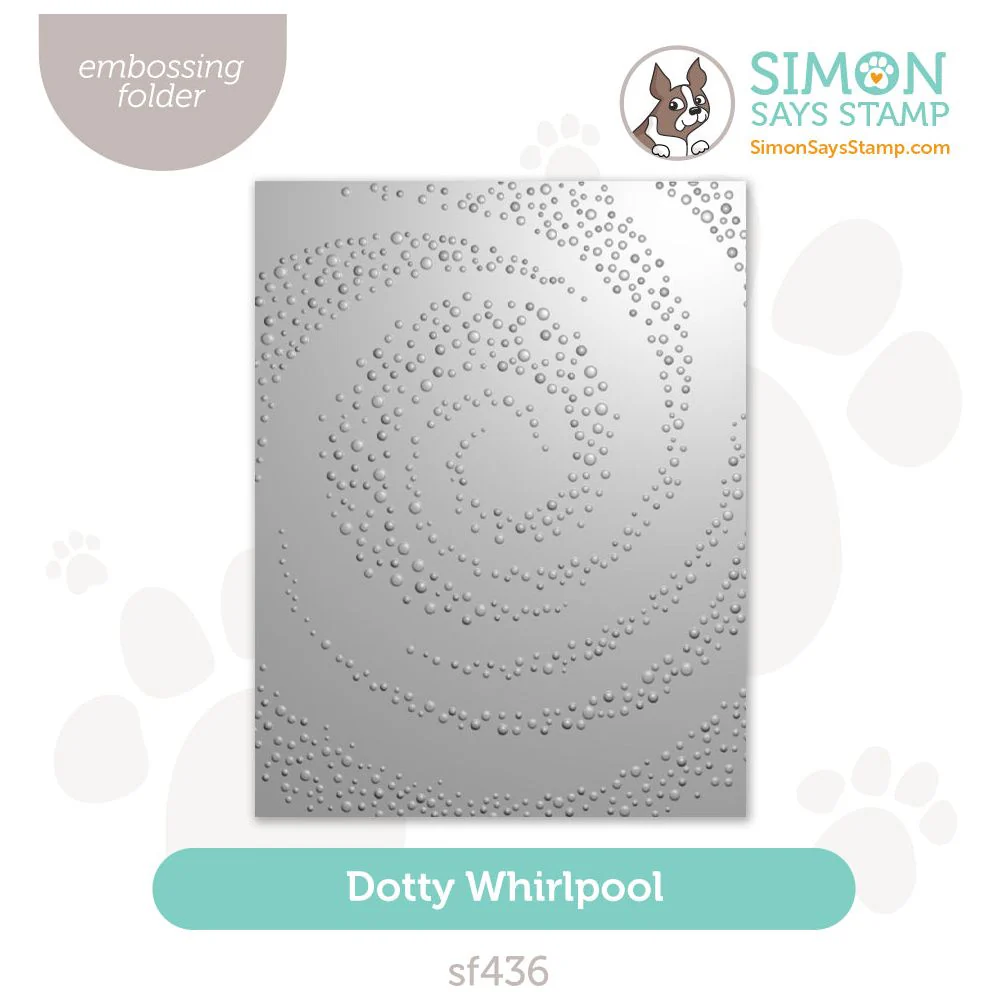
Emboss the inked cardstock using the Dotty Whirlpool folder.


ACCESSORIES AND SENTIMENT
Trim the "My Heart is With You" Sentiment Strip.
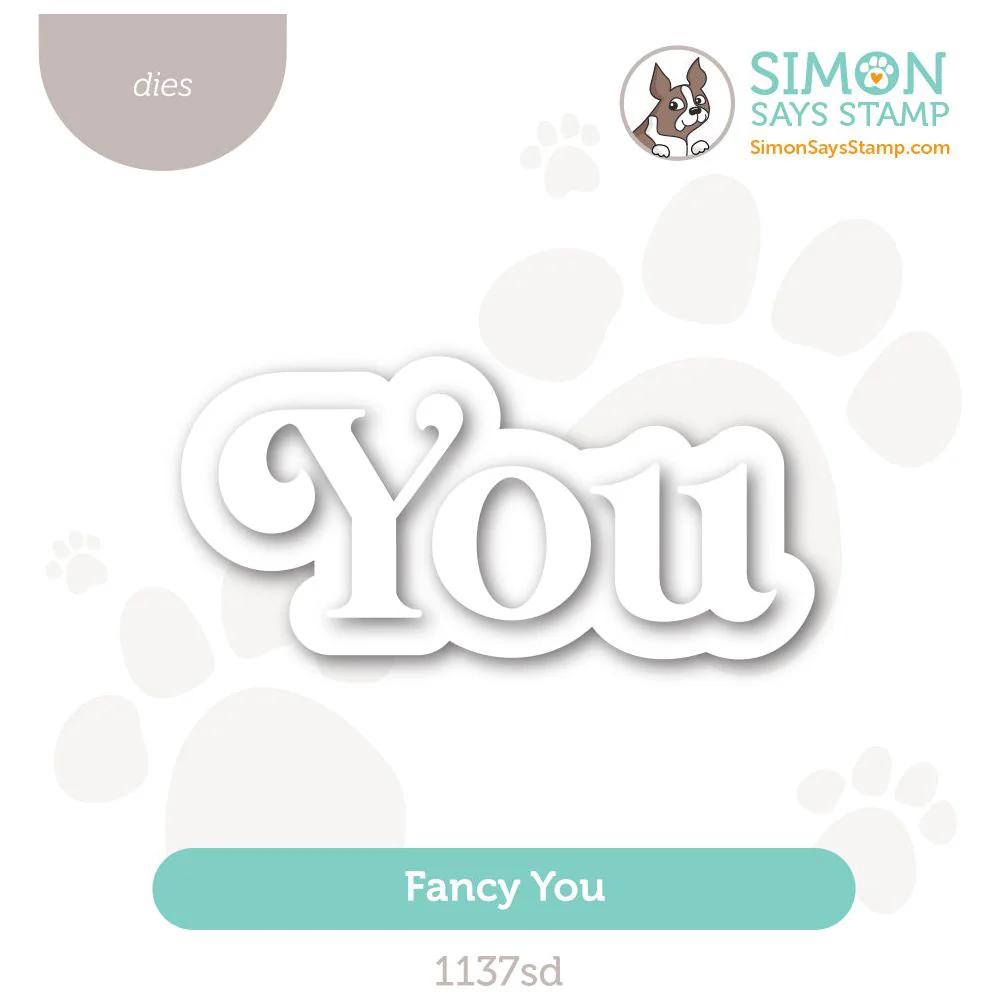
Die-cut Neenah Solar White 110lb Cardstock twice using the Fancy You word die.
Layer and adhere the You word die-cut.
Die-cut Black Cardstock using the _______ word die.


ASSEMBLY - COLLAGING
Arrange the butterflies as shown and cover with Glad Press N Seal.
Press to adhere the die-cuts to the film and then lift the die-cuts away from the card background.
Flip over to show the back of the die-cuts.
Apply Bearly Arts Craft Glue and Black Foam Squares to the die-cuts as shown.
Flip the film back over and carefully align onto the background and press to adhere.
Align and adhere the Sentiment Strip (foam) and You die-cut (craft glue) to the card front.


The ink-blending is somehow both subtle and has a big impact on this card design at the same time!

Something about this sentiment gives me all the feels!

This is my first time using a white Posca Pen on my cards, but it definitely won't be the last!

I think this is a great way to show that you care. The card is bright, but it gives me a warm feeling.

Last Look!

Before I go, let me share my FAVES so far from this amazing STAMPtember®release!
My DELIGHTFUL DOZEN! - shop the entire release here


Drop me a comment and say hi!
SUPPLIES:
I listed the products that I have used below. Please note that these are compensated affiliate links, used at no cost to you. I really appreciate your support. All stamps used today were part of my STAMPtember® maker package from Simon Says Stamp. Click on the icons below each product picture to shop with SimonSaysStamp.com.
A few months ago I was looking for a reliable academic writing service and came across EssayBox. The order placement was very simple, I described my requirements in detail, and the author started working. Within a few days I received my essay, which fully met my expectations. The text essay writing companies was unique, with competent arguments and high-quality design. I especially liked the possibility to request edits, which were done for free and quickly. Thanks to EssayBox, I was able to successfully submit all the assignments on time. I recommend this service to everyone who wants to get quality academic help.