
Hi Lovelies!
Welcome to Day 1 of Simon Says Stamp's Sweet Wishes Release Blog Hop! I've caught a Halloween bug in the best way and have two spooky, sassy, sweet cards to share with you today!
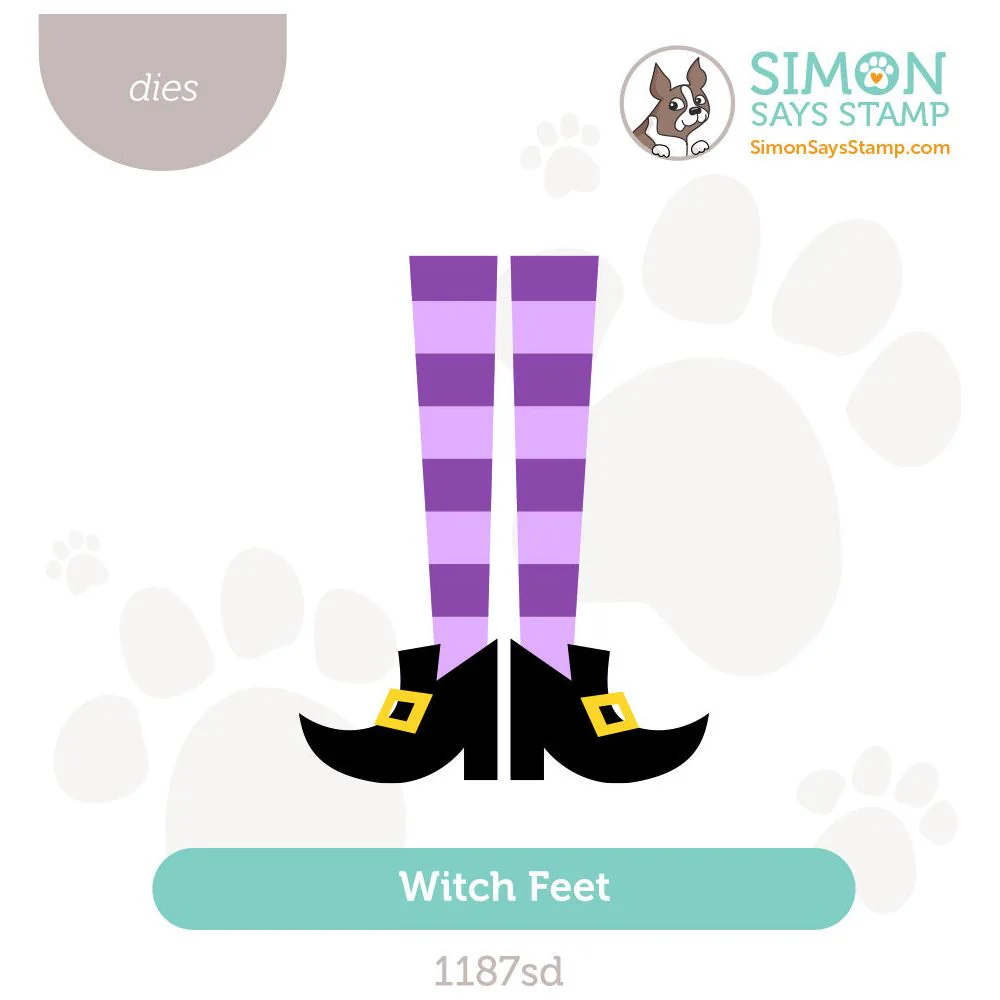
We'll use the Witch Feet die as our focal point for both cards and switch up our accessorizing characters. Ink-blending and coloring will enhance both our die-cuts and the backgrounds.


Why don't we get started then by reviewing the key supplies for today's cards:
Supplies are linked in the Supplies Section at the end of this post. Check out the entire Sweet Wishes release by clicking the image below:
Today's GIF!
My motto for all of October!
Like this card and my corny GIFs? CLICK BUTTON BELOW
to sign up for blog updates:
BOO! & TRICK OR TREAT CARDS
Card Base: 4 1/4" x 5 1/2"


COLOR PALETTE
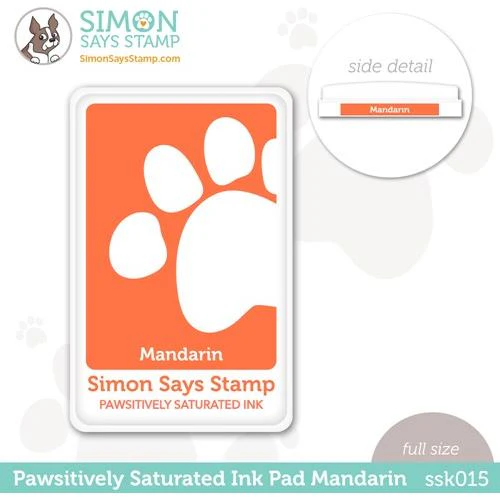
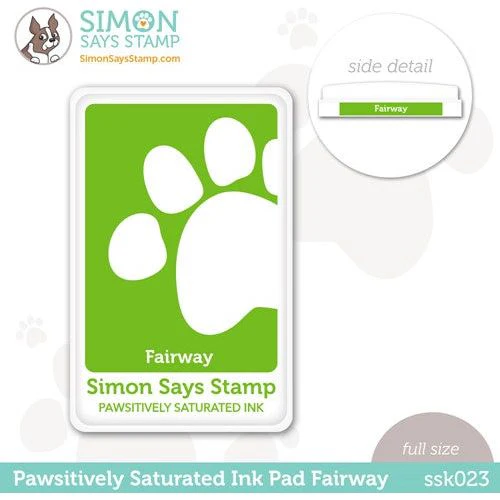
Pawsitively Saturated Ink Pads - Terracotta, Mandarin, Fairway, Field
Simon Says Stamp VersaFine CLAIR by Tsuineko in Nocturne - for crisply-stamped sentiments! -

Simon Cardstock
Orange Peel - Card Background, Pumpkin Top Tayer
Royal Purple - Witch Stockings
Lavender Purple - Witch Stockings
Bright Yellow - Pumpkin Bottom Layer, Shoes Buckle
Green Apple - Witch Stockings,
Green Leaf - Witch Stockings, Card Background
Black - Card Base, Shoes, Sentiments
COPIC Markers

+YG25 for pumpkin stem
N8 - Mask, Cat-Ear Cape | YG17 - Hat Band |
N10 - Mask, Cat-Ear Cape | YG05 - Hat Band |
B000 - Ghost | YR07 - Candy Basket |
B00 - Ghost | R24 - Cape |
V15 - Hat | R27 - Cape |
V17 - Hat | Y15 - Broom |
G05 - Hat Band | E23 - Broom |
CARD HIGHLIGHTS
CARD BACKGROUND
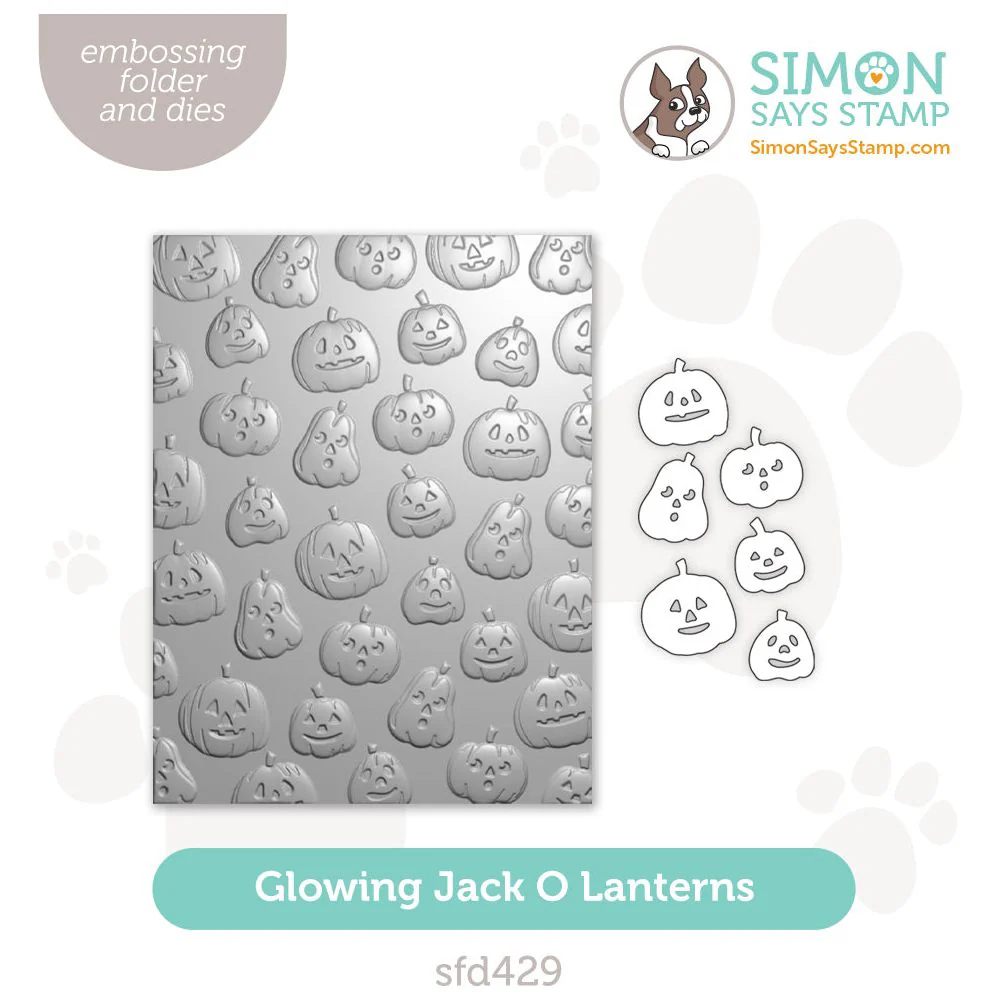
After embossing the Green Apple and Orange Peel cardstock, gentry press the embossed cardstock onto a clean Pawsitively Perfect Craft Tacky Mat and ink-blend in a circular motion from the edges towards the center.
First using the lighter color ink, leaving about a 3 inch wide oval without any ink to create the "spotlight". Then blend the darker color along just the perimeter edges of the card to deepen the contrast


DIE-CUTS
Use the cardstock guide to die-cut the Witch Feet layers and adhere with craft glue.
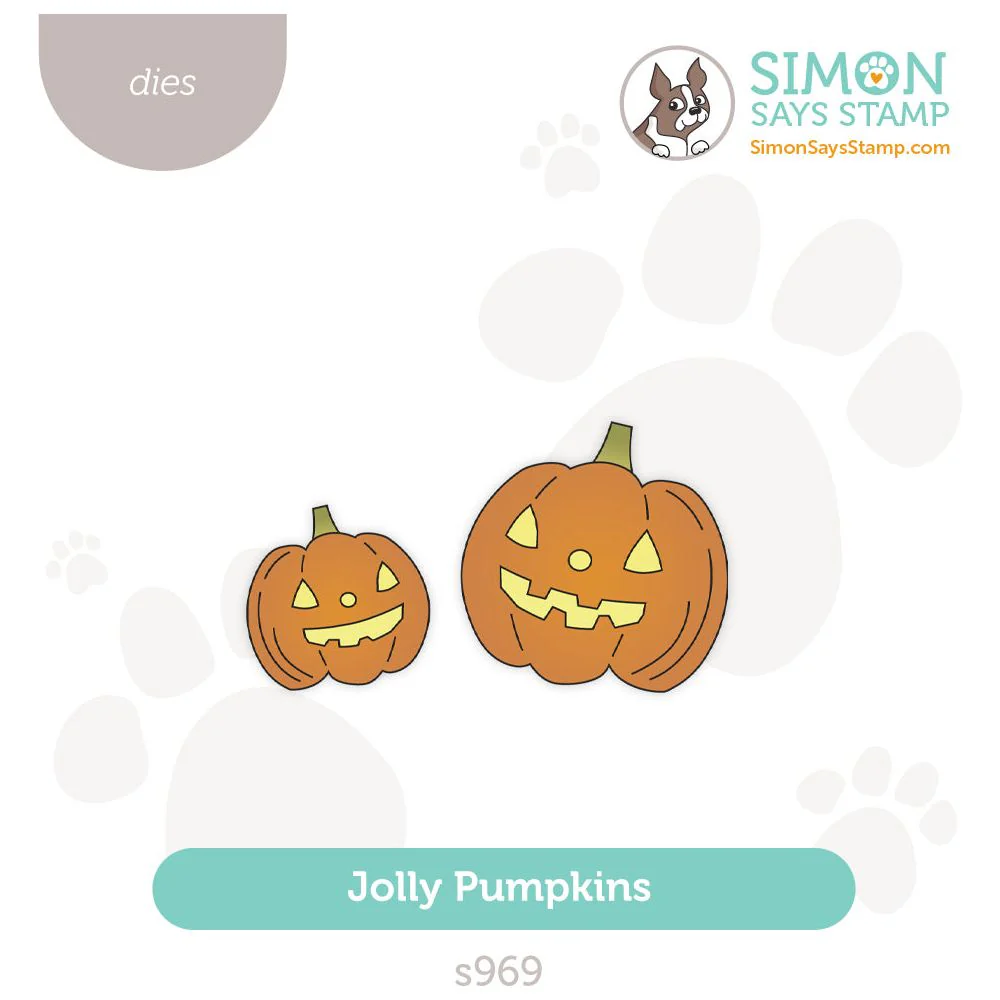
Use the Terracotta ink pad and the Round Detail Brush to darken the edges and grooves of the pumpkin top layer
Color the pumpkin stem with YG25
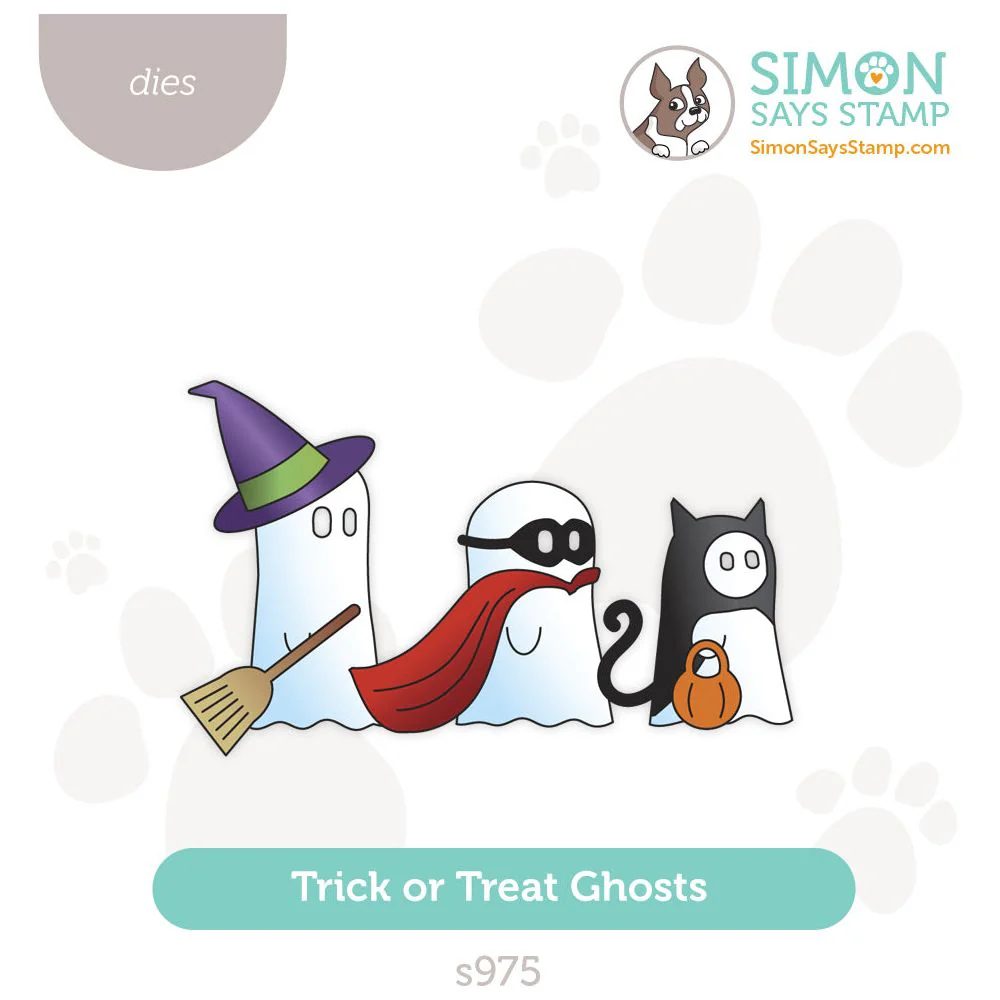
Die-cut the ghosts out of white cardstock and place onto Pawsitively Perfect Craft Tacky Mat.
Color with the Copic Markers using the guide above for your color selections.


FINISHING
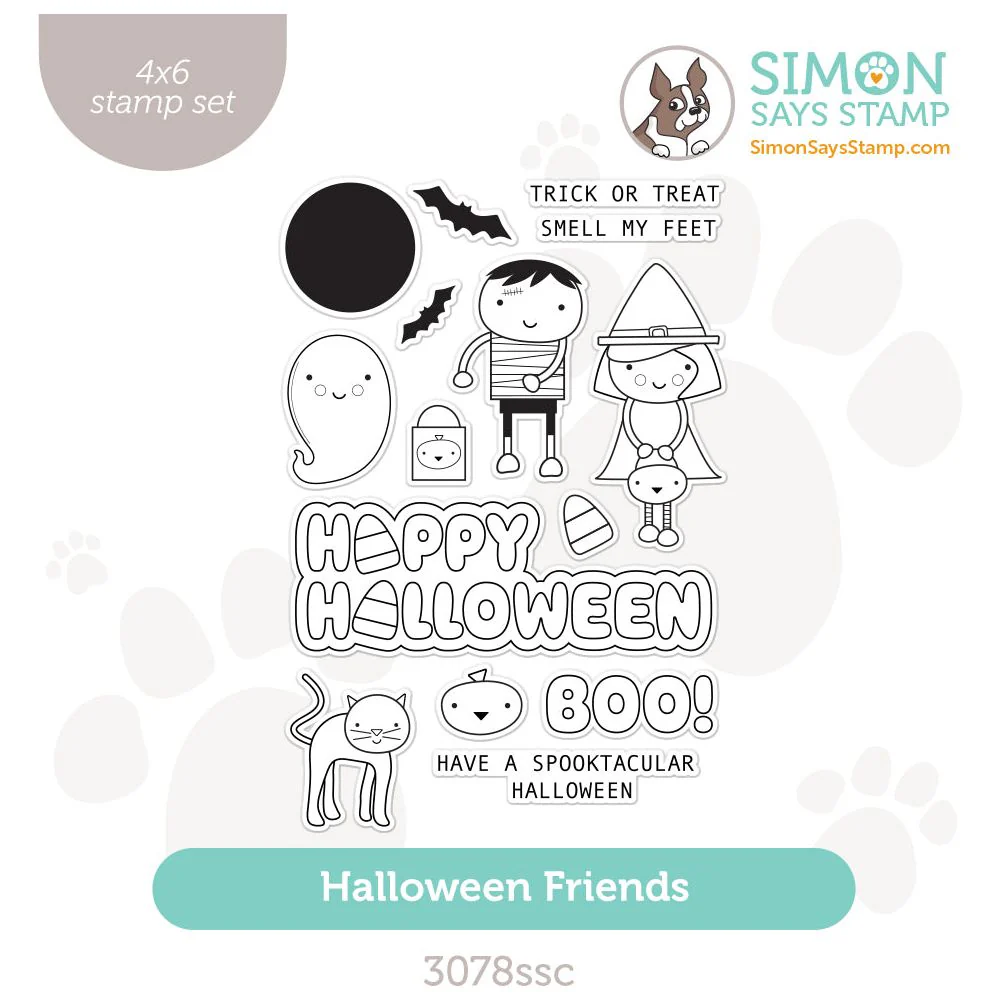
Using the Nocturne VersaFine CLAIR, stamp and trim your sentiments from the Halloween Friends set
Position and adhere your die-cuts and sentiments on the black card bases, pop up the stampend sentiment with foam tape/dots.


Last looks!


I want to make sure that you get the most of today's blog hop, so please take note Lovelies:
Be sure to explore the Cheering For You release gallery that is packed with inspiration from this release!!!
Comment to on this post to be eligible to win a $25 coupon from Simon Says Stamp. Winners will be chosen and posted on the Simon Says Stamp blog on Wednesday, the 16th of October. Winner should email Simon Says Stamp to claim their prize
Check out the full supply list below for your shopping convenience
Thanks again for stopping by and I hope to see you again soon Lovelies! Now, do go and check out what the fabulous Karin Åkesdotter has in store for you!
HOP ORDER:
SUPPLIES:
I listed the products that I have used below. Please note that these are compensated affiliate links used at no cost to you. I really appreciate your support. Simon Says Stamp's Sweet Wishes Release products were provided as part of my Design Team package. Click on the icons below each product picture to shop with SimonSaysStamp.com.








Kaiser OTC benefits provide members with discounts on over-the-counter medications, vitamins, and health essentials, promoting better health management and cost-effective wellness solutions.
Obituaries near me help you find recent death notices, providing information about funeral services, memorials, and tributes for loved ones in your area.
is traveluro legit? Many users have had mixed experiences with the platform, so it's important to read reviews and verify deals before booking.
Love the colorful backgrounds!
Great and spooky cards! Love the brightness and composition.
Keisha, Your cards are so cute and vibrant, thanks for sharing your talents and inspiring us!
Such cute cards! I Love them!