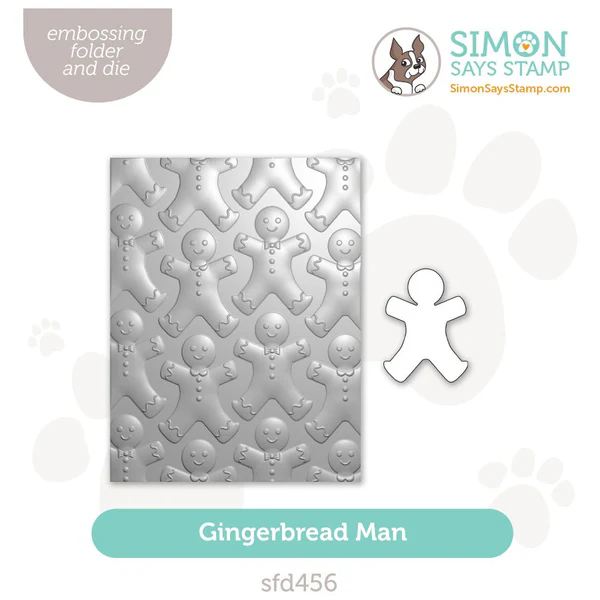
Hello Lovelies! This is my 3rd Gingerbread card of the month and I'm perfectly fine with that. It's not like I have a problem, they're just SO cute! Let's hope that this year's attempt at actual Gingerbread in the kitchen goes as easy as this card .
I don't think that this is my first attempt at coloring an embossed design with alcohol ink markers, but it is definitely the one I had the most fun with. The Gingerbread Man Embossing Folder and Die from Simon Says Stamp is made for smiles. It also gave me the chance to make a subtle rainbow card which another reason to smile.

Time for Key Supplies!
Get Your Supplies!
Click on the image below to SHOP THE ENTIRE release OR
SHOP the Supplies section at the bottom of this post
Today's GIF!
See!!! I told you they're cute!
Like this card and my CORNY GIFs? CLICK BUTTON BELOW
to sign up for blog updates:
THE GINGERBREAD MAN CHRISTMAS CARD - Embossing, Alcohol Ink Marker Coloring and Die-Cutting
Card Size: 4 1/4" x 5 1/2"

COLOR PALETTE
Simon Says Stamp Pastel Premium Ink - Pastel Blue

COPIC Markers - Y02, Y08, YR16, YR09, R24, 5V04

PROJECT HIGHLIGHTS
Emboss a 4" x 5 1/4" piece of white cardstock with the Gingerbread Man Embossing Folder.
Use the Gingerbread Man outline die to die-cut a single Gingerbread Man from white cardstock. Align the die-cut in the folder and emboss.
Using a black pigment marker (like Copic Liner or Pigma Micron) color in the eyes, mouth and buttons on each of the embossed Gingerbread Men.
Color all the Gingerbread Men with Copic Marker E55. Color one Gingerbread Man on the second
Color the bow ties with colors shown in the palette above.
Color the "trim" on the hands and feet of the Gingerbread Men with an Extra Fine White Posca Marker.
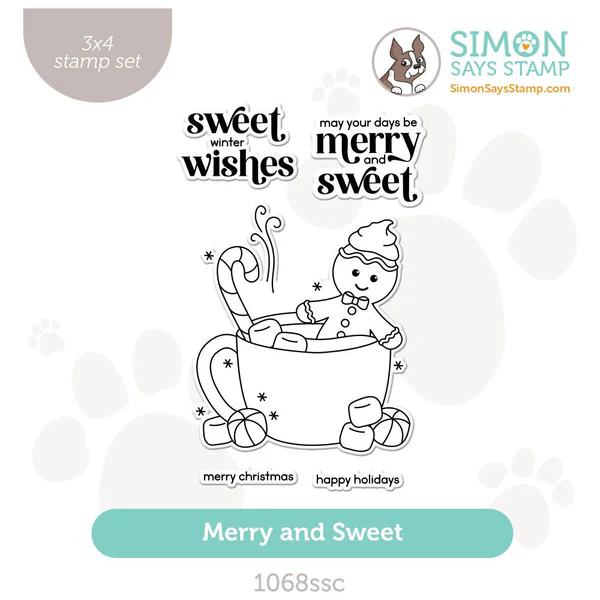
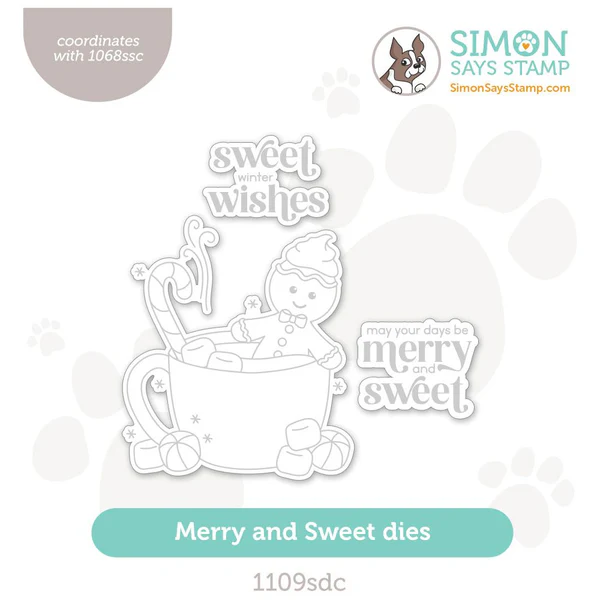
Stamp the "Merry and Sweet" sentiment in Pastel Blue onto white cardstock and die-cut. Die-cut a 2nd sentiment outline also out of white cardstock and use a blending brush to color with Pastel Blue ink. Layer and adhere with craft glue, offsetting slightly.
Apply Thin Foam Squares to the die-cut Gingerbread Man and adhere in the position shown on the card.
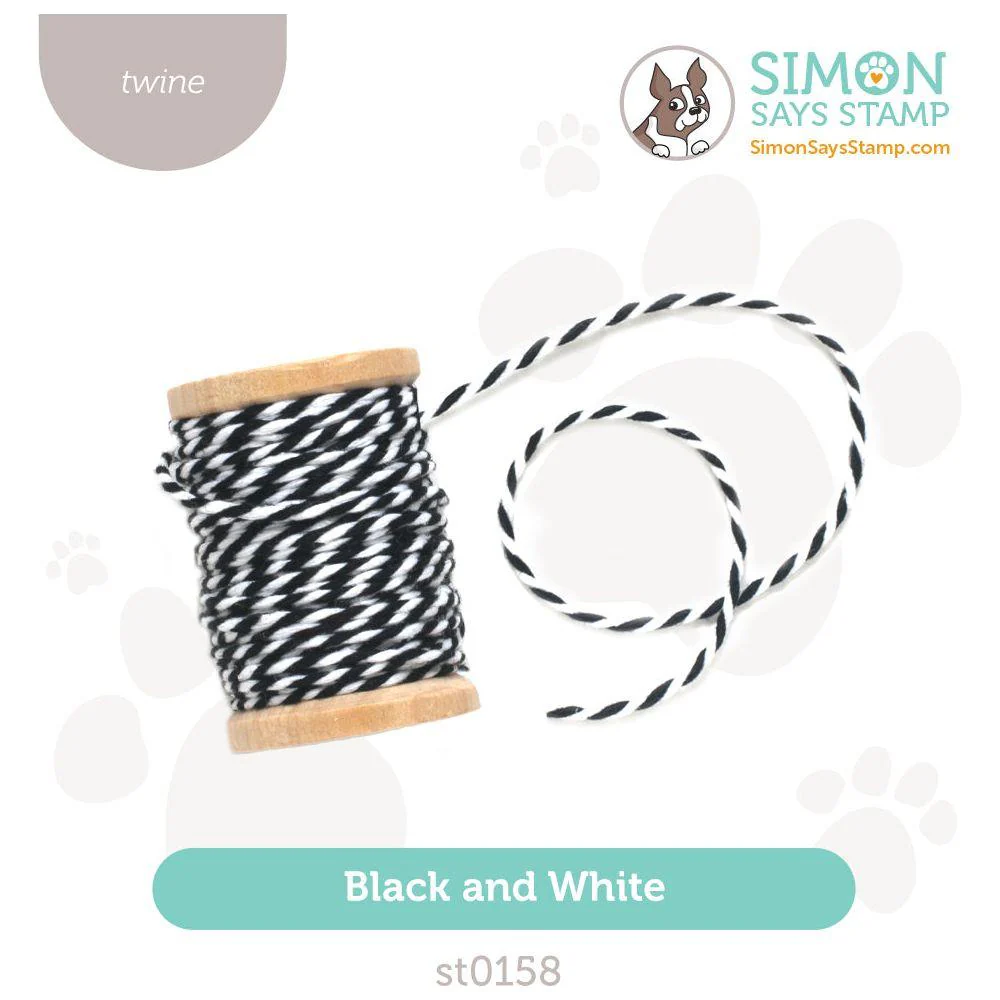
Trim and tie a piece of Black and White Twine around the embossed card front and loop the end and adhere with glue dots.
Adhere Gems with Craft Glue to finish.
He looks too yummy to just be paper right?

I was shocked at how clear of an impression I got with this pastel pigment ink!!!

I'm going to need some more of that twine! It will be perfect for many projects.


Thanks so much for stopping by! Drop me a comment and say hi!
SUPPLIES:
I listed the products that I have used below. Please note that these are compensated affiliate links, used at no cost to you. I really appreciate your support. All stamps used today were part of my Festive Fun maker package from Simon Says Stamp. Click on the icons below each product picture to shop with SimonSaysStamp.com.


New Childish Clothing Collection items include Childish Hoodies and more. Buy TGF clothes right away! Childish® Chicken Hoodie, Large Savings With Free Shipping to the UK.
Broken Planet Market and hoodie at a sale price. Get up to 40% off on Broken Planet Market online from UK store. Fast shipping worldwide.
For passengers arriving in and departing from Music City, Southwest Airlines BNA airport provides a friendly and effective service. With a variety of flights to and from Nashville, Southwest, one of the top low-cost airlines in the United States, is a well-liked alternative for both business and pleasure travelers. The airline is based in Concourse C, where travelers may take advantage of easy check-in desks, gate spaces, and a range of services that guarantee a hassle-free journey. Southwest's BNA terminal blends comfort and convenience, representing Nashville's distinctive Southern hospitality, whether you're traveling home or starting a new journey.
Experience the thrill of the Aviator Game at Khel Raja. This innovative game combines strategy and excitement as players bet on the aviator's flight path. With stunning graphics and engaging gameplay, the Aviator Game offers a unique and rewarding experience. At Khel Raja, we ensure fair play and high chances of winning. Join us today and take off on an exhilarating gaming adventure.
When I want to play India lottery, Khelraja is the first place I visit. As a gambler, I trust the platform’s expert result predictions to guide me. They provide detailed lottery news, and their live results make it easy to stay ahead of the curve. With India lottery results readily available and accurate lottery ticket information, I always feel confident about my next play. Khelraja is the best platform for anyone who loves the excitement of live lottery results.