

Simon Says Stamp - THE MANGER Christmas Card & Tag
- Keisha Diann

- Nov 28, 2023
- 2 min read
Updated: Nov 29, 2023

Hello Lovelies! Christmas is rather colorful for this simple Manger card and tag set from Simon Says Stamp's All The Joy Release!
I have no excuse except that I really wanted to try this Distress color combo which ended up looking a bit like a sunset.

Time for Key Supplies!


Get Your Supplies!
Click on the image below to SHOP THE ENTIRE release OR
SHOP THIS CARD using the links throughout the post OR
SHOP the Supplies section at the bottom of this post

Today's GIF!
Don't feel Grinchy, you have enough time to make this easy Christmas card.
Like this card and my corny GIFs? CLICK BUTTON BELOW
to sign up for blog updates:
MERRY CHRISTMAS CARD & TAG - Ink-Blending and Die-cutting
Card Base: 4 1/4" x 5 1/2"

COLOR PALETTE
Distress Ink Pads - Candied Apple, Mustard Seed, Lucky Clover, Brushed Corduroy and Gathered Twigs

CARD WALKTHROUGH
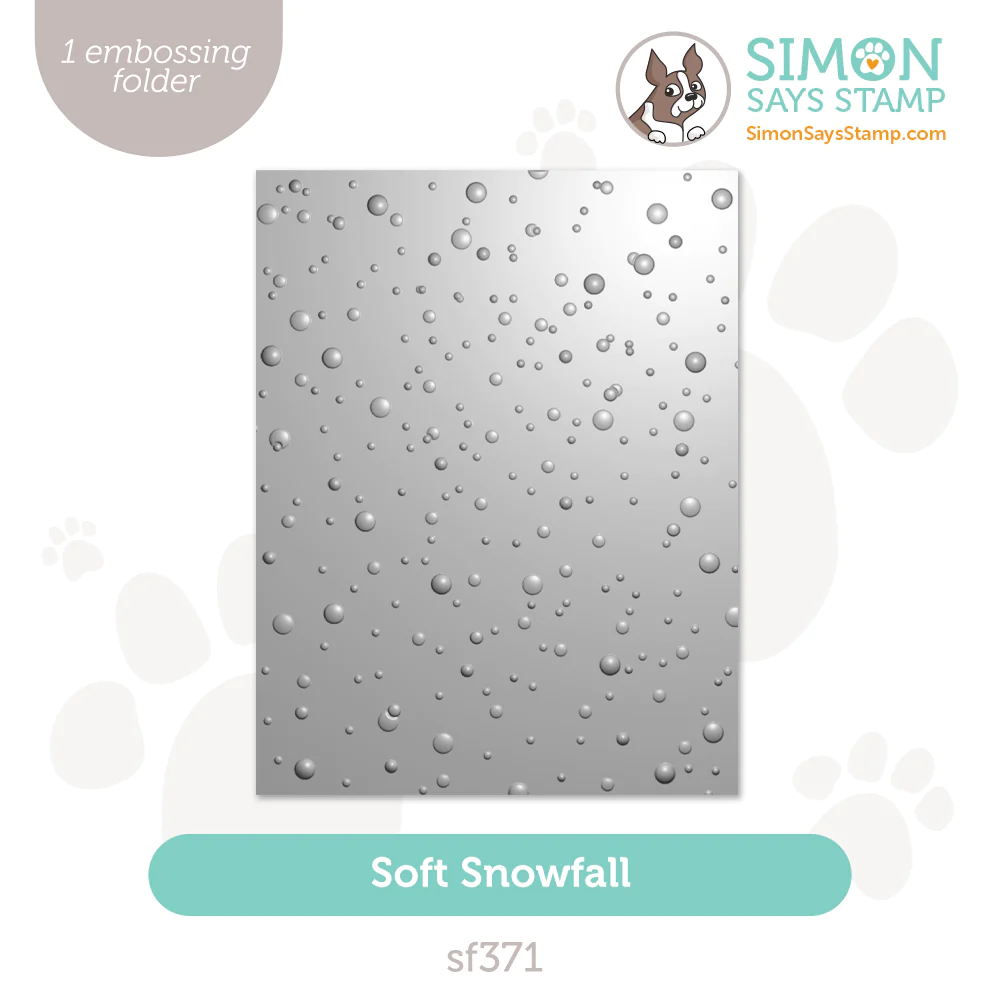
Emboss a 4 1/4" x 5 1/2" and a 3 1/2" x 5" piece of white cardstock using the Soft Snowfall Embossing Folder.
Using a Large Blending Brush ink-blend each Distress Ink color onto each embossed layer.
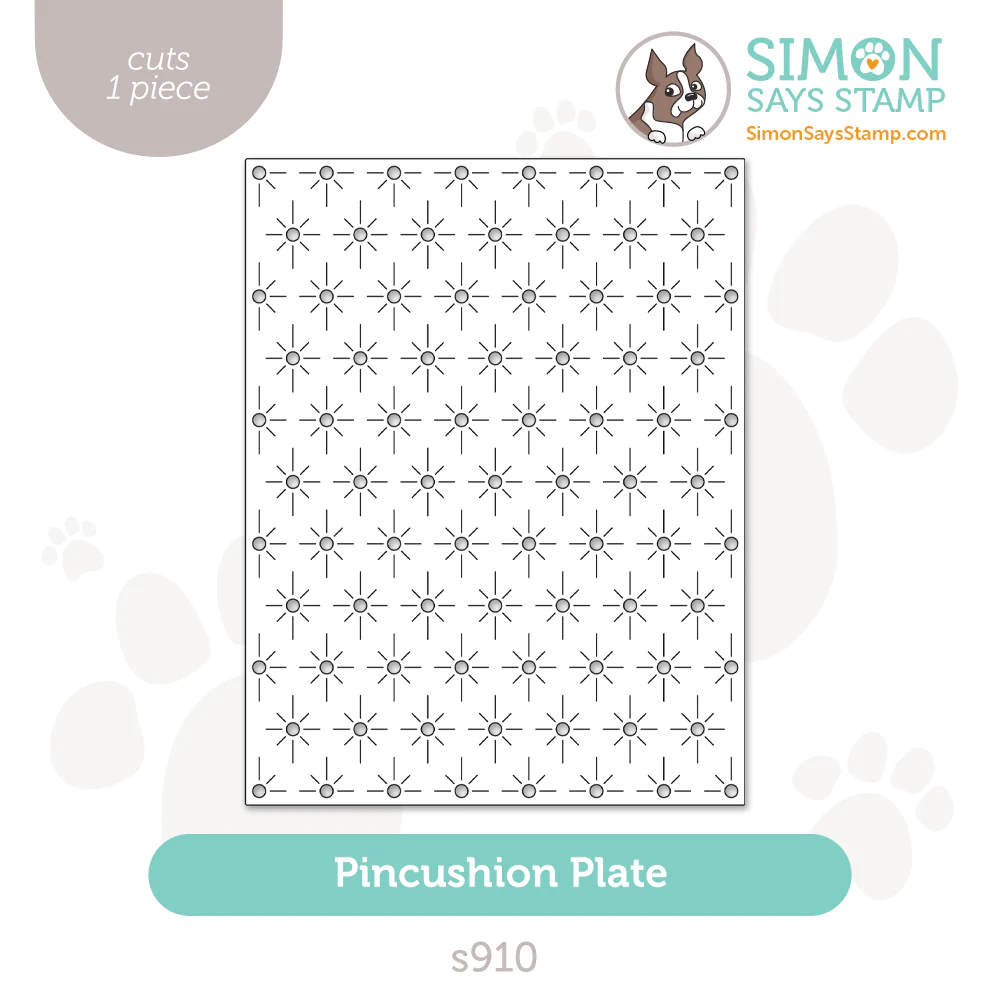
Die-cut a 4 1/4" x 5 1/2" piece of ivory cardstock using the Pincushion Plate a adhere a piece of Gold Glitter cardstock of the same size underneath it. Adhere these layers to a Card Base.
Die-cut the ink-blended cardstock with the Nested Domed Arch die measuring 2 3/4" x 4". Remember to reverse the arch for the tag.
Adhere one of the ink-blended layers to the Pincushion background
Fold a piece of 7" x 5" in half along the 7" side.
Die-cut the folded card using the same Arch die, overlapping the edge of the left side with the cutting edge of the die so that it does not cut along that side to create an arched card base when die-cut.
Adhere the ink-blended layer with the Lucky Clover ink at the top to the arched card base.
Die-cut The Manger twice and the moon once using Gold Glitter Cardstock. Die-cut the stars using Silver Glitter Cardstock. Adhere each Manger die-cut to the ink-blended layers. Adhere the stars and moon to the pin-cushion background using foam dots.
Die-cut the Merry Christmas sentiment out of Chocolate cardstock and adhere to the Card Front.
Trim and adhere the Merry Christmas sentiment to the shaped arch card base.
That pretty Pin Cushion pattern is one that I am going to keep coming back to!

The manger is looking like jewelry on this card in that gold glitter cardstock.

The dark chocolate sentiment stands out against all that color!

This pretty pair should be perfect for a special wish and gift!

Thank you for stopping by and checking out my non-conventional nativity card but hopefully this inspire a little last-minute card-making!
Happy Crafting!
SUPPLIES:
I listed the products that I have used below. Please note that these are compensated affiliate links, used at no cost to you. I really appreciate your support. All stamps used today were part of my All The Joy maker package from Simon Says Stamp. Click on the icons below each product picture to shop with SimonSaysStamp.com.


Comentarios