


Hello Lovelies! Being the messy crafter that I am, when I first saw the Tiled Art Stencil, I didn't think that I was going to get this right . That didn't stop me from trying though, and I'm SO glad that I did!
I have a soft spot in my heart for yellows and purples. For today's card, I decided to do all my layers in purple, and finish with on ombre die-cut framing my sentiment.

Time for Key Supplies!


Get Your Supplies!
Click on the image below to SHOP THE ENTIRE release OR
SHOP THIS CARD using the links throughout the post OR
SHOP the Supplies section at the bottom of this post

Today's GIF!
Sending over some happy vibes!
Like this card and my corny GIFs? CLICK BUTTON BELOW
to sign up for blog updates:
HAPPY CARD - Layered Stenciling, Ink-Blending, Die-cutting
Card Base: 4 1/4" x 5 1/2"

COLOR PALETTE
Pawsitively Saturated Ink Pads - Lilac, Orchid, Amethyst, Iris, Spring, Marine, Carnation


CARD WALKTHROUGH
LAYERED STENCILING
Adhere a 6" x 6" piece of white cardstock to a Stamp and Stencil Mat.
Following the numbering below, secure the first layer of the Tiled Art Stencil over the cardstock.
Use large blending brushes to ink-blend color onto the cardstock starting with the darkest color, Iris.
When complete, switch for the next stencil and color, Amethyst.
Repeat steps 2 and 3 for the remaining stencils and colors, Orchid and lastly Lilac,


INK-BLENDING, DIE-CUTTING and STAMPING
Use large blending brushes to ink blend Carnation, Lilac, Marine and Spring ink onto a 4 1/4" x 5 1/2" piece of white cardstock.
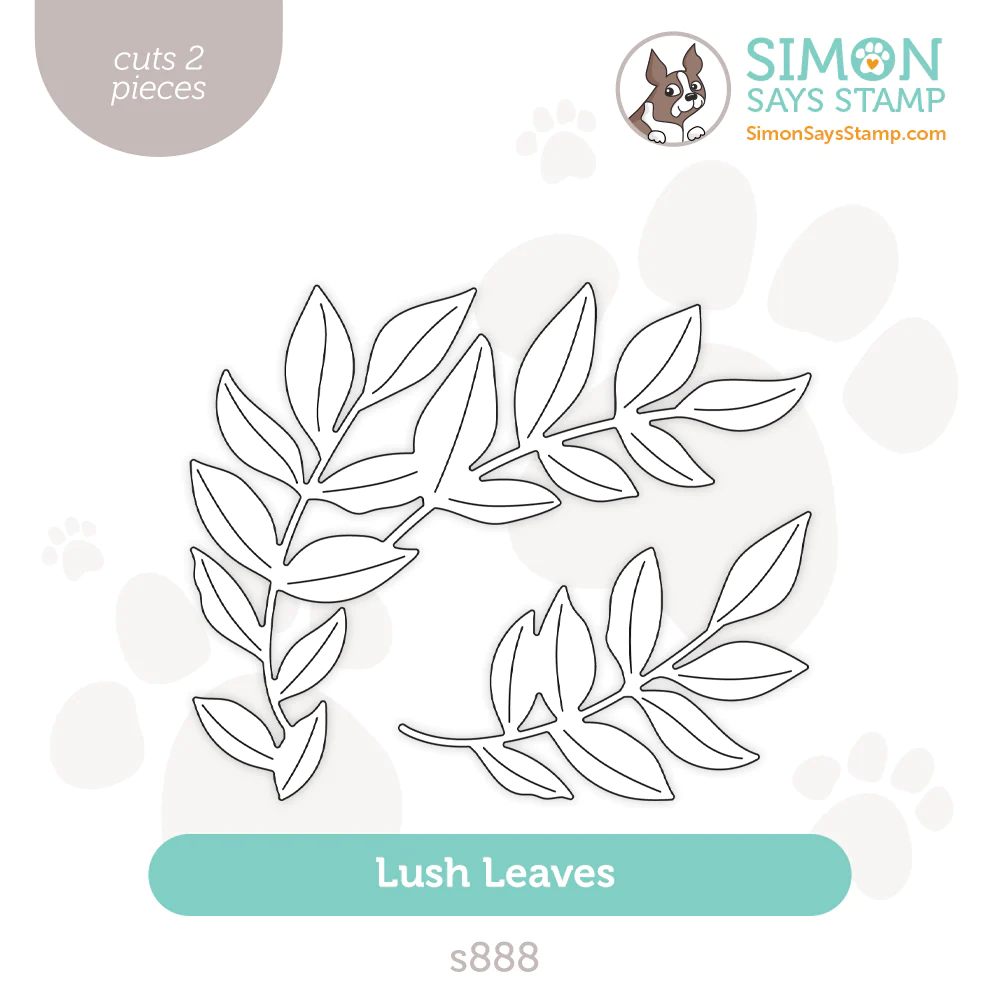
Die-cut the ink-blended cardstock using the lush leaves die.
Ink-blend some Carnation ink onto a scrap of white cardstock.
Stamp with "sending" and "vibes" from the Happy Combos Stamp Set in Intense Black Ink onto the Carnation cardstock.
Die-cut the stamped sentiments.
Die-cut the Happy sentiment with Gold Matte Cardstock for the word and Vellum for the outline.


FINISHING
Trim the stenciled panel to 4" x 5 1/2".
Adhere the ombre Lush Leaves die-cut with craft glue.
Layer and adhere the Happy die-cut.
Pop-up the pink sentiments with foam tape.
Adhere the pink sentiments above and below the Happy die-cut.
Adhere Lilac gems to embellish the sentiment and leaves.
If I can get this stenciling right, you definitely can!

The ombre leaves livens up the card front and frames our sentiment!

I really think stenciling may be my fave technique!
Thank you SO much for stopping by! Drop me a comment and say hi!
SUPPLIES:
I listed the products that I have used below. Please note that these are compensated affiliate links, used at no cost to you. I really appreciate your support. All stamps used today were part of my Be Bold maker package from Simon Says Stamp. Click on the icons below each product picture to shop with SimonSaysStamp.com.
Very pretty card ! And you always give such good instructions!