

Simon Says Stamp - Wall Decor Series - GRATEFUL FLORALS
- Keisha Diann
- Sep 29, 2024
- 3 min read

Hello Lovelies! We are officially just over 1 week into Fall and I just realized that it been almost a year since a shared a new wall decor piece. It also means I've been looking at the same shadow box on the side of my Craft Room cabinetry for a little too long.
While that is not a real problem, I was pretty happy that STAMPtember gave me two options to refresh the pretties on my wall. Hopefully it can inspire you if you to give this or something similar a try.

The flowers are water-colored with Karin Markers and the background is completed using a layered stencil. Here are some of the key items needed:
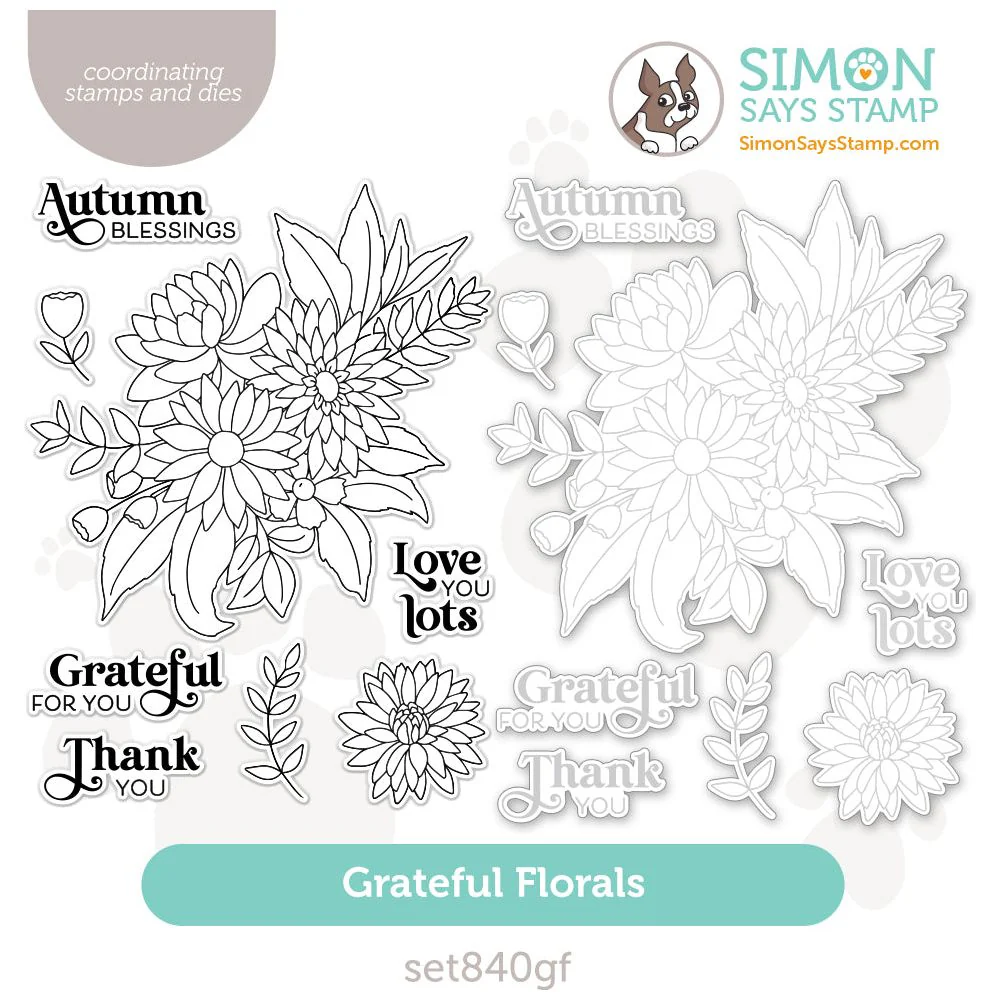


For the full list, check out the Supplies Section at the end of this post.
Today's GIF!
Now this looks like some Fall fun!
Like this card and my corny GIFs? CLICK BUTTON BELOW
to sign up for blog updates:
AUTUMN BLESSINGS SHADOW BOX - Stenciling, Water-coloring and Die-cutting
Wall Art Base: 8" x 8"
Watercolored Layer: ~5 1/2" x 5 1/2"
Featuring:

COLOR PALETTE
STENCILING
Simon Says Stamp Pawsitively Saturated Inks - Zest, Honey, Cantaloupe, Carnation, Peony, Cabernet, Fawn

WATERCOLORING
Karin Markers - Ocean Teal, Grass, Apple, Ochre, Pales Orange, Amber, Rosewood, Purple, Red Lilac, Magenta, Neutral Grey 1, Neutral Gray 2, Black, Blender


PROJECT WALKTHROUGH
STENCILING THE BACKGROUND
Trim a sheet of 110LB Neenah Cardstock to 5 1/2" x 5 1/2" and place on a grip mat
Cover with the one of the layers of the Stripes and Plaid Builder Stencil
Use a Blending Brushes to ink-blend the ink color through the openings in the stencil
Follow the pictures below to guide the stencil layers, direction and color you use.


WATER-COLORING
Create the Floral Die-cut
Stamp the main flower and the two additional images in black as shown below onto Watercolor Cardstock and again in clear ink without moving the image.
Cover with clear embossing powder and then use a heat tool to melt the powder.
Use the marker colors and blender to color the image as shown or choose your preferred colors.
Die-cut or fussy-cut the floral and adhere foam tape to the back
Stamp the sentiment using Cabernet ink and then die-cut.


Reinforce the Stenciled Layer
Adhere the stenciled layer to a piece of chipboard of the same size using the spray adhesive.
Adhere the diecuts flowers and sentiment to the stenciled layer.
Adhere pink pearls near the sentiment.
Trim a piece of 130lb White Cardstock to 8" x 8" and adhere to a piece of chipboard using the spray adhesive.
Trim and adhere Velcro squares to the back of the stenciled layer and then adher to the white background


This piece is unexpectedly vibrant for Fall, but it makes me smile and encourages me. I hope you will find comfort and inspiration in the things you make as well.

Don't forget to leave me a comment and let me know if you have any questions.
Thanks again for stopping by and I hope to see you again soon Lovelies!
SUPPLIES:
I listed the products that I have used below. Please note that these are compensated affiliate links used at no cost to you. I really appreciate your support. Simon Says Stamp STAMPTtember products were provided as part of my Design Team package. Click on the icons below each product picture to shop with SimonSaysStamp.com.
Comments