Hello Lovelies! I get myself a travel magnet whenever I visit somewhere new, but today I've made some for my dry-erase board. I have one on the side of my fridge and also in my craft room.
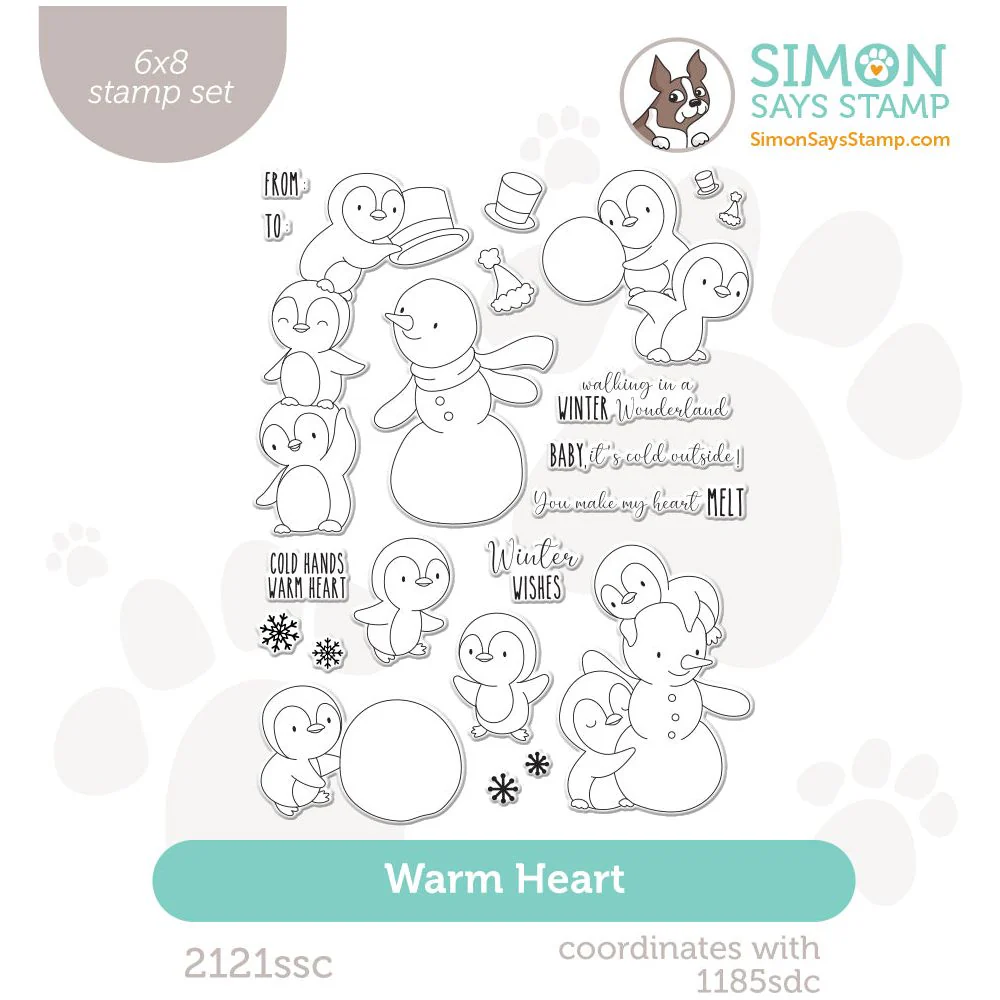
I've been curious about using acrylic markers before and have been occasionally experimenting with them for a while, take a peek at my Autumn decor frame. If you haven't tried them before, this is the perfect project because it is easy and on small scale. We will use penguins from the Warm Hearts stamp set in the Sweet Wishes release.

Time for Key Supplies!
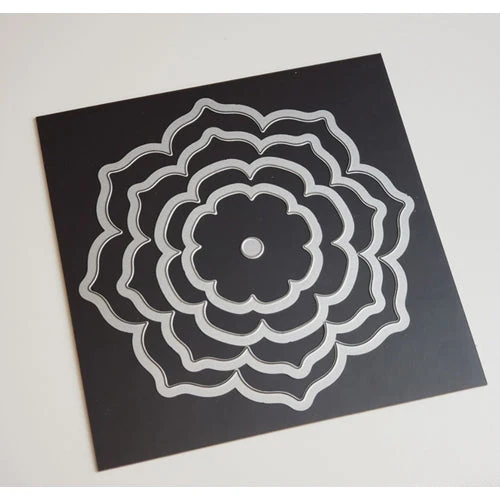
For the Canvas Magnets, you can make your own, with the magnet backing below and some canvas wrapped boards from your local craft store or you can Google for premade canvas magnet blanks.
Get Your Supplies!
Click on the image below to SHOP THE ENTIRE release OR
SHOP the Supplies section at the bottom of this post
Today's GIF!
Penguins ON the Fridge ONLY!!!
Like this card and my CORNY GIFs? CLICK BUTTON BELOW
to sign up for blog updates:
FESTIVE FRIDGE MAGNETS - Stamping, Acrylic Painting
Card Size: 2 1/2" x 2 1/2"

ACRYLIC PAINT PENS
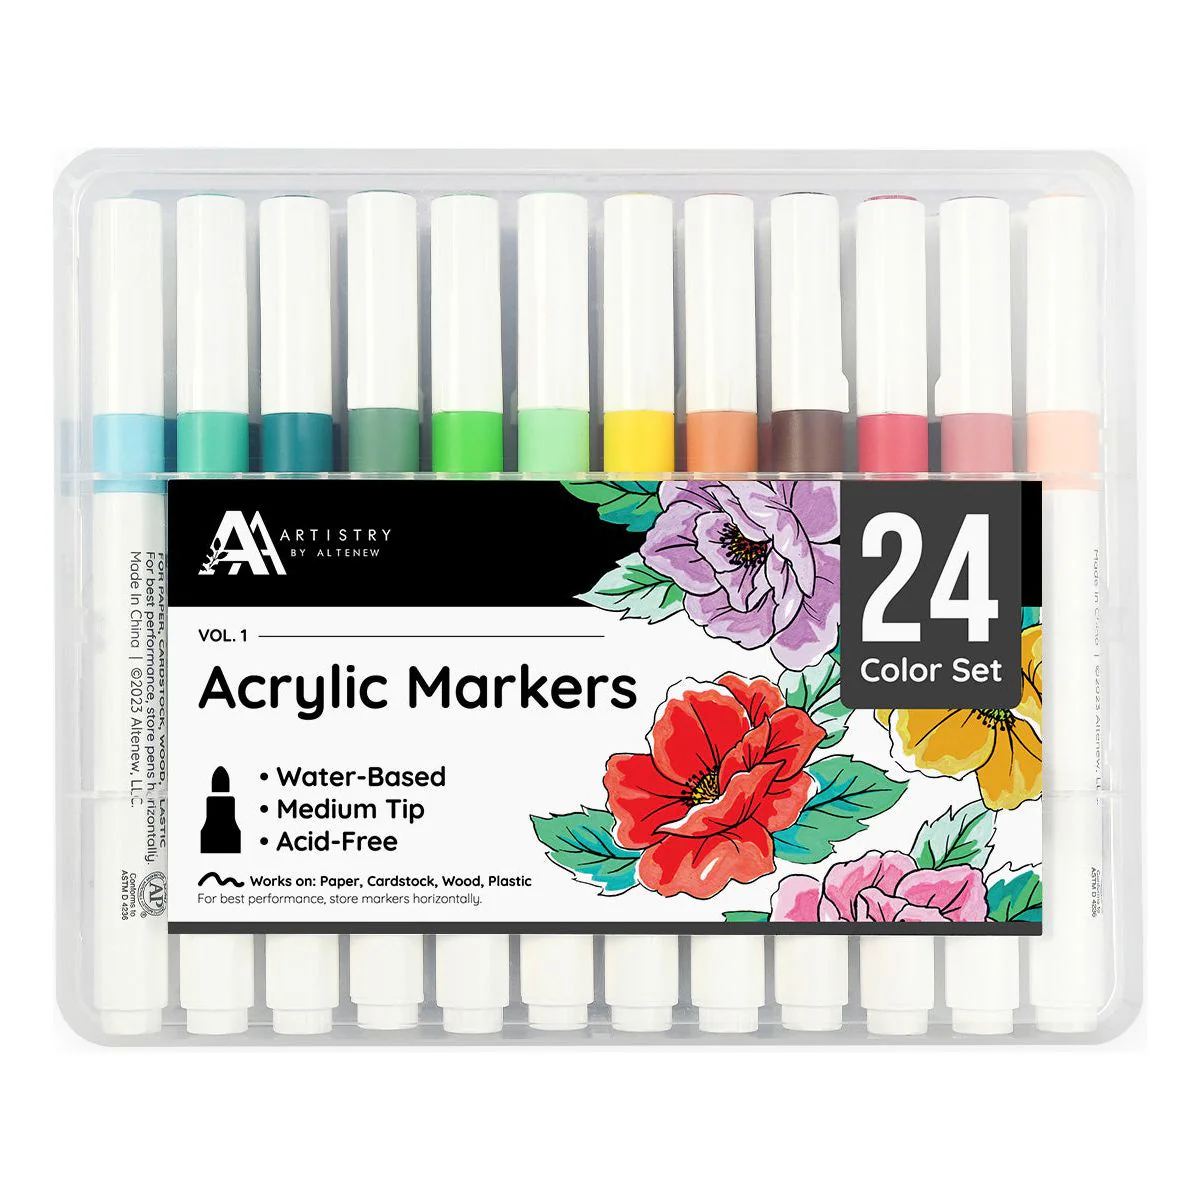
This set of 24 Acrylic Markers from Altenew is a great, relatively inexpensive starter set. I have also used Karin Deco-Brush Acrylic Paint Markers in the past. However, I would avoid them for this project as the canvas is textured, and can be hard on the delicate nib, especially if you are a bit overzealous like me! The Altenew markers have a firm nib that are not as susceptible to rougher surfaces.


PROJECT HIGHLIGHTS
ACRYLIC WASH BACKGROUND
Choose a light turquoise marker and paint the entire surface of one of the canvas magnets.
Using a light pink and light purple marker, color another magnet. Cover 3/4 of the canvas with pink and then overlap with the purple paint. Use the pink marker again to fully blend the colors.
Allow both to dry.
Place the magnets in your MISTI (or similar) and stamp the penguins etc. as shown in Tuxedo Black Staz-On Ink.
Color in the penguins and snow ball, go over the colors more than once to get even coverage as needed.
Let dry and then stamp the snowflakes and sentiment as shown.


I hope you like these, I plan to make some more with other designs as stocking stuffer or neighbor/cowworker gifts!


Last look loves!

Drop me a comment and say hi!
SUPPLIES:
I listed the products that I have used below. Please note that these are compensated affiliate links, used at no cost to you. I really appreciate your support. All stamps used today were part of my Sweet Wishes maker package from Simon Says Stamp. Click on the icons below each product picture to shop with SimonSaysStamp.com.


Opmerkingen