

Simon Says Stamp - With Thanks Spring Shaker Card
- Keisha Diann

- 11 hours ago
- 2 min read

Hello Lovelies! I'm feeling VERY thankful to a special friend and was inspired to make an infinity spring shaker card to share that love.
Our background today sets the tone using the delightfully simple Receding Squares Stencil. Sometimes I plan my cards, but this one just started with me looking at the stenciled pattern and deciding to repeat the sentiment using those colors and die-cutting the flower in the same palette.

Key Supplies For With Thanks Spring Shaker Card!


Get Your Supplies!
Click on the image below to SHOP THE ENTIRE release OR
SHOP the Supplies section at the bottom of this post

Today's GIF!
I just thought this was cute! Sending love!
Like this card and my CORNY GIFs? CLICK BUTTON BELOW
to sign up for blog updates:
WITH THANKS SHAKER CARD - Stenciling, Stamping and Die-cutting
Card Size: 4 1/4" x 5 1/2"

COLOR PALETTE
Simon Says Stamp Pawsitively Saturated Ink Pads - Marine, Tidepool, Celery, Lemonade

Simon Says Stamp Pawsitively Cardstock - Surf Blue, Apple Green, Banana

CARD HIGHLIGHTS
Adhere the Receding Squares Stencil over 6" x 6" white cardstock to a Craft Tacky Mat and apply the lightest ink color (Lemonade) using a Large Blending Brush.
Using a dry piece of paper towel, wipe the excess ink off of the stencil while still in place over the paper
Rotate the stencil 90 degrees and apply the next color.
Repeat steps 2 and 3 until all 4 colors have been stenciled. Trim the stenciled background to 4 1/4" x 5 1/2".
Die-cut the flowers from the Sweet Tiny Flowers Die Set out of Surf Blue and Banana Cardstock. Die-cut the leaves from Apple Green Cardstock.
Apply a Waffle Flower A2 Infinity Shaker cover to the stenciled background leaving the top flap open.
Fill with Duckling sequin embellishments and some of your die-cut flowers and leaves.
Close the top flap to seal the shaker pocket and apply 1/2" double sided tape to the back of the pocket and adhere to an A2 card base.
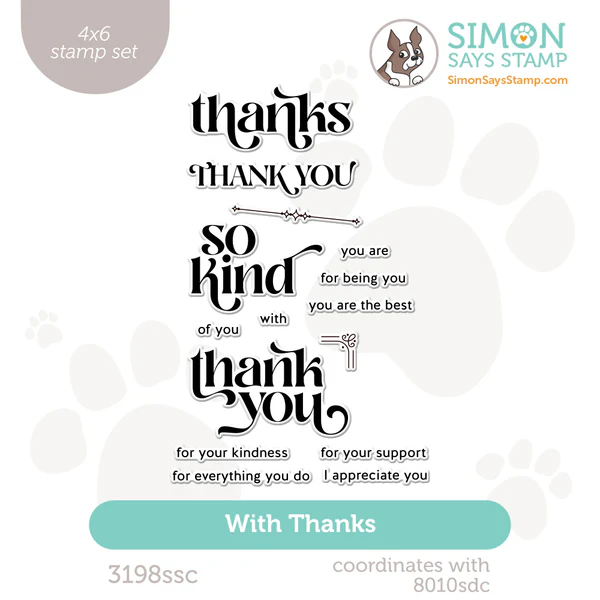
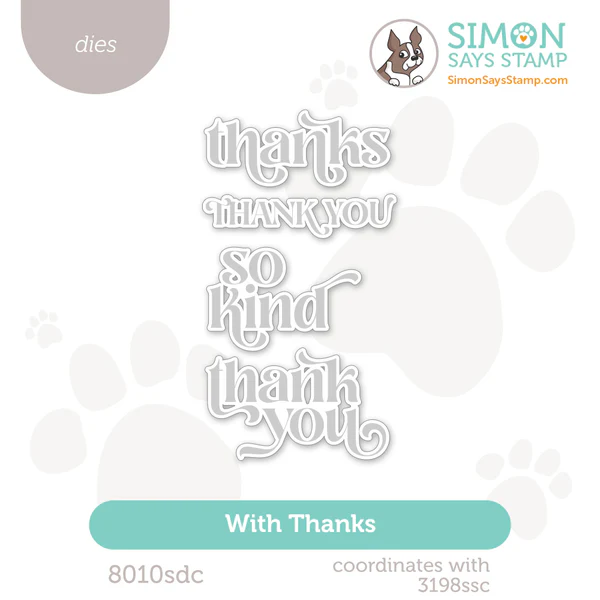
Stamp the "Thank You" sentiment from the With Thanks set using the selected ink colors and die-cut with the coordinating die.
Adhere the "Thank You" sentiments to the front of the shaker pocket. Embellish with assembled flower die-cuts from the Sweet Tiny Flowers set.


Last Look!
Who do you need to send a BIG "Thank You" to? Drop me a comment and say hi!
SUPPLIES:
I listed the products that I have used below. Please note that these are compensated affiliate links, used at no cost to you. I really appreciate your support. All stamps used today were part of my You Are My Favorite maker package from Simon Says Stamp. Click on the icons below each product picture to shop with SimonSaysStamp.com.


댓글