Hello Lovelies! I have simple card idea with the goodies from the Tim Holtz Sizzix 2023 Christmas Release for you today! These are some of the happiest cards that I have made and the simple design will allow you to make a stack for your holiday mailing list!
The cards actually start with the Layered Stripes Thinlits and then the Big Tidings Thinlits add some festive WOW to the party. When I look at these, all I can think of is candy canes and Christmas carols!

Like I said for the Trim A Tree card, you may have a hard time choosing your favorites from the Tim Holtz Sizzix 2023 Christmas Release. The full release is shown below and available as a bundle, but each die set is also available to purchase individually from Simon Says Stamp.
Let's take a closer look at the release items that we will use for today's card:


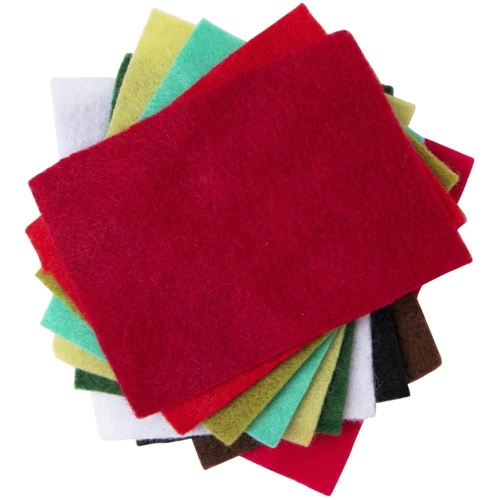
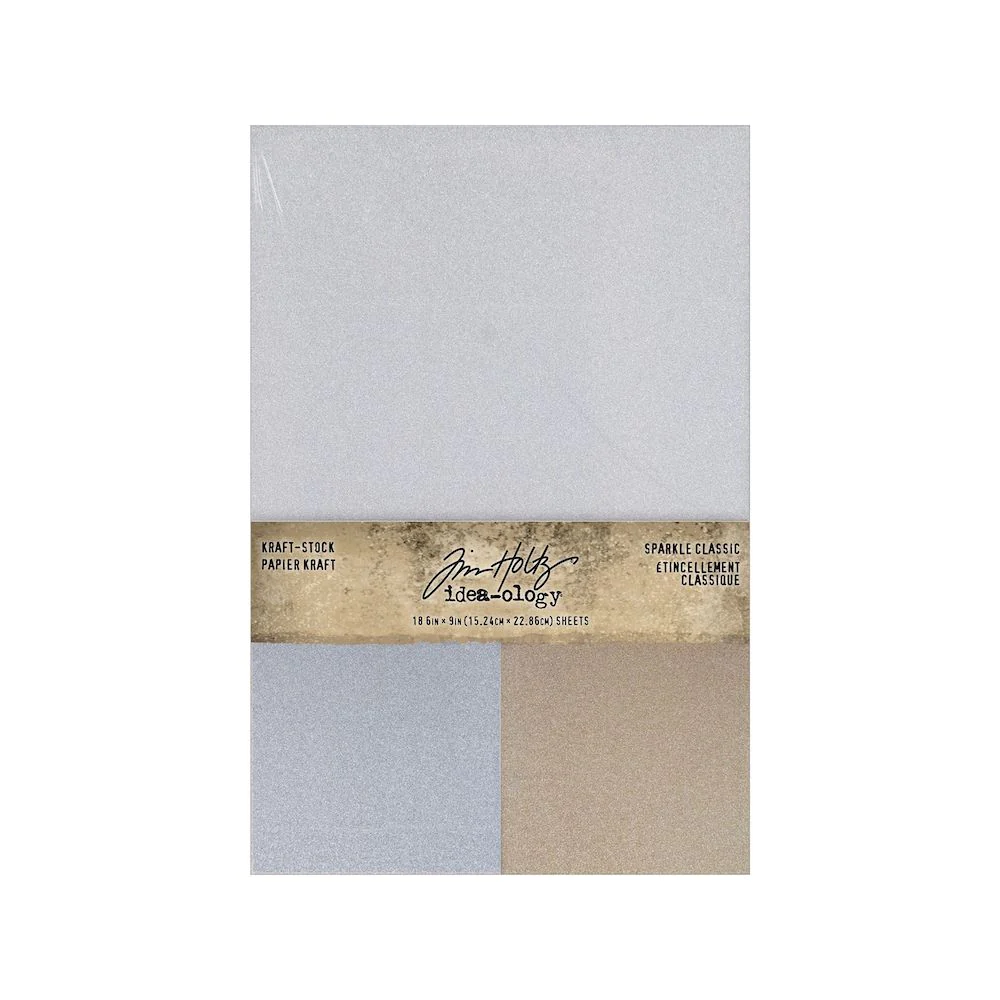
In addition, I grabbed some Tim Holtz Sparkle cardstock, Simon Says Stamp Cardstock and some Sizzix Felt for all the die-cuts.
Click here to view the full supply list now or check it out at the bottom of this post when you have finished exploring this project.
Today's GIF!
Me, every day after Thanksgiving! :-)
Like this card and my corny GIFs? CLICK BUTTON BELOW
to sign up for blog updates:
BIG TIDINGS CARDS - Embossing, Ink-blending, Splattering and Die-cutting
Card Size: 4 1/4" x 5 1/2"
Featuring:
Tim Holtz Idea-ology KRAFT STOCK METALLIC CLASSICS Tim Holtz Ranger Distress Ink Pad - Candied Apple, Saltwater Taffy, Squeezed Lemonade
Tim Holtz Rangers Distress Paint - Tarnished Brass

PROJECT PALETTE
Our colors are all from the cardstock and felt choices in hues of reds and pinks for the Joy card and blues and greens for the Noel card. Also Consider alternative color combinations for this card, it's so easy to switch up the colors! -
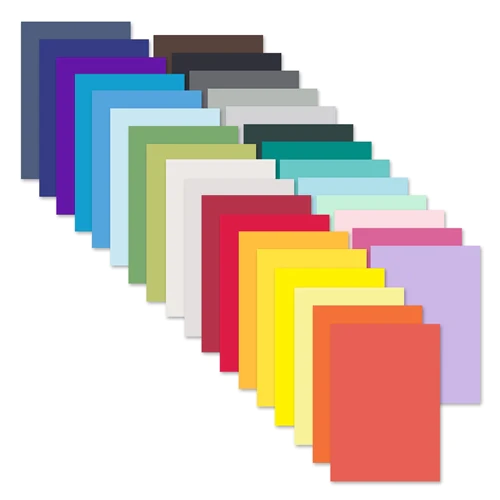
Simon Says Stamp Cardstock - Doll Pink, Schoolhouse Red, Cotton Candy, Audrey Blue, Rainbow Splash Lime, Midnight Green, Smoke
PROJECT WALKTHROUGH
Die-cut the cardstock using the Layered Stripes Thinlits Die as shown below
Layer and adhere the die-cuts with craft glue to create the background
Center and adhere each background to a card base with craft glue
Die-cut the embellishments and the "O" out of the sparkle cardstock and felt as shown.
Die-cut the word from the Big Tidings set out of purple and dark green felt
Die-cut the words again out of white cardstock to create a base for the felt
Use craft glue to adhere the white cardstock and felt layers together
Adhere the words to the striped background.
Adhere the embellishments with foam dots to the card front and add the Mettallic Droplets to finish

The three different textures of the cardstock, sparkle paper and felt help make this Christmas card feel even more special1

The festive embellishment like these holly leaves and berry may be my favorite part of these cards.

I just love the font of these gorgeous die-cuts!

Can I say more about how much I love using felt on these cards?

Last look at this pair!


Thank you for stopping by and joining me and checking out these simple, bold cards! Leave me a comment with your thoughts please. It means a lot and I am happy to take any questions.
See you soon!
SUPPLIES:
I listed the products that I have used below. Please note that these are compensated affiliate links used at no cost to you. I really appreciate your support. All stamps used today were part of my maker package from Tim Holtz and Sizzix. Click on the icons below each product picture to shop with Simon Says Stamp.


The use of felt was a great idea. Thank you for the excellent tutorial. I used your instructions to make two cute cards.